Blog

  • How to Share Job Progress with Customers Without Requiring Them to Download an App

    How to Share Job Progress with Customers Without Requiring Them to Download an App

    Let's be honest – asking your customers to download yet another app is like asking them to learn a new language. They've already got their phones cluttered with apps they never use, and the last thing they want is to figure out how to navigate your project management software just to see if their deck is getting built on schedule.

    The good news? You don't need to put your customers through app download hell to keep them in the loop. There are plenty of simple ways to share job progress that work with what your customers already use every day – their email, web browser, and text messages.

    Why App-Free Communication Wins Every Time

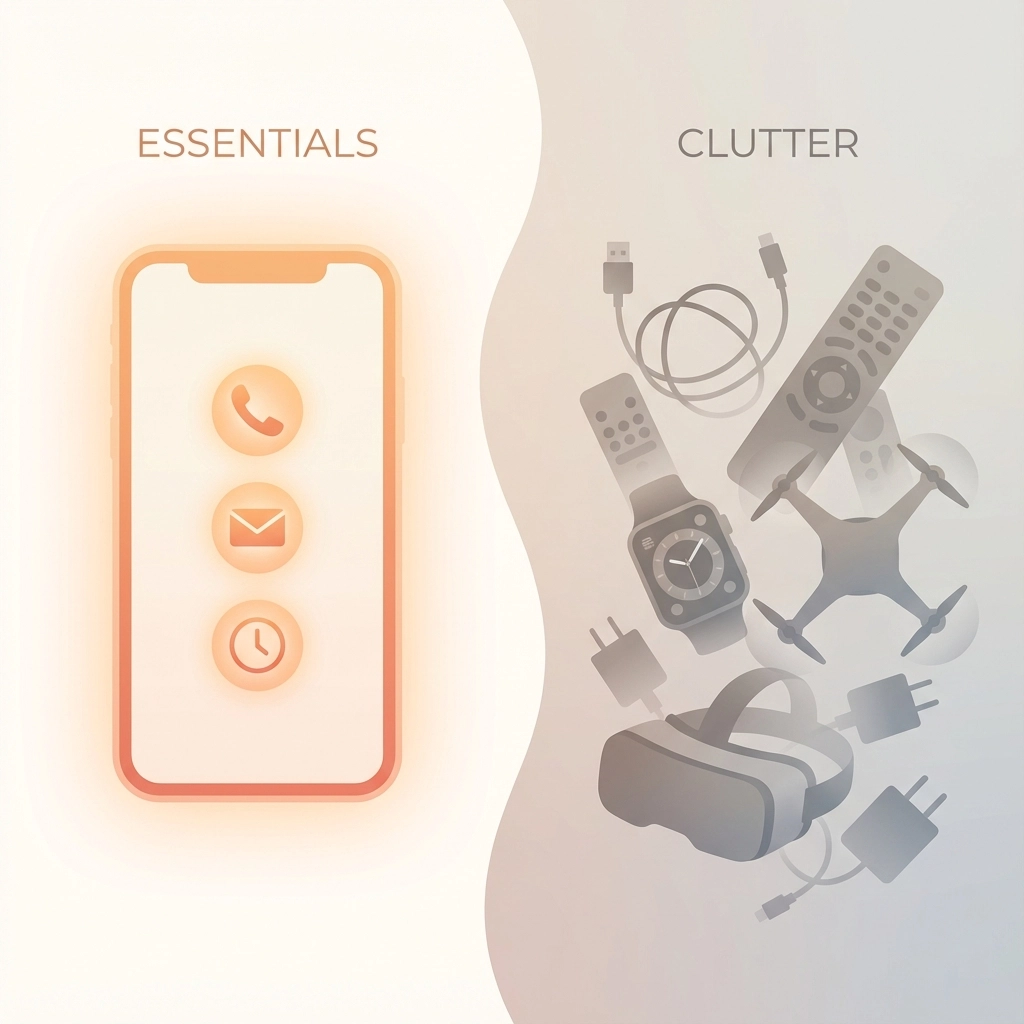
    Think about your own phone for a second. How many apps do you actually use regularly? Probably the same handful every day, right? Your customers are no different. They don't want to create another account, remember another password, or learn another interface just to check on their project.

    When you make it easy for customers to stay updated without jumping through hoops, you get happier clients who feel informed and confident in your work. Plus, you spend less time explaining how to use your systems and more time actually getting the job done.

    image_1

    Method 1: Simple Web Links That Work in Any Browser

    The easiest way to share progress is through a simple web link your customers can click from any device. No downloads, no accounts, no fuss.

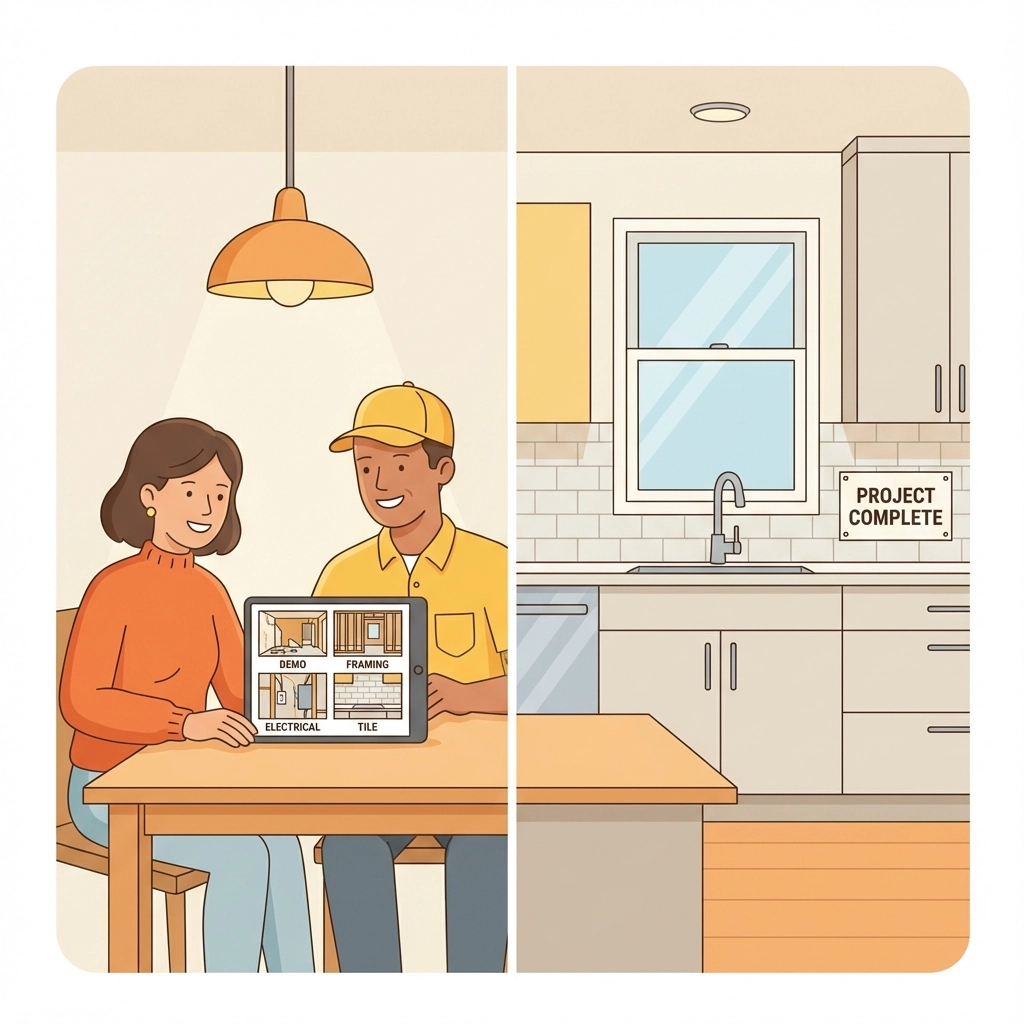
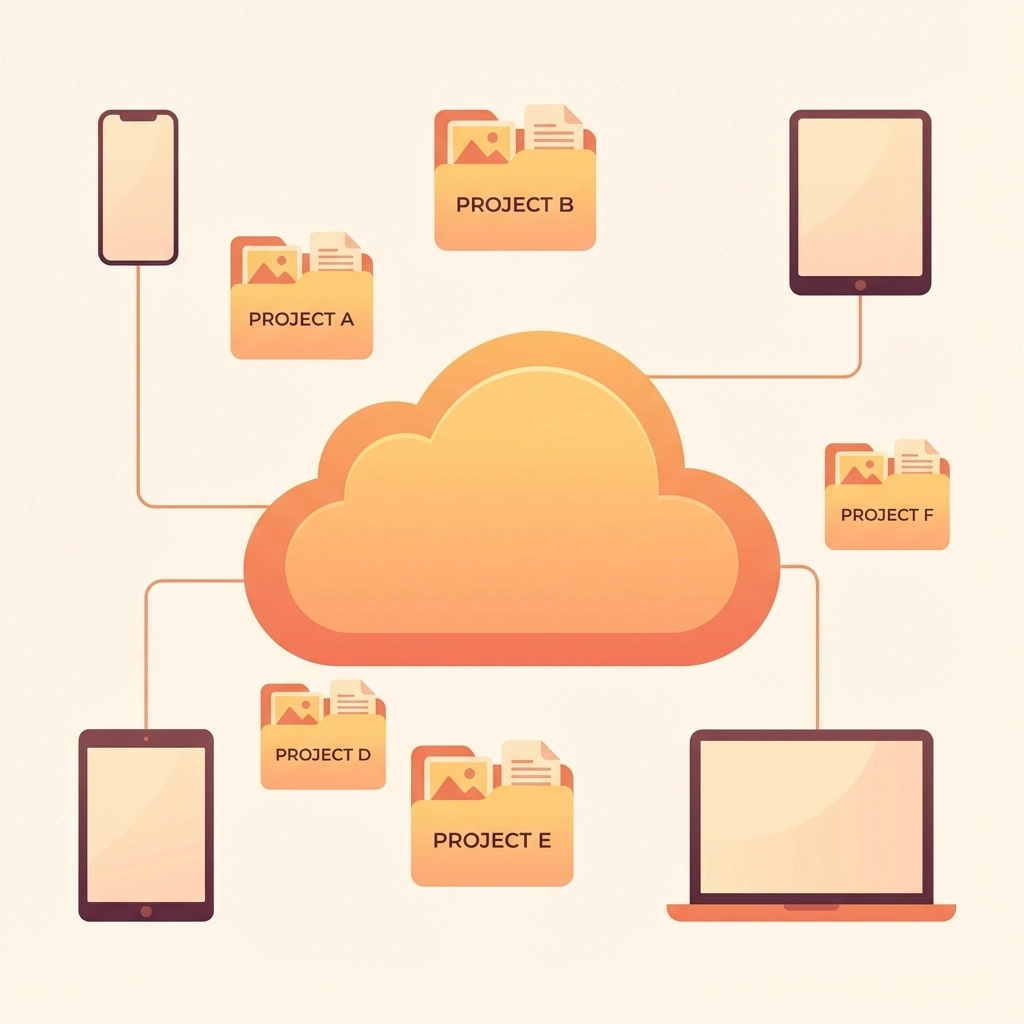
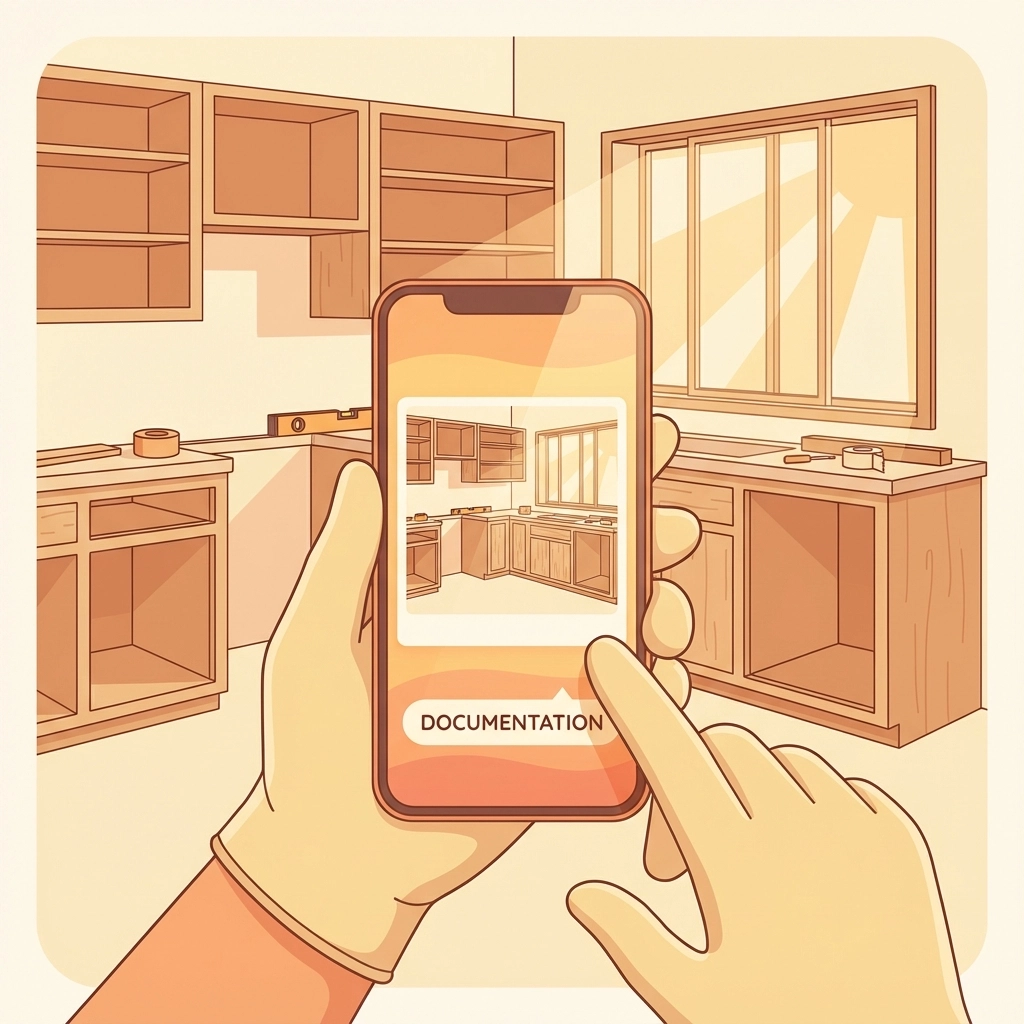
    Here's how it works: You create a shareable webpage that shows everything your customer needs to know about their project. They get a link via email or text, click it, and boom – they can see photos, schedules, invoices, and updates right in their browser.

    This approach works great because:

    • Customers can check progress from their phone, tablet, or computer
    • No learning curve – everyone knows how to use a web browser
    • You control what information gets shared and when
    • Updates happen automatically as you add new content

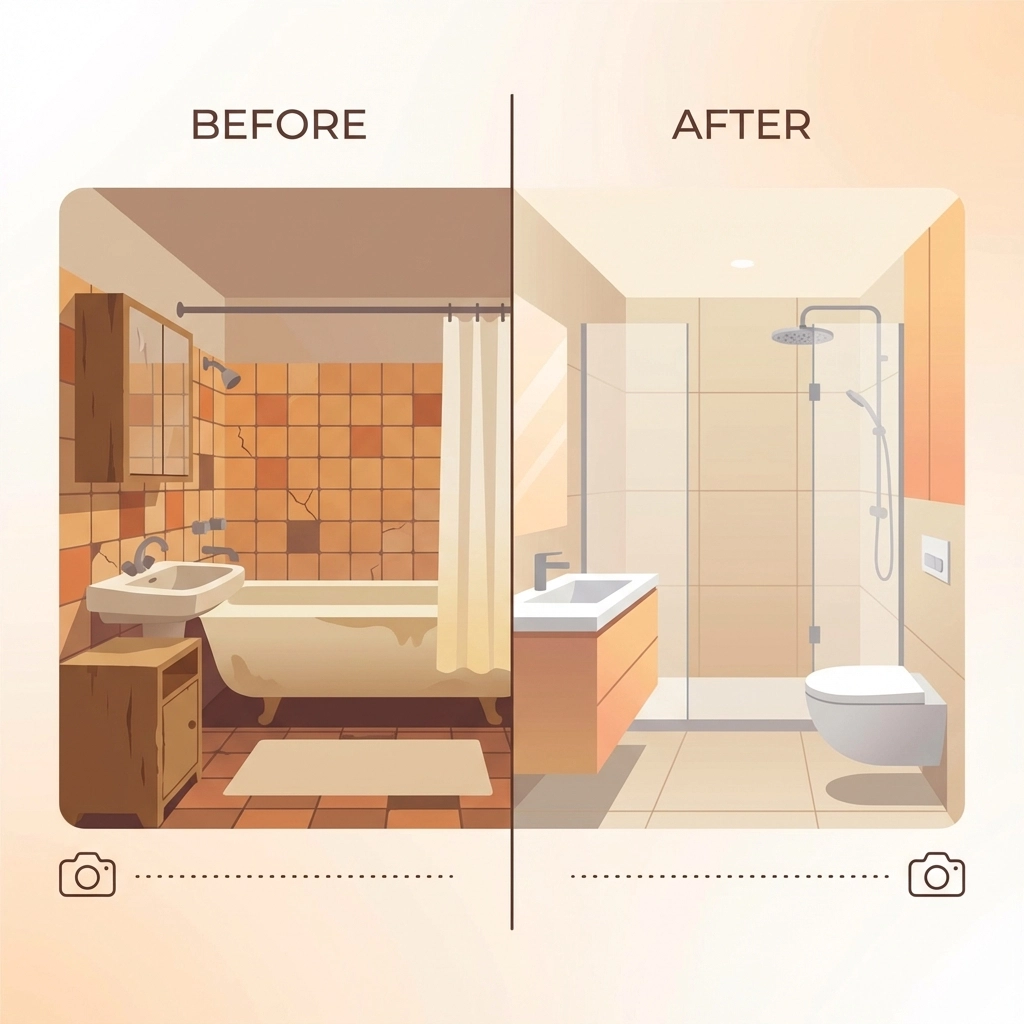
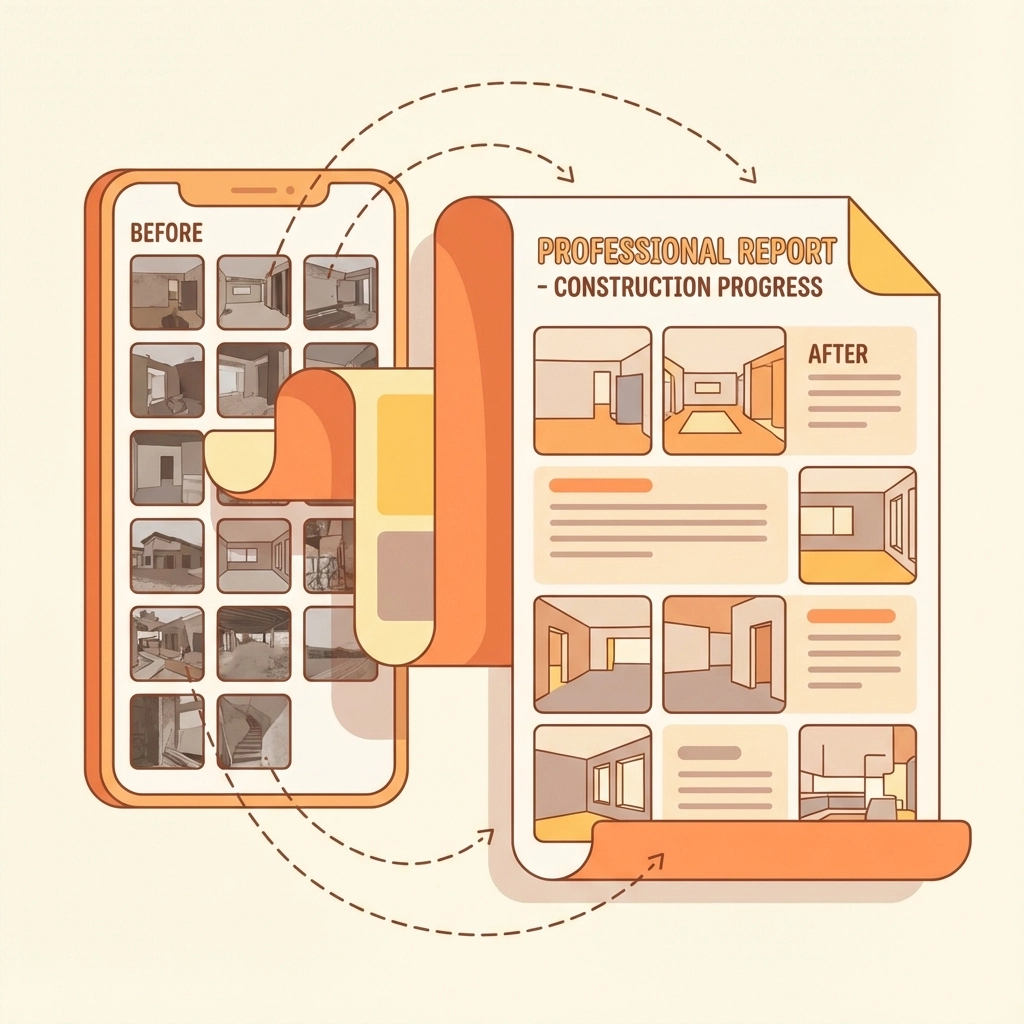
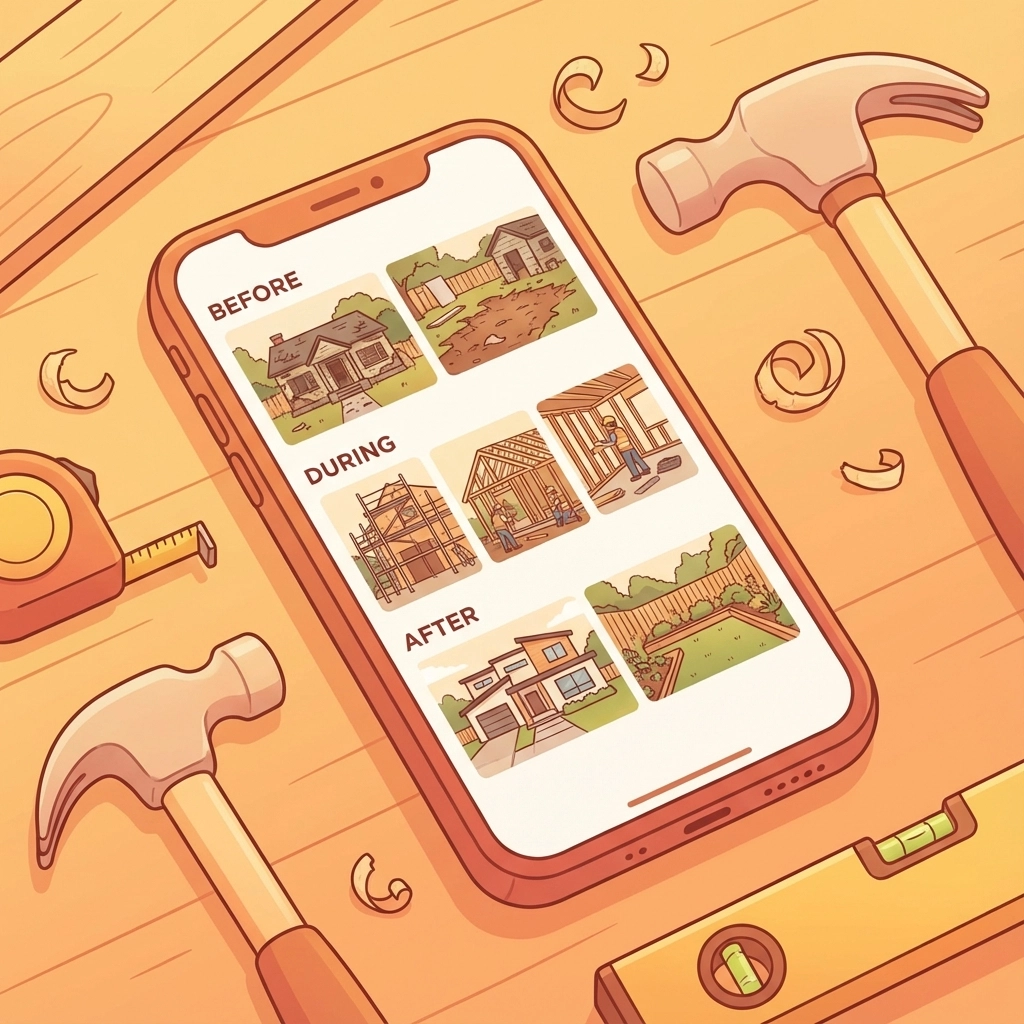
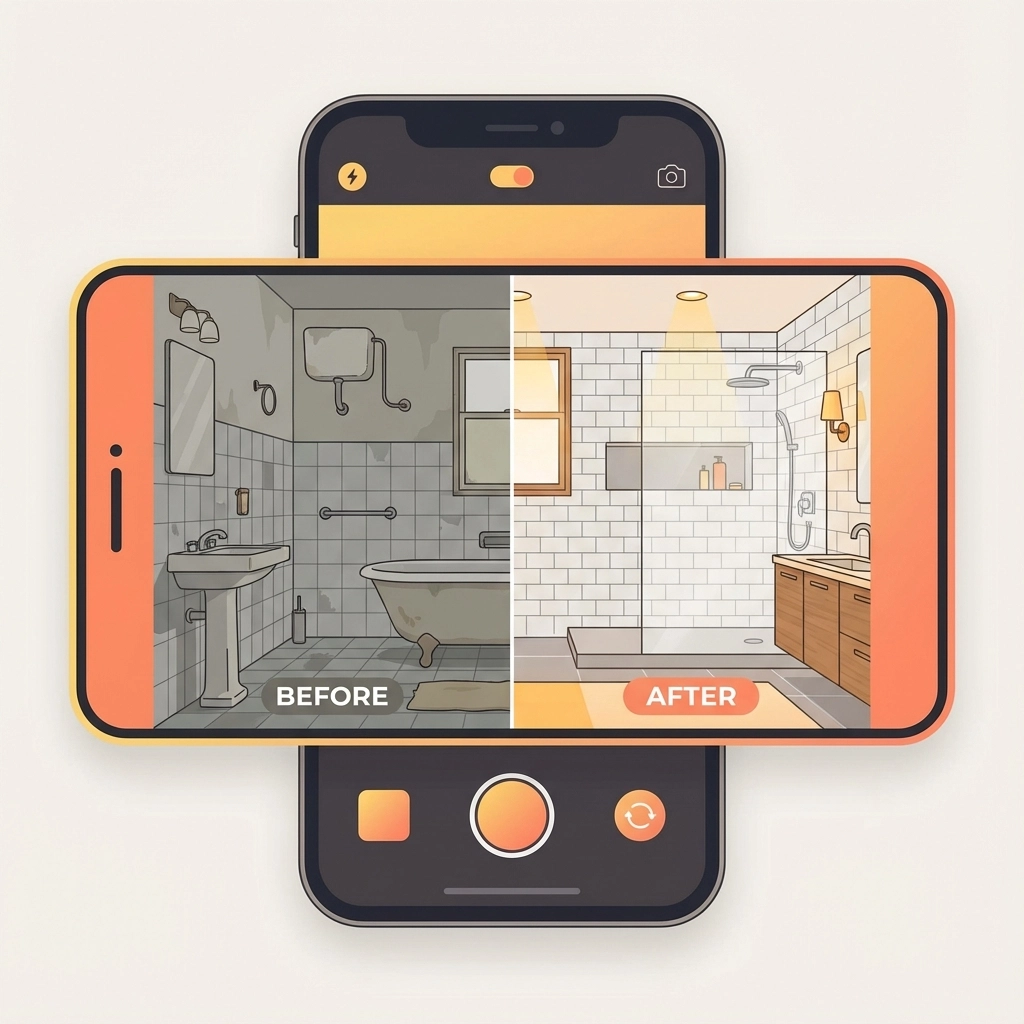
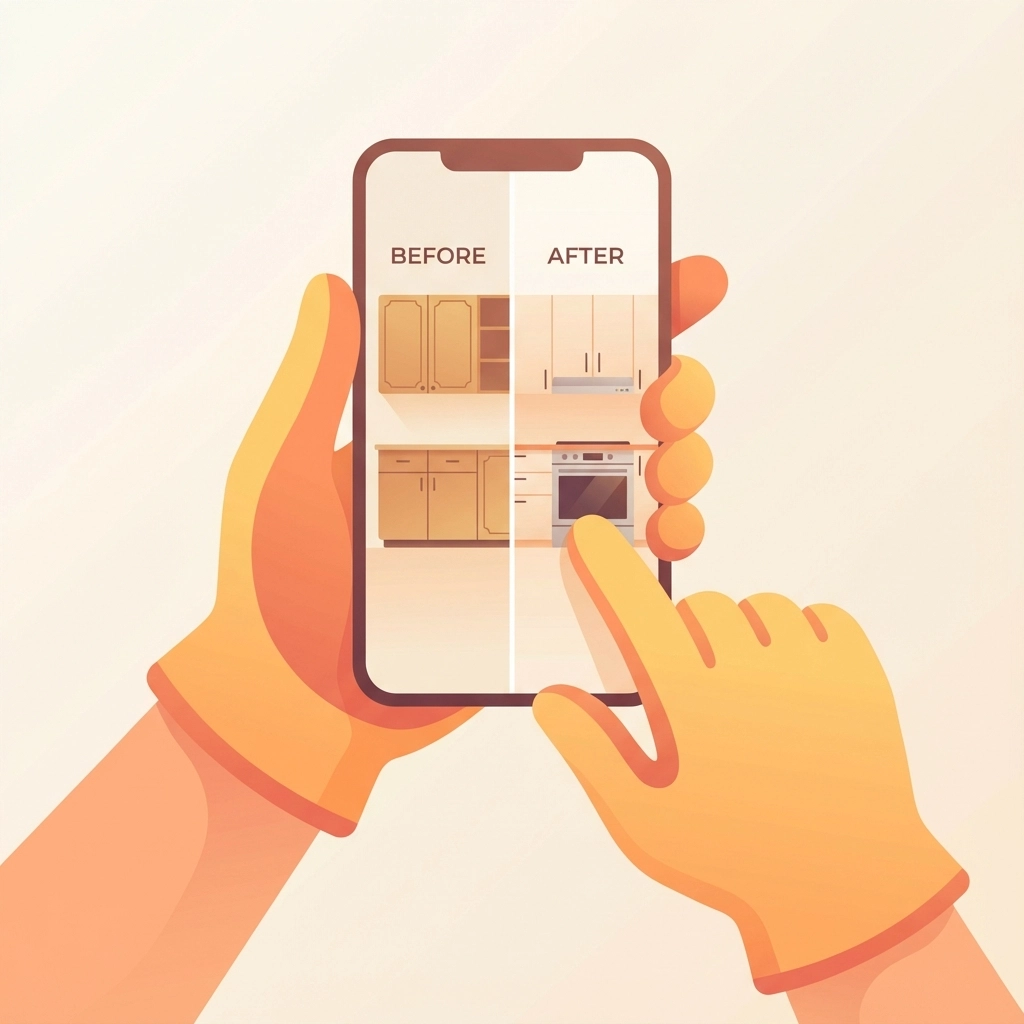
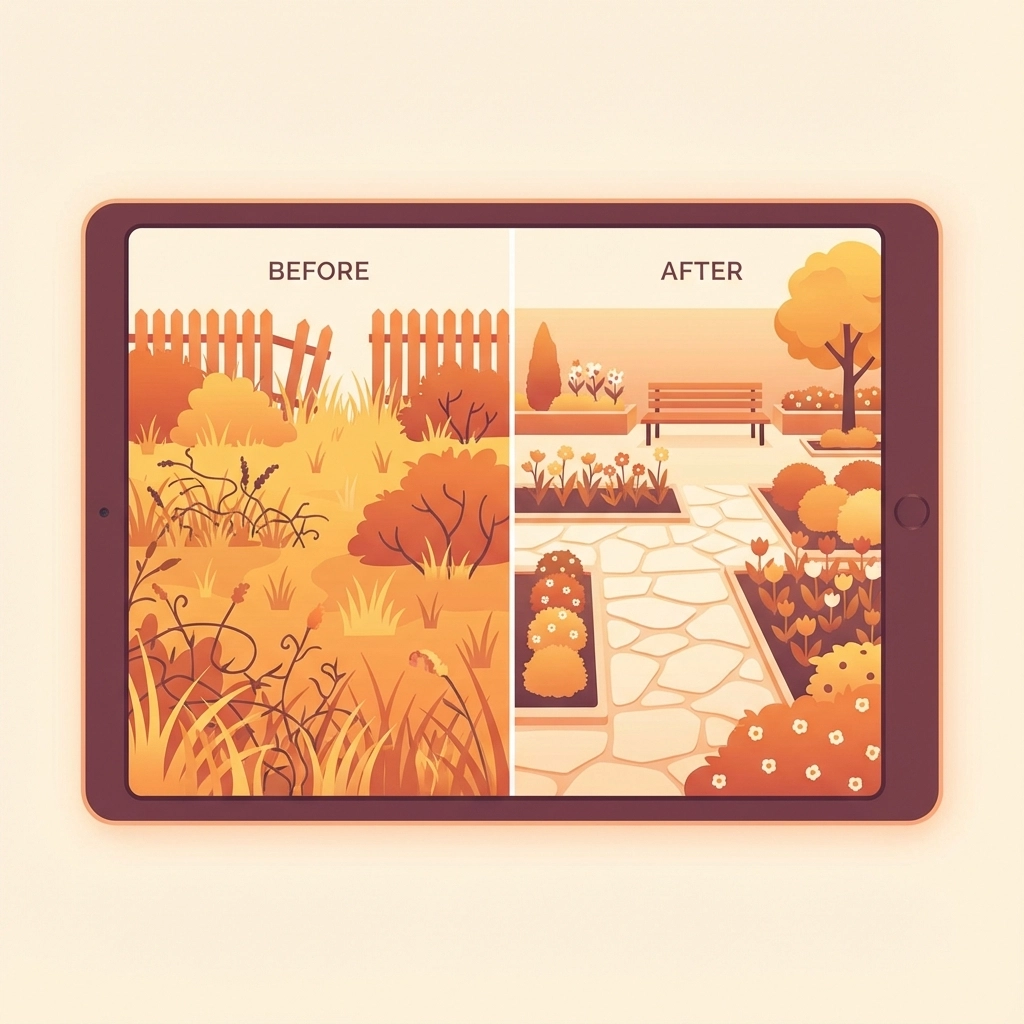
    The best part? You can include everything in one place: project timeline, before and after photos, upcoming appointments, and even weather forecasts that might affect the work schedule.

    Method 2: Email Updates That Actually Get Read

    Email might seem old school, but it's still the communication method most customers check daily. Smart contractors use automated email updates to keep customers informed without any manual work.

    Set up weekly or bi-weekly progress emails that include:

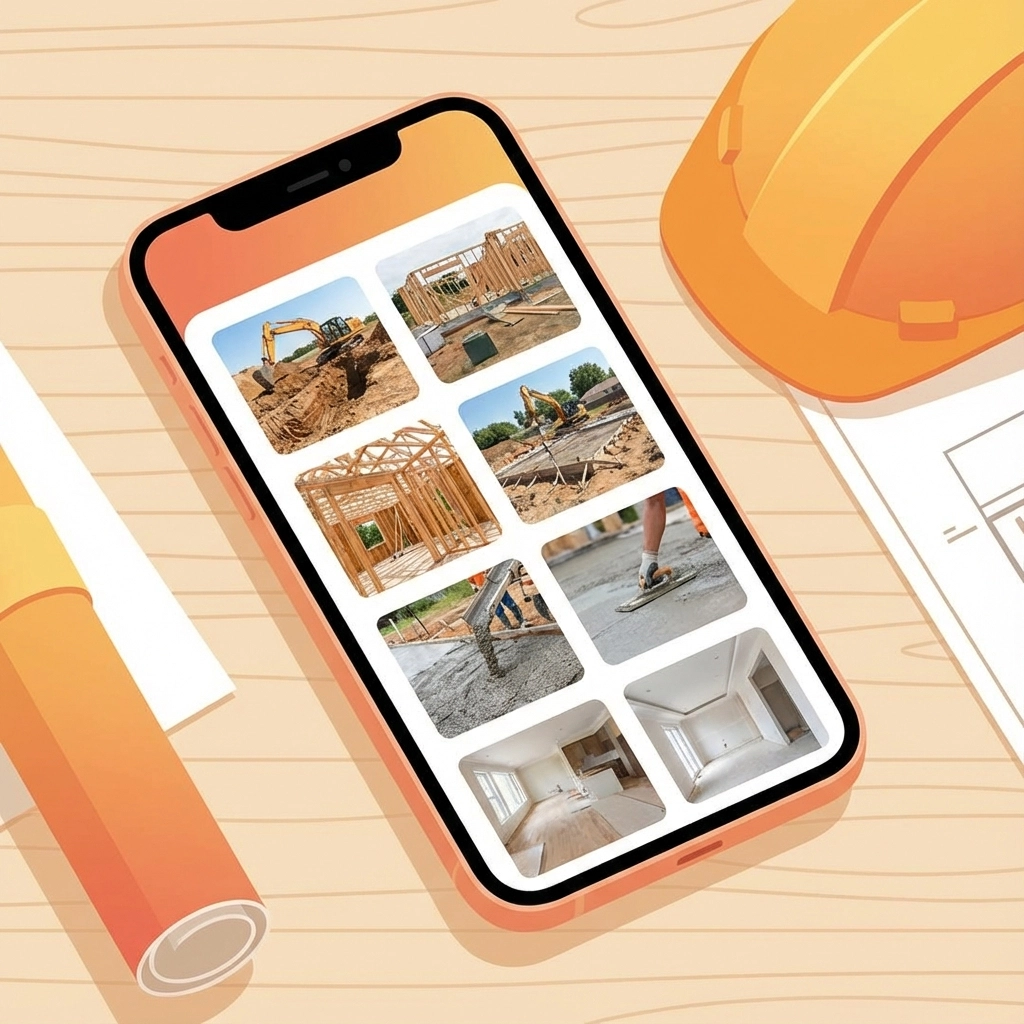
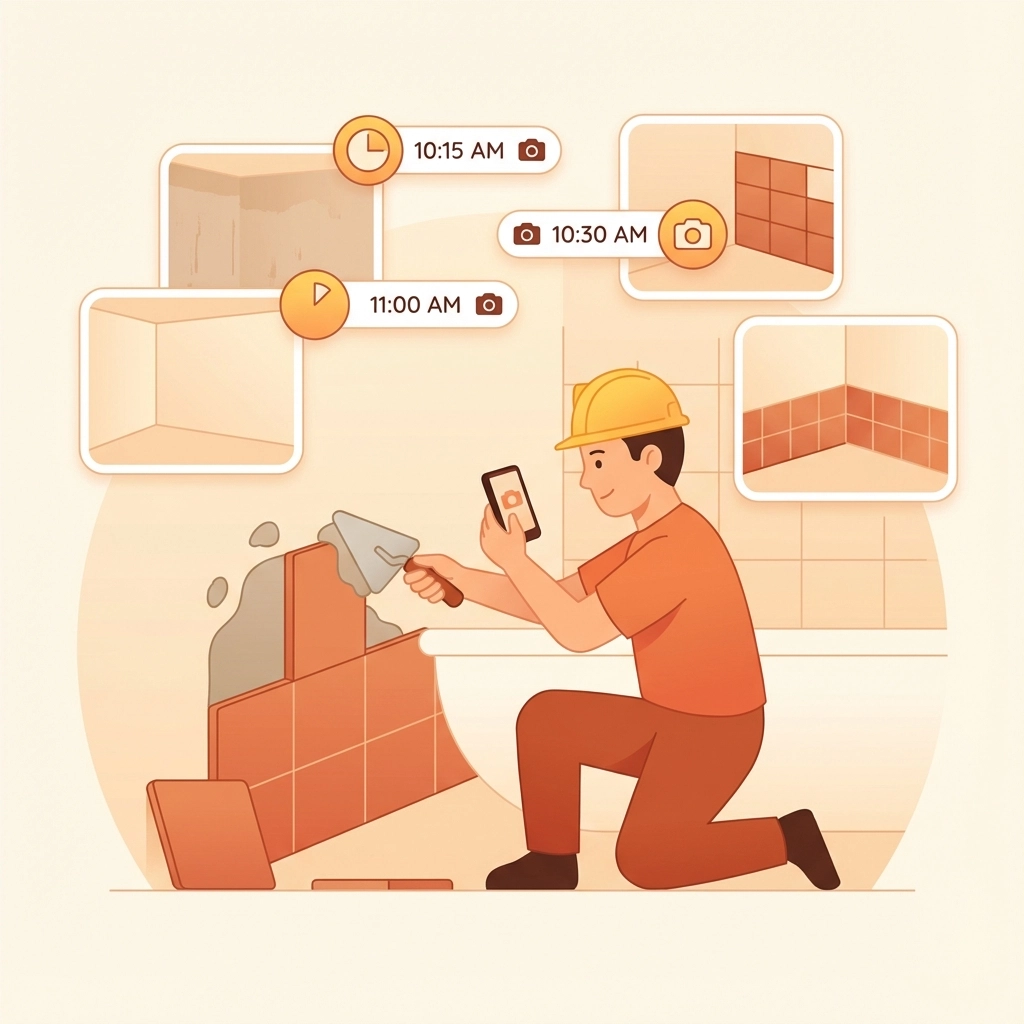
    • Photos from the past week's work
    • What's planned for the upcoming days
    • Any schedule changes or weather delays
    • Quick notes about milestones hit or challenges encountered

    image_2

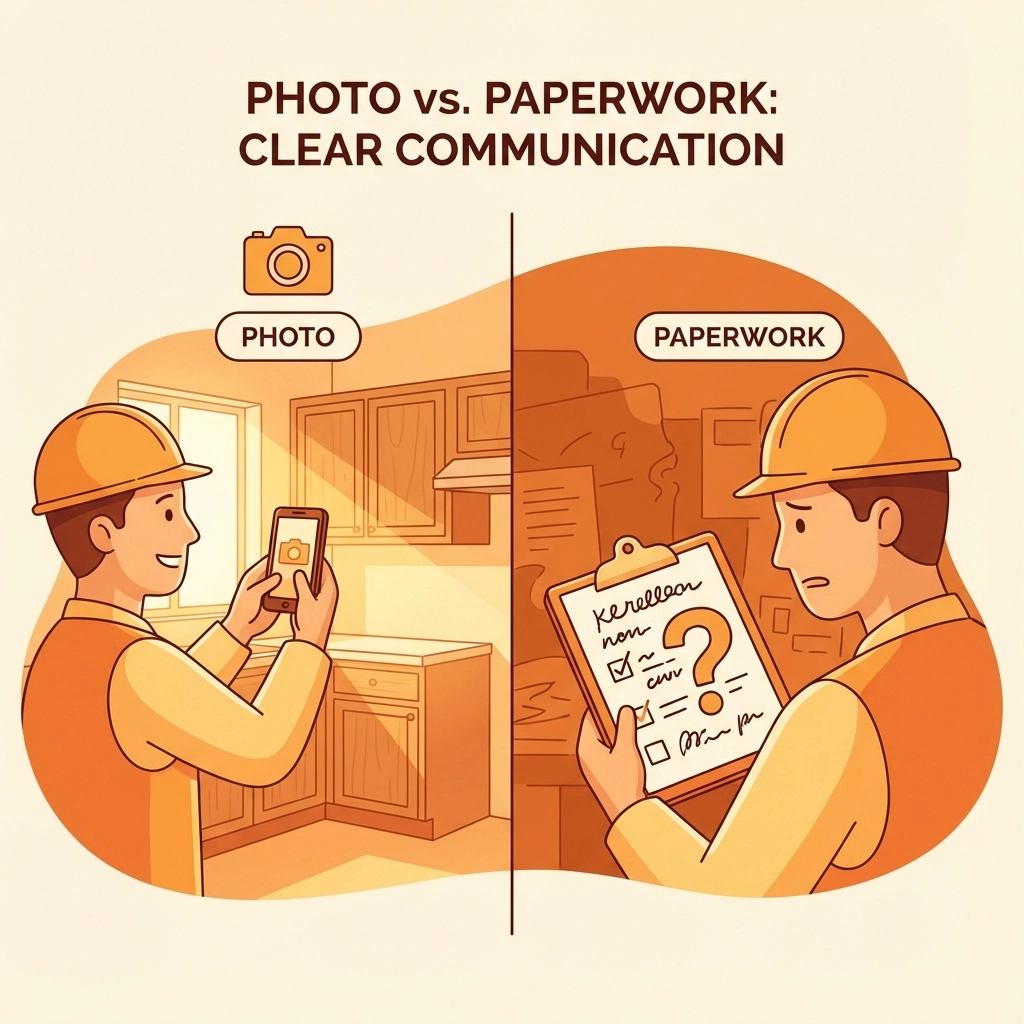
    The key is making these emails scannable and visual. Your customers don't want to read a novel – they want to quickly see that progress is happening and everything's on track.

    Pro tip: Send these emails at the same time each week so customers know when to expect them. Consistency builds trust.

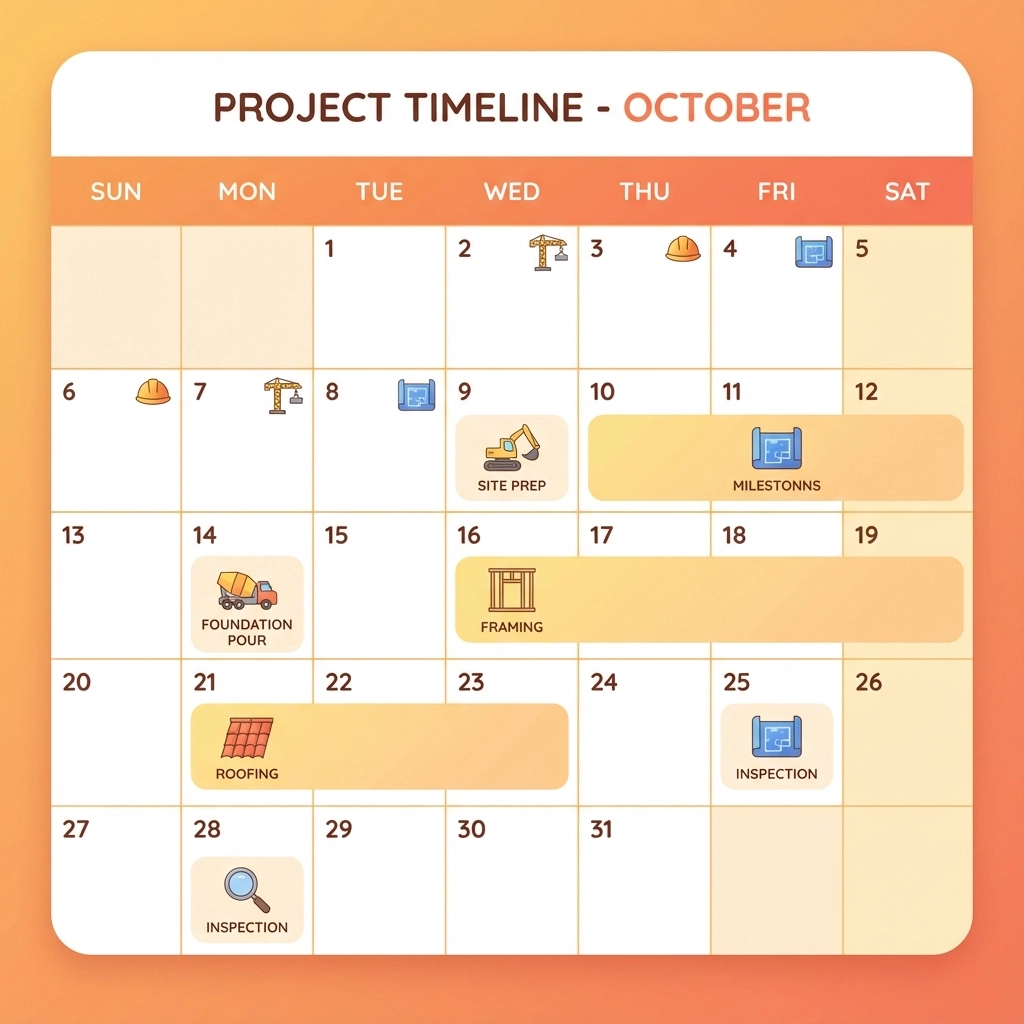
    Method 3: Shared Calendars for the Planning-Obsessed

    Some customers love to plan and want to see exactly when things are happening. For these detail-oriented folks, a shared calendar works perfectly.

    Create a simple calendar that shows:

    • When you'll be on-site
    • Major milestones and completion dates
    • Delivery schedules for materials
    • Inspection dates

    Customers can view this calendar in their own calendar app or through a web browser. They can even sync it with their personal calendar so they know when to expect activity at their property.

    This method works especially well for longer projects where timing coordination matters. Your customer can plan around your work schedule, and you avoid the "When are you coming back?" phone calls.

    image_3

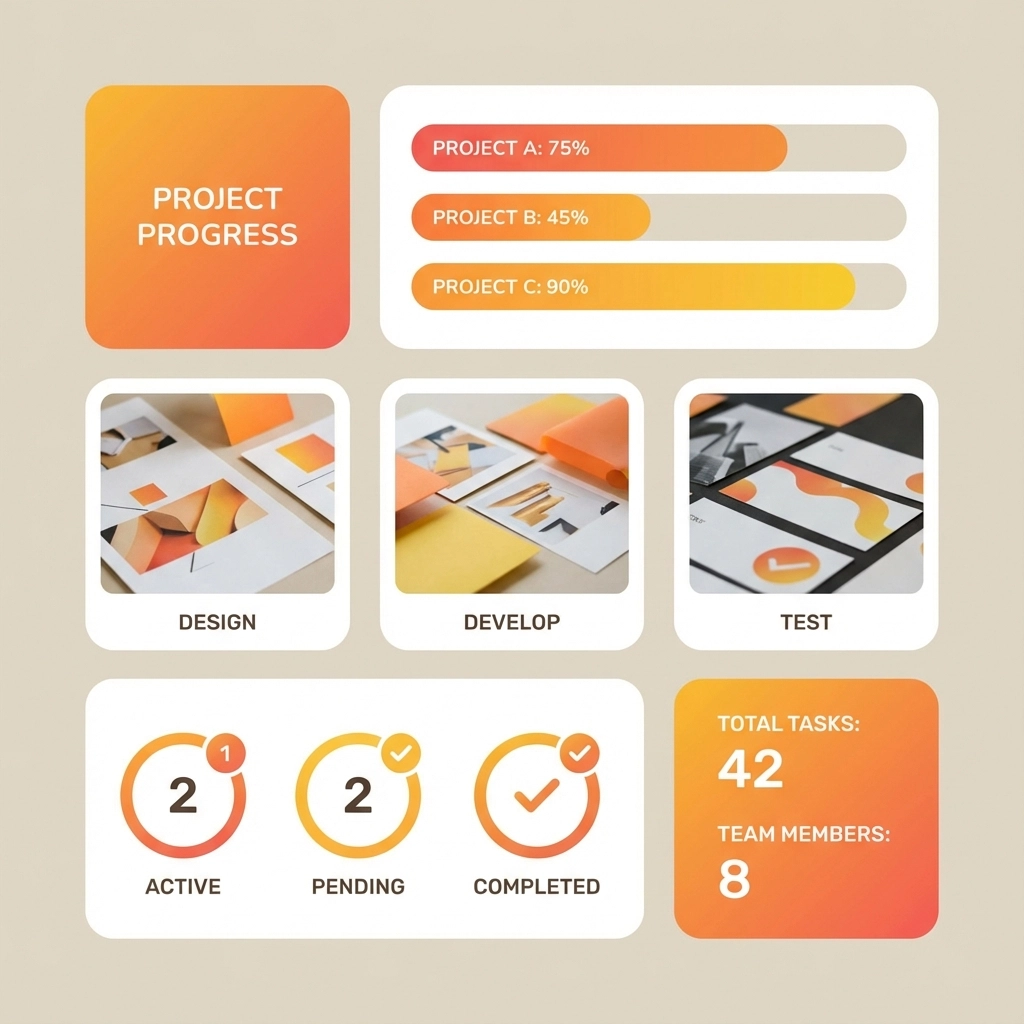
    Method 4: Live Dashboards for Real-Time Updates

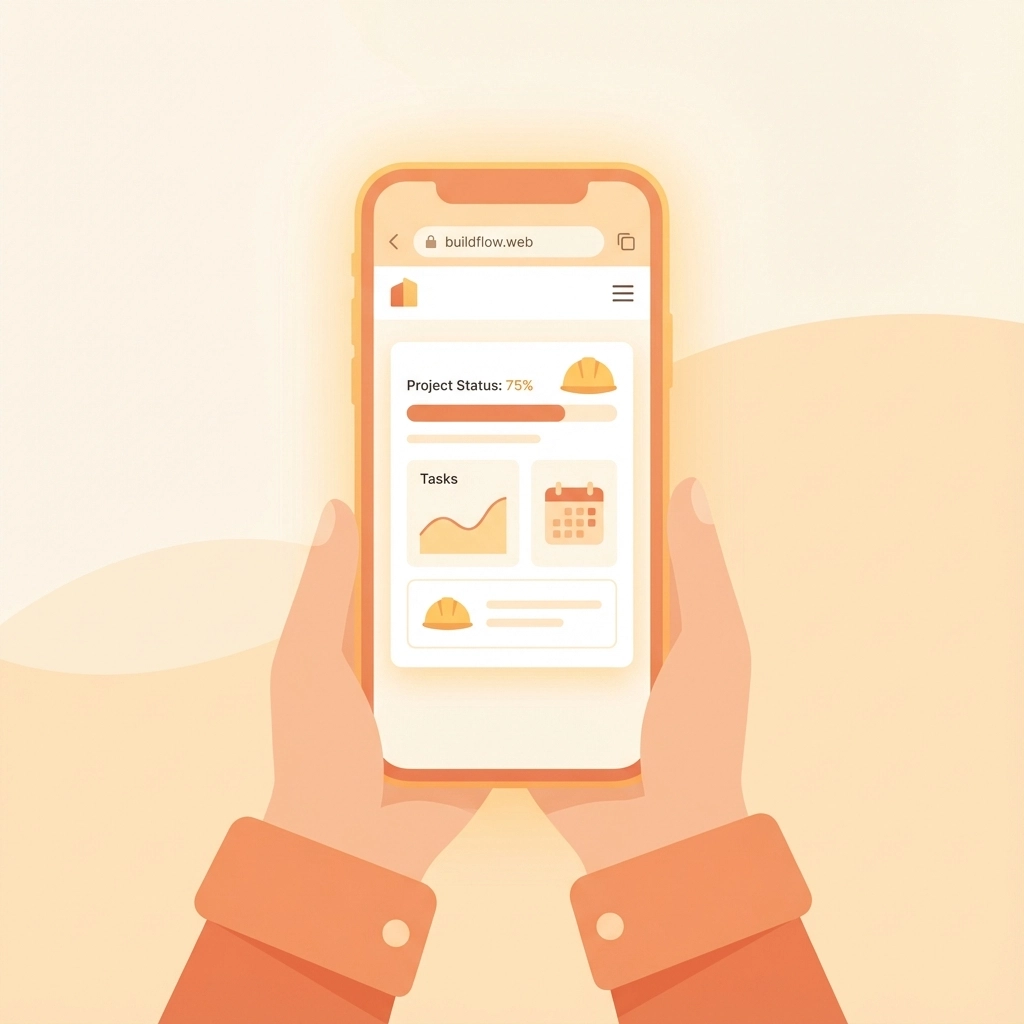
    For customers who want to check progress whenever they feel like it, a live dashboard gives them 24/7 access to current project status.

    Think of it like a simplified version of your project management system – just the customer-friendly parts. They can see:

    • Overall project completion percentage
    • Current phase status
    • Recent photos and updates
    • Upcoming milestones
    • Budget and change order status

    The dashboard updates automatically as you complete tasks and add information, so customers always see the most current status without you having to manually send updates.

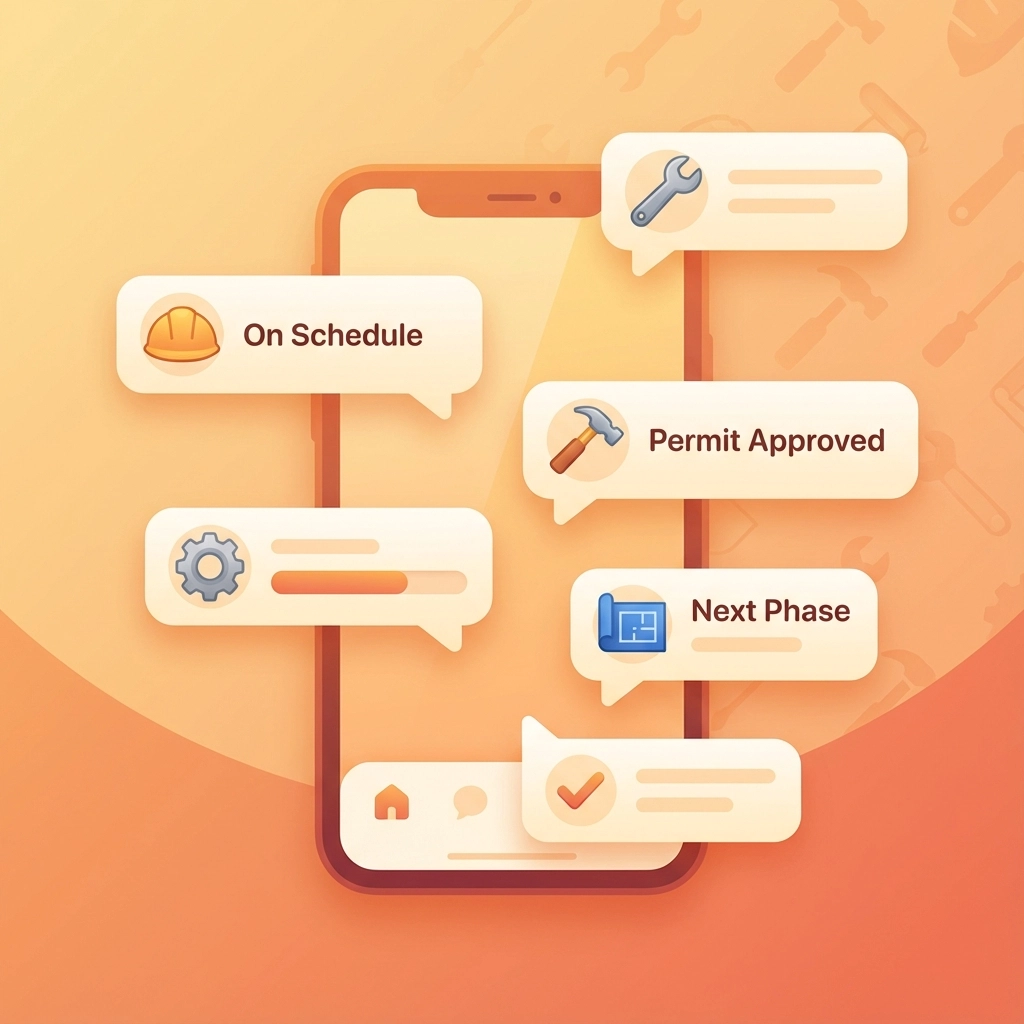
    Method 5: Simple Text Message Updates

    Sometimes the best communication is the simplest. Regular text updates work great for quick status changes, appointment confirmations, or heads-up about delays.

    Text messages are perfect for:

    • "Starting work at your place this morning"
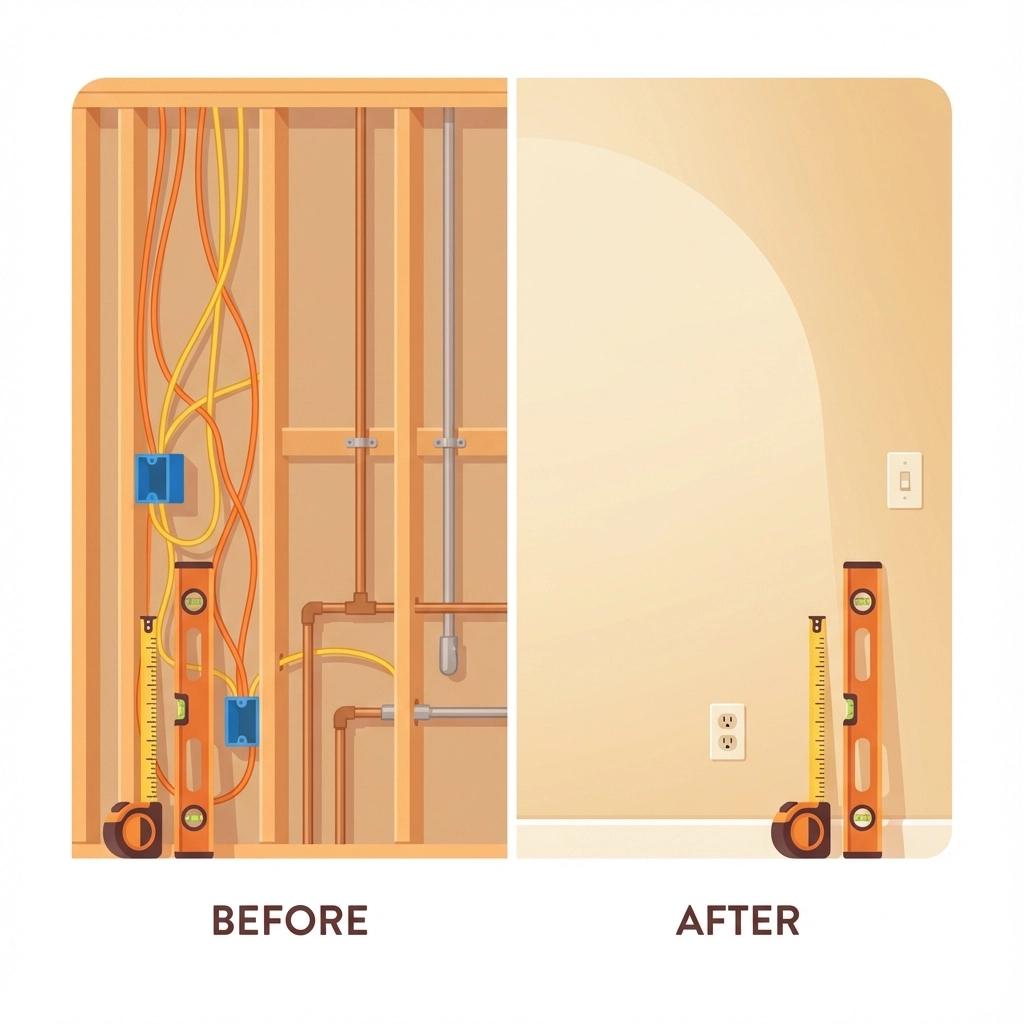
    • "Finished the electrical rough-in today, photos attached"
    • "Delayed by weather, will resume Thursday"
    • "Ready for your final walkthrough"

    Keep these short and sweet. The goal is quick communication, not detailed reports.

    image_4

    Choosing the Right Method for Your Customers

    Different customers prefer different communication styles. During your initial meeting, ask how they like to stay informed about projects. You'll usually hear responses like:

    • "Just email me weekly with photos"
    • "I want to check progress whenever I want"
    • "Text me if anything changes"
    • "I don't need constant updates, just let me know when you're done"

    Match your communication method to their preference. Some customers want minimal contact, others want to see every detail. The key is asking upfront and then delivering exactly what they requested.

    Setting Up Your App-Free Communication System

    Getting started doesn't have to be complicated. Here's a simple approach:

    1. Pick one method to start with – don't try to implement everything at once
    2. Create templates for your emails or text updates so you're not starting from scratch each time
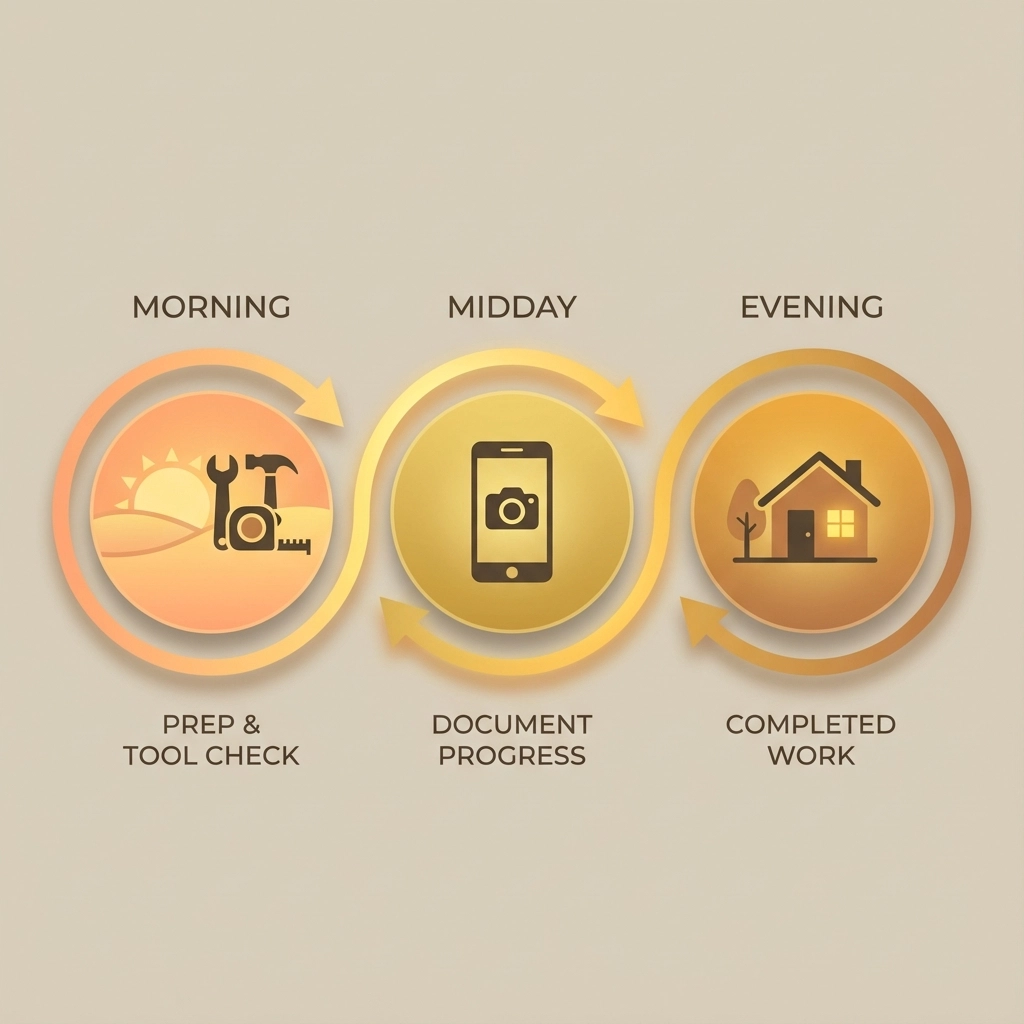
    3. Take photos consistently – even if customers don't ask for them, progress photos always impress
    4. Set a schedule and stick to it – whether it's weekly emails or Monday morning text updates
    5. Ask for feedback after your first few projects to see what's working

    image_5

    The Technology You Actually Need

    You don't need expensive software or complicated setups. Most field service management platforms already include customer communication features that work through web browsers and email.

    Look for tools that let you:

    • Generate shareable web links
    • Send automated email reports
    • Upload photos that customers can view online
    • Create simple project timelines
    • Track what customers have viewed

    The goal is finding something simple that works with your existing workflow, not overhauling your entire business process.

    Making Communication Feel Personal

    Even when you're using automated systems, keep the human touch. Add personal notes to your updates. Mention specific details about the customer's preferences or concerns. Take photos that show progress from angles that matter to them.

    Remember – you're not just sharing information, you're building confidence in your work and professionalism.

    Common Mistakes to Avoid

    Don't overwhelm customers with too much information. They don't need to see every single task in your project management system – just the highlights that matter to them.

    Don't assume everyone wants the same level of detail. Some customers want daily updates, others prefer to hear from you once a week.

    Don't forget to actually use the system you set up. Consistency matters more than perfection.

    The Bottom Line

    Keeping customers informed doesn't require them to learn new technology. Use the communication methods they already know and love – email, web browsers, and text messages. Pick the approach that matches each customer's preferences, keep it simple, and stay consistent.

    When you make it easy for customers to stay in the loop, everyone wins. They feel informed and confident, you spend less time answering "How's it going?" calls, and your projects run smoother from start to finish.

  • The Only 3 Features Service Pros Actually Need in a Job Photo App

    The Only 3 Features Service Pros Actually Need in a Job Photo App

    Let's cut through the noise. You've probably seen job photo apps with 47 different features, custom workflows, and enough bells and whistles to make your head spin. But here's the thing – most of that stuff is just marketing fluff.

    After talking to hundreds of contractors, plumbers, electricians, and HVAC techs, we've found that service pros only really care about three core features. Everything else is just nice-to-have extras that complicate your workflow.

    So what are these three must-have features? Let's break it down.

    Feature #1: Automatic GPS Tagging and Timestamping

    This is the foundation of any decent job photo app. Every single photo needs to be automatically stamped with the exact time, date, and GPS coordinates – without you having to remember to do anything.

    image_1

    Think about it: You're knee-deep in a crawl space, flashlight in one hand, phone in the other, trying to document a busted pipe. The last thing you want to do is manually enter the time and location for every photo. A good app handles this automatically in the background.

    Why this matters for your business:

    Dispute Protection: When a customer claims you didn't show up on time or didn't complete the work as agreed, timestamped photos are your best defense. They create an undisputable record of exactly when and where each photo was taken.

    Insurance Claims: Insurance companies love detailed documentation. Photos with accurate timestamps and GPS coordinates can speed up claims processing and help ensure you get paid properly for covered work.

    Accountability: Some apps even track how long technicians spend at each job site, which helps with accurate billing and identifying efficiency opportunities.

    The key word here is "automatic." If you have to remember to turn on GPS tagging or manually enter timestamps, it's not going to work consistently. The best apps do this seamlessly in the background, so you can focus on the actual work instead of data entry.

    Feature #2: Reliable Cloud Storage and Sync

    Your photos need to live in the cloud, not just on your phone. Period.

    image_2

    Here's a scenario every service pro has lived through: You take 30 photos documenting a complex job. Your phone gets dropped, stolen, or just decides to have a meltdown. Without cloud storage, all that documentation is gone forever.

    But it's not just about backup protection. Cloud storage enables a bunch of other benefits:

    Access from Anywhere: Need to pull up photos from last week's job while you're sitting in the office? No problem. Your photos are available on any device with internet access.

    Offline Capability: Good cloud storage works even when cell service is spotty. The app should queue up photos for upload and sync them automatically once you're back in coverage.

    Team Access: Your office staff, project managers, or other crew members can see the photos immediately without you having to text them manually or transfer files.

    Storage Space: Your phone isn't going to have unlimited storage for thousands of job photos. Cloud storage means you can keep taking photos without constantly deleting old ones.

    One thing to watch out for: Make sure the app uploads full-resolution photos, not compressed versions. You never know when you'll need to zoom in on a detail, and pixelated photos are useless for documentation.

    Feature #3: Simple Sharing and Collaboration

    The third essential feature is the ability to easily share photos with the right people at the right time.

    image_3

    This doesn't mean you need a complicated project management system or workflow builder. It just means the app should make it dead simple to get photos to customers, office staff, or other team members when needed.

    What good sharing looks like:

    Instant Customer Updates: Send before/after photos directly to customers while you're still on site. This builds trust and reduces callbacks from customers wondering if the work was actually completed.

    Office Integration: Your dispatcher or project manager should be able to see job progress in real-time without having to call and interrupt your work.

    Permission Controls: Not every photo needs to go to every person. You should be able to control who sees what, whether that's sensitive diagnostic photos or just the final completion shots.

    Professional Presentation: When you share photos with customers, they should look professional – not like random iPhone snapshots. This means proper organization, clear labeling, and maybe some basic formatting.

    The key is keeping it simple. If sharing photos requires 17 steps and three different apps, nobody's going to use it consistently. The best solution is one that feels natural and doesn't add extra work to your day.

    Why These Three Features Matter More Than Everything Else

    You might be wondering: "What about photo annotations? Custom forms? Advanced reporting? Integration with my accounting software?"

    Those features can be nice, but they're not essential. Here's why these three core features trump everything else:

    They solve real problems: GPS tagging prevents disputes. Cloud storage prevents data loss. Easy sharing improves customer communication. These aren't theoretical benefits – they're daily pain points for service professionals.

    They work for everyone: Whether you're a one-person shop or a 50-truck operation, these features provide value. Fancy workflow customization only helps if you have time to set it up properly.

    They don't require training: Your crew can start using these features immediately without lengthy onboarding sessions or training videos.

    image_4

    What About All Those Other Features?

    Don't get us wrong – additional features can be valuable for some businesses. Photo annotations, custom checklists, advanced reporting, and integrations all have their place.

    But here's the thing: if an app doesn't nail the three core features we've covered, all those extras don't matter. It's like buying a truck with heated seats and a premium sound system, but the engine doesn't start reliably.

    Focus on getting the basics right first. Once you've got automatic timestamping, reliable cloud storage, and simple sharing working smoothly, then you can evaluate whether additional features would actually improve your workflow.

    Making the Right Choice for Your Business

    When evaluating job photo apps, start with these three questions:

    1. Does it automatically timestamp and GPS-tag every photo without me having to remember?
    2. Will my photos sync reliably to the cloud, even with spotty cell coverage?
    3. Can I easily share the right photos with the right people without jumping through hoops?

    If an app can't give you clear "yes" answers to all three questions, keep looking.

    The good news is you don't need to overcomplicate this. A simple app that excels at these three core features will serve your business better than a complex platform that does mediocre job on the basics.

    Your time is valuable, and your documentation is critical to your business. Choose tools that respect both of those facts.

    Ready to see how simple job photo documentation can be? Check out JobLuma's features to see these three essentials in action, or start your free trial and experience the difference yourself.

  • Why Simple Photo Logging Beats Complex Contractor Software (and Makes You Look Good)

    Why Simple Photo Logging Beats Complex Contractor Software (and Makes You Look Good)

    You've been there. Sitting through another software demo where the salesperson clicks through seventeen different screens just to show you how to upload a photo. Meanwhile, your phone has 200 job site pics sitting in your camera roll, and your client is asking for progress updates.

    Here's the thing: when it comes to documenting work, simple wins every time. Complex contractor software might look impressive in demos, but it often becomes a productivity killer in real life. Let's talk about why keeping photo logging simple actually makes you look more professional: not less.

    The Complexity Trap

    Most contractor software tries to do everything. Project management, scheduling, invoicing, inventory, team chat, document storage, and somewhere buried in there: photo logging. By the time you navigate through all those features just to snap a picture and attach it to a task, your crew has moved on to three other jobs.

    Complex systems create friction. Every extra click, every additional form field, every mandatory dropdown menu is another opportunity for your team to say "forget it" and go back to texting photos or stuffing them in random folders.

    The result? Half-documented jobs, missing progress photos, and that sinking feeling when a client questions your work and you can't quickly prove what you did.

    image_1

    Speed Is Everything

    Simple photo logging gets out of your way. You point, shoot, and it's done. The photo gets automatically tagged with GPS coordinates, timestamps, and connects to the right job without you thinking about it.

    Your field crew doesn't need training. They don't need to remember which category to select or how to navigate complex menu structures. They just document work the same way they'd take any other photo: except now it's organized, searchable, and tied to specific tasks.

    When clients call asking about progress, you're not scrambling through folders or trying to remember which project folder has the photos. Everything is right there, organized by date, location, or job phase. You look prepared and professional because you are.

    Your Clients Actually Get It

    Here's what happens when you show up to a client meeting with clear, organized progress photos: they understand exactly what you've accomplished. No complex dashboards to explain. No training them on your software. Just visual proof of work completed.

    Simple photo logging creates trust because it's transparent. Clients can see dated, location-stamped images showing exactly when and where work happened. When they can follow your progress visually, disputes disappear before they start.

    The best part? You're not asking busy property managers or homeowners to learn another platform. You can share photos via email, text, or simple web links. They open it, see the progress, approve the work, and pay faster.

    image_2

    Less Training, More Working

    Remember your last software rollout? Weeks of training sessions, printed manuals, and frustrated team members who kept asking "how do I just add a photo?"

    Simple systems eliminate that headache. If your crew can use a smartphone camera, they can use simple photo logging. No certification courses. No user manuals. No "super admin" who's the only person who knows how everything works.

    Your team spends time on billable work instead of wrestling with software. When documentation becomes effortless, it actually happens. When it happens consistently, you have the proof you need for every job.

    The Single Source of Truth

    Complex software often creates information silos. Photos end up in one place, notes in another, approvals somewhere else. When problems arise, you're hunting through multiple systems trying to piece together what actually happened.

    Simple photo logging keeps everything connected but not complicated. Each photo ties to specific tasks with clear approval trails. Office staff and field crews see the same information. Clients get consistent updates. Everyone works from the same visual record.

    This consistency makes you look organized and professional. When a client questions timing or scope, you have immediate visual proof. When change orders come up, you have before-and-after documentation ready to go.

    image_3

    Budget-Friendly Professional Results

    Complex contractor software comes with complex pricing. Per-user fees, implementation costs, training expenses, and ongoing support contracts that add up fast. Simple photo logging gives you the documentation you need without the overhead you don't.

    The efficiency gains are immediate. Faster client approvals because stakeholders can see progress instantly. Fewer disputes because visual proof eliminates confusion. Less time spent on administrative tasks because automation handles organization and tagging.

    These aren't small improvements: they directly impact your bottom line. When clients approve work faster and pay sooner, your cash flow improves. When you can quickly prove completed work, you eliminate unbilled time that often gets written off.

    Mobile-First Reality

    Your team works on phones, not desktop computers. Simple photo logging acknowledges this reality. Everything happens on mobile, with automatic cloud sync and backup. No more USB cables, no more "did you remember to upload the photos?"

    Field crews capture images on location with GPS coordinates and timestamps automatically embedded. Project managers review progress in real-time. Clients get updates without waiting for someone to get back to the office and process photos.

    This mobile-first approach isn't just convenient: it's how modern businesses operate. When your documentation system matches how your team actually works, adoption becomes automatic.

    Building Your Professional Reputation

    Here's what clients notice: contractors who can quickly show organized, dated progress photos look more professional than those who scramble to find documentation or make excuses about complex systems.

    Simple doesn't mean unprofessional. It means efficient. It means prepared. It means you've chosen tools that help you deliver better service instead of creating barriers.

    When clients see consistent, clear documentation throughout their project, they trust you with bigger jobs. When they can easily track progress, they refer you to others. When change orders or additional work come up, you have the visual history to support fair pricing.

    image_4

    Making the Switch

    If you're dealing with overcomplicated contractor software that makes photo documentation harder than it should be, switching to something simpler isn't a step backward: it's a competitive advantage.

    Look for systems that prioritize mobile use, automatic organization, and easy sharing. Skip the features you don't need. Focus on tools that get out of your way and let you document work effortlessly.

    Your crew will thank you. Your clients will notice the difference. And your business will run smoother when documentation becomes something that just happens instead of another task to manage.

    Simple photo logging isn't about cutting corners. It's about cutting through unnecessary complexity to focus on what really matters: proving your work, keeping clients informed, and running a professional operation that people want to work with again.

    The best tools are the ones you forget you're using because they work so seamlessly. When photo documentation becomes that invisible, everything else gets easier.

  • Job Photos Done Right: A Simple System for Contractors to Impress Clients (No Project Management Headaches)

    Job Photos Done Right: A Simple System for Contractors to Impress Clients (No Project Management Headaches)

    Look, we get it. You're already juggling a dozen things on every job site. The last thing you need is another complicated system to manage. But here's the thing – a solid photo documentation process can be your secret weapon for impressing clients and protecting your business. And it doesn't have to be a headache.

    The best part? You probably already have everything you need in your pocket.

    Why Photos Are Your Best Insurance Policy

    Think about the last time a client questioned your work or a dispute came up. Wouldn't it be nice to just pull out your phone, scroll through some photos, and say "Here's exactly what we did and when we did it"?

    Photos create an objective, time-stamped record that written reports just can't match. When clients see consistent, professional documentation of your work, they immediately understand you're serious about quality. Plus, these images settle disagreements fast and keep everyone on the same page without endless back-and-forth calls.

    Beyond client relations, photos protect you during inspections, prove safety compliance, and document code adherence. They're basically your visual paper trail.

    image_1

    The Simple Three-Step System That Actually Works

    Here's a system so straightforward you can implement it tomorrow without buying anything new or learning complicated software.

    Step 1: Pick Your Spots and Stick to Them

    Choose 3-4 consistent camera positions on each job. Think of it like creating your own time-lapse movie – you want to show progress from the same angles every time.

    For most jobs, this means:

    • Each corner of the work area
    • Main entrance/approach to the site
    • Any area where major work is happening

    The magic happens when you photograph from these exact spots on a regular schedule. Daily for big jobs, weekly for smaller ones. Same positions, same time of day if possible. When clients review these photos in sequence, they get an instant understanding of progress that feels almost cinematic.

    Step 2: Capture the Moments That Matter

    Instead of randomly snapping photos whenever you remember, focus on these critical phases:

    Before You Start
    Document existing conditions, site access, building interiors (furniture moved), electrical panels, utility meters. This protects you from "you broke it" claims later.

    Before It Gets Covered Up
    This is huge. Photograph all rough-ins, installations, connections, and fasteners before drywall, insulation, or final coverings go up. Trust us on this one – it'll save your bacon more than once.

    When Problems Pop Up
    Issues happen on every job. When they do, capture wide context shots, multiple angles, and always include measuring tools or reference objects for scale.

    The Grand Finale
    Document completed work, quality checkpoints, and any punch list items. These become your "after" shots that showcase your craftsmanship.

    image_2

    Step 3: Keep It Organized (The Easy Way)

    Forget fancy project management platforms. A simple naming system beats complicated software every time.

    Use this format: PROJECTNAME_DATE_PHASE_LOCATION

    Example: Johnson-Kitchen_120125_Plumbing_UnderSink

    Create folders organized by project name, then by date. Store everything on cloud backup (Google Drive, Dropbox, whatever you already use). This gives clients instant access via shared links and keeps everything backed up automatically.

    Quality That Impresses (Without Breaking the Bank)

    Your photos don't need to look like they came from Architectural Digest, but they should meet these basic standards:

    • Use at least 12 megapixel resolution (most phones from the last 5 years work fine)
    • Make sure everything's in focus with good lighting
    • Keep angles consistent between visits
    • Include overlapping shots to show complete coverage

    The secret isn't expensive equipment – it's consistency and timing.

    image_3

    What to Actually Photograph

    Daily Progress Shots

    • Wide overview from your fixed positions
    • Weather conditions (these matter for delay claims)
    • Active work zones showing your crew in action
    • Materials delivered or installed that day

    Critical Installation Documentation

    • Before: prepared area ready for work
    • During: proper installation techniques in action
    • After: completed work before it gets hidden
    • Close-ups of connections, welds, fasteners

    Pro tip: Hold the project plans in the frame occasionally for visual reference. Clients love seeing that level of organization.

    Issue Documentation
    When problems need tracking:

    • Wide shot showing where the issue is in the overall project
    • Multiple angles of the problem area
    • Measuring tools clearly visible for scale
    • Follow-up shots using identical framing to show progress

    How to Present This to Clients

    Frame photo documentation as a value-add, not a chore. Tell them: "I'll send weekly photo updates showing your project's progress. This keeps everyone aligned and gives you peace of mind that work is proceeding exactly as planned."

    Most clients genuinely appreciate this transparency. It reduces their anxiety about progress and shows you're detail-oriented. When they can see work happening week by week, they're way more likely to recommend you and less likely to nitpick small details.

    image_4

    The System That Prevents Headaches

    Set a Schedule and Stick to It
    Pick specific days for photos (every Monday morning, every Friday afternoon) and make it part of your routine like a job start checklist. This removes decision-making fatigue and ensures consistency.

    Assign One Person
    Designate someone as the photographer – doesn't have to be you. Could be a crew lead or site manager. Consistent photographer means consistent framing and better quality.

    Create a Simple Checklist
    Before each job starts, write down what phases need photos. Print it, laminate it, stick it in the job box. Everyone knows what matters.

    Link Photos to Communication
    When clients ask about progress or issues come up, pull the exact photo that answers their question. "Here's the electrical rough-in from January 8th" – instant credibility and resolution.

    The Real Competitive Advantage

    Here's what most contractors miss: clients don't just want good work, they want peace of mind. Professional photo documentation gives them both.

    Contractors who deliver consistent, organized photo updates don't just avoid disputes – they earn loyalty and referrals. Clients remember the contractor who kept them visually informed. They remember when photos proved the work was done right. They don't care about your project management complexity – they remember results and professionalism.

    Getting Started Tomorrow

    Start simple. Pick your fixed positions, establish a schedule (even if it's just twice a week), and take photos at major phase transitions. That alone puts you ahead of most contractors.

    Add a basic cloud backup folder and you've built a system that protects you, impresses clients, and takes maybe 10 extra minutes per visit to maintain.

    The best part? Once this becomes routine, you'll wonder how you ever worked without it. And your clients will too.

    Remember – this isn't about being perfect from day one. It's about being consistent and professional. Start with one job, refine your process, then roll it out to everything else.

    Your future self (and your clients) will thank you.

  • How to Create Professional Before and After Photo Documentation in 5 Minutes (Without Fancy Software)

    How to Create Professional Before and After Photo Documentation in 5 Minutes (Without Fancy Software)

    Every contractor knows the frustration: you complete an amazing project, but your photos look like they were taken during an earthquake in a cave. Meanwhile, your competition is posting crisp, professional-looking before and after shots that make their work look incredible.

    Here's the thing – you don't need expensive cameras or fancy editing software to create professional documentation. You just need to know a few simple tricks that take literally five minutes to set up.

    Why Professional Documentation Matters More Than Ever

    Before we dive into the how-to, let's be real about why this matters. Your photos are often the first impression potential customers get of your work. Whether you're posting on social media, updating your website, or sending progress reports to clients, clear before and after photos can be the difference between landing a job and watching it go to someone else.

    Plus, good documentation protects you legally. When clients question what was done or insurance companies need proof of damage, having professional-quality photos saves you headaches and money.

    The 5-Minute Setup: What You Actually Need

    Forget about expensive DSLR cameras and professional lighting rigs. Here's what actually works:

    Your smartphone – Seriously, that's it for equipment. Modern phones have cameras that rival professional equipment from just a few years ago. Clean your lens (this matters more than you think), and you're 80% of the way there.

    A simple tripod or stabilizer – You can grab a basic phone tripod for under $20, or even prop your phone against a toolbox or ladder. The key is keeping it steady and consistent.

    Consistent lighting – Natural light is your best friend. Work near windows when possible, or use the same lighting setup for both before and after shots.

    image_1

    The Actual 5-Minute Process

    Here's the step-by-step process that works every single time:

    Step 1: Clean and Prepare (30 seconds)

    Clean your phone lens – use your shirt, a microfiber cloth, whatever. You'd be amazed how many "professional" photos are ruined by a smudged lens. Also, clear the work area of tools, debris, or anything that doesn't need to be in the shot.

    Step 2: Set Your Position (1 minute)

    Pick your angle and mark it. Use tape on the floor, or remember specific landmarks like "three steps back from the corner, level with the electrical outlet." You need to shoot your after photo from the exact same spot.

    Take multiple angles if the project warrants it – straight on, from the side, close-up details. But commit to your positions and stick with them.

    Step 3: Lighting Check (30 seconds)

    Look for harsh shadows or overly bright spots. If you're indoors, position yourself so windows are behind or to the side of you, not behind your subject. If you're outside, avoid shooting directly into the sun or in deep shadows.

    The goal is even, consistent lighting that shows the work clearly without dramatic shadows hiding important details.

    Step 4: Frame and Shoot (1 minute)

    Fill the frame with what matters, but leave some context. For a bathroom renovation, show the whole room but make sure the new tile work is clearly visible. For exterior work, include enough of the building to show the scope.

    Take multiple shots – one wide, one medium, one close-up if relevant. Having options costs nothing and saves you when one shot turns out blurry.

    Step 5: Quick Review (30 seconds)

    Check your photos immediately. Are they sharp? Can you see the details that matter? Is the lighting consistent? If not, reshoot now while everything is still set up.

    image_2

    Step 6: Repeat for After Photos (1.5 minutes)

    When the job is done, return to your exact positions. Use the same lighting conditions if possible. If you marked your spots well, this should be quick and painless.

    The Consistency Tricks That Make You Look Like a Pro

    The difference between amateur and professional-looking photos isn't expensive equipment – it's consistency. Here are the tricks that matter:

    Same height every time – Whether you're holding the phone or using a tripod, shoot from the same height. Most people unconsciously change their height between shots, making comparisons look sloppy.

    Same distance – Mark your position or count steps. Being even a foot closer or farther away changes the perspective dramatically.

    Same time of day – If your before photo was taken in morning light, try to take your after photo in similar conditions. The color and quality of light changes throughout the day.

    Same orientation – Keep your phone in the same orientation (portrait vs landscape) and hold it level. Most phones have built-in level guides you can turn on.

    Organizing and Storing Your Photos

    This is where most contractors lose steam, but it's crucial for long-term success. Create a simple system:

    Name your files consistently – Use the format: ClientName_ProjectType_Date_BeforeAfter. For example: "SmithBathroom_Renovation_120524_Before" and "SmithBathroom_Renovation_121524_After."

    Create project folders – Group all photos from each job together. Include progress shots, detail shots, and any problem areas you encountered.

    Back everything up – Use cloud storage, an external drive, or both. These photos are valuable for marketing, insurance claims, and legal protection.

    image_3

    Common Mistakes That Ruin Otherwise Good Photos

    Shooting too close – Back up and show context. A close-up of beautiful tile work means nothing if viewers can't see how it fits into the overall space.

    Forgetting the mess – Don't just show the pretty finished product. Document problems, damage, or challenging conditions you had to work with. This shows your problem-solving skills and justifies your pricing.

    Inconsistent angles – If your before photo shows the room from the doorway, your after photo should too. Don't get creative between shots.

    Bad timing – Taking your after photo when the space is still messy or not fully complete makes even excellent work look unprofessional.

    Making Your Photos Work Harder for Your Business

    Once you have professional-looking before and after photos, put them to work:

    Social media posts – These photos are perfect for Instagram, Facebook, and LinkedIn. They tell a complete story without needing much text.

    Website updates – Fresh project photos keep your website current and show you're actively working.

    Proposals and estimates – Including photos of similar past work in your proposals helps clients visualize the finished product.

    Progress reports – Clients love seeing regular updates. Professional photos in progress reports build trust and justify payments.

    The Bottom Line

    Professional-looking before and after photos don't require professional equipment or skills. They require consistency, attention to detail, and five minutes of planning.

    The contractors who master this simple process stand out from the competition, build stronger client relationships, and create valuable marketing materials with every job they complete.

    Your next project starts tomorrow. Spend five minutes setting up for great photos, and you'll have marketing materials that work for years to come.

    Start with your phone, pick your spots, and keep it consistent. Everything else is just details.

  • Contractor Photo Apps: What Actually Matters (And What's Just Extra)

    Contractor Photo Apps: What Actually Matters (And What's Just Extra)

    Every contractor knows the drill: you snap dozens of photos per job, but half of them end up buried in your camera roll while the other half get lost in text threads with clients. You've probably looked at contractor photo apps thinking they might solve this chaos, but then you see feature lists longer than your tool inventory and wonder what you actually need versus what's just marketing fluff.

    Here's the truth: most contractor photo apps are loaded with features you'll never use, while the stuff that actually matters gets buried in the sales pitch. Let's cut through the noise and figure out what really moves the needle for your business.

    The Core Four: Features That Actually Matter

    1. Photo Capture with Automatic Metadata

    This is the foundation everything else builds on. When you take a photo, the app should automatically capture the date, time, GPS location, and who took the picture. No manual entry, no extra steps.

    Why this matters: You're not just taking pictures for fun. These photos need to tell a story later: whether it's for insurance claims, client updates, or proving work was completed. Automatic metadata creates an audit trail that protects you legally and professionally.

    image_1

    Think about it: if a client questions when you completed work or an insurance company needs proof of damage timing, photos with automatic timestamps and location data become your best defense. Apps that make you manually add this information defeat the purpose: you're too busy working to play data entry clerk.

    2. Cloud Storage That Actually Works

    Your photos need to live somewhere other than your phone. Period. Cloud storage keeps everything accessible from any device and protects your documentation if your phone takes a dive off a ladder.

    But here's what separates good cloud storage from great: it needs to be fast, reliable, and not eat up your data plan with constant syncing. Look for apps that let you choose when to sync (like when you're on Wi-Fi) and that don't slow down your phone while uploading.

    The real value here isn't just backup: it's accessibility. Your office staff, project managers, and even clients can access the right photos instantly instead of waiting for you to remember to send them.

    3. Smart Organization by Project

    Without organization, you're just moving your photo chaos from your camera roll to an app. Good contractor photo apps automatically sort photos by project, job site, or date range. The best ones let you create custom categories that match how your business actually works.

    image_2

    This isn't about fancy folder structures: it's about finding the right photo in under 10 seconds. When a client calls asking about work from last month, or when you need to reference a technique you used on a similar job, organized photos become a competitive advantage.

    4. Report Generation

    Photos sitting alone don't communicate much. You need the ability to turn those images into professional reports that tell the complete story of your work. This means combining photos with descriptions, organizing them chronologically, and outputting something you can actually send to clients.

    Look for apps that let you add context to photos (like "before" and "after" labels) and create reports without needing a graphic design degree. The goal is professional documentation that builds trust with clients and protects you if disputes arise.

    Nice-to-Have Features (But Not Deal Breakers)

    Annotation and Markup Tools

    Being able to draw arrows, highlight problems, or add text directly onto photos can be genuinely useful. It helps communicate issues to team members and clients without requiring separate explanations.

    But here's the thing: if you're comfortable explaining things via text or quick phone calls, this feature won't revolutionize your workflow. It's convenient, not critical.

    Offline Functionality

    If you work in areas with spotty cell service, offline mode matters. It lets you capture photos and complete documentation even without internet, syncing everything once you're back in range.

    For urban contractors with reliable connectivity, this is overkill. Know your work environment before paying extra for offline capabilities you won't use.

    image_3

    Custom Checklists and Forms

    Pre-built checklists help ensure you document everything consistently. They're particularly valuable for repetitive work like safety inspections or routine maintenance visits.

    However, if your work varies significantly from job to job, rigid checklists might feel more like bureaucracy than efficiency. Consider whether standardization helps or hinders your current process.

    Features You Can Probably Skip

    360° Photo Capture and Virtual Walkthroughs

    Some apps offer 360° cameras and virtual reality features that create immersive job site experiences. While impressive, these tools are designed for large-scale projects with complex stakeholder communication needs.

    Most contractors are better served by good old-fashioned photos that load quickly and don't require special viewers or expensive equipment.

    LiDAR and Advanced Measurement Tools

    Apps that use your phone's LiDAR sensor to create spatial measurements sound futuristic, but they're solving a problem you probably already solve with a tape measure. Unless you're doing complex estimating or insurance documentation that specifically requires this technology, it's feature bloat.

    Enterprise Integrations and Project Management

    Some photo apps integrate with comprehensive project management platforms, syncing with timelines, budgets, and team communications. These integrations create powerful ecosystems: if you're already invested in those platforms.

    For most contractors, especially smaller operations, these integrations add complexity without proportional value. You're paying for features that assume a level of digital infrastructure you might not have or need.

    image_4

    How to Choose: The Reality Check

    Before falling in love with feature lists, ask yourself these practical questions:

    What's your team size? Solo contractors need simplicity and speed. Larger crews need collaboration features and permission controls. Don't pay for team features if you're working alone.

    How tech-savvy is your crew? The best app is the one everyone will actually use. If your team struggles with smartphone basics, a simple app with fewer features might deliver better results than a comprehensive platform no one touches.

    What's your real documentation pain point? Are you losing photos, struggling to find them later, or having trouble creating professional reports? Focus on apps that solve your actual problem, not theoretical ones.

    Who needs to see these photos? Internal documentation has different requirements than client-facing reports. Know your audience before choosing features.

    The Bottom Line

    The best contractor photo app is the one that handles the core functions reliably: capture, store, organize, and report: without forcing you to learn features you'll never use or pay for capabilities that don't match your workflow.

    Start with the basics: automatic metadata, cloud storage, project organization, and simple reporting. Everything else should prove its value in your actual work environment before you pay extra for it.

    image_5

    Remember, you're running a contracting business, not managing a photography studio. The goal is documentation that protects your work and builds client trust, not winning awards for technical sophistication. Choose accordingly.

    Your time is better spent perfecting your craft than wrestling with overcomplicated photo apps. Find something simple that works, master it completely, and get back to what you do best( quality work that speaks for itself.)

  • How to Protect Your Work Quality with Organized Job Logs (No Customer App Required)

    How to Protect Your Work Quality with Organized Job Logs (No Customer App Required)

    You've been there before. A customer calls three weeks after you finished their job, claiming the work wasn't done right. Or maybe they're questioning why certain materials were used. Without proper documentation, it becomes your word against theirs – and that's not a position any contractor wants to be in.

    Here's the thing: protecting your work quality isn't just about doing good work. It's about proving you did good work. And the best way to do that? Organized job logs that tell the complete story of every project, from start to finish.

    Why Job Logs Are Your Best Defense

    Think of job logs as your project's story. They capture what happened, when it happened, and why decisions were made. When disputes arise (and they will), having detailed logs is like having a time machine that takes everyone back to exactly what occurred on the job site.

    But here's what most contractors get wrong: they think job logs need to be complicated. They assume customers need special apps or that documentation requires expensive software. That's not true. The best job logs are simple, consistent, and don't put any burden on your customers.

    image_1

    The Real Cost of Poor Documentation

    Before diving into how to organize job logs, let's talk about what happens when you don't. Poor documentation costs contractors in several ways:

    Lost Revenue: Without proof of completed work, you might have to redo jobs at your own expense or accept payment reductions.

    Damaged Reputation: Word travels fast in the trades. One dispute that goes poorly can hurt your reputation for years.

    Legal Headaches: Formal disputes are expensive and time-consuming. Good documentation often prevents them entirely.

    Stress and Time: Trying to remember details from weeks or months ago is frustrating and rarely successful.

    Building Your Job Log System

    The key to effective job logging is consistency. You need a system that's so simple you'll actually use it, even when you're busy or running behind schedule.

    Start With the Basics

    Every job log entry should capture five essential pieces of information:

    1. Date and time of the work
    2. Who was present (your team and any customer representatives)
    3. What work was completed (be specific)
    4. Any materials used or delivered
    5. Photos showing progress and conditions

    This might seem like a lot, but it takes less than five minutes per entry once you get into the habit.

    Choose Your Format

    You don't need fancy software to start. Many successful contractors use simple methods:

    Digital Photos with Voice Notes: Take photos and record quick voice memos on your phone. Most phones automatically timestamp everything.

    Simple Apps: Use basic note-taking apps that sync across devices. The key is picking something you already know how to use.

    Traditional Notebooks: Some contractors swear by waterproof notebooks. Write in pen, date every entry, and take photos of important pages as backup.

    image_2

    The No-Customer-App Advantage

    Here's why avoiding customer apps is smart business: the moment you require customers to download something or create accounts, you create friction. Many customers won't bother, leaving gaps in your documentation.

    Instead, handle all logging yourself. Your customers will appreciate not having another app cluttering their phone, and you maintain complete control over your documentation process.

    Daily Logging Best Practices

    Morning Setup

    Start each day by documenting job site conditions. Take wide shots showing weather, access points, and any existing conditions that might affect work. This baseline documentation protects you if conditions change throughout the day.

    Progress Documentation

    Document work in three stages:

    Before: Show the area before work begins
    During: Capture key steps in the process
    After: Document completed work and cleanup

    Don't just take photos – include brief notes about techniques used, materials installed, or challenges encountered.

    End-of-Day Wrap-Up

    Before leaving the job site, spend five minutes documenting:

    • Work completed that day
    • Work planned for tomorrow
    • Any customer communications or decisions
    • Weather conditions (important for outdoor work)

    image_3

    Organizing Your Logs for Easy Access

    The best job log in the world is useless if you can't find information when you need it. Organization is crucial.

    File Naming That Works

    Use a consistent naming convention for all files and photos. A simple format like "JobName_YYYYMMDD_Description" works well. For example: "SmithKitchen_20251215_CabinetInstall"

    Cloud Storage Setup

    Store everything in the cloud so you can access logs from anywhere. Create a folder structure like:

    • Client Name
      • Project Name
        • Photos
        • Notes
        • Materials/Receipts

    Weekly Reviews

    Spend 30 minutes each week reviewing and organizing your logs. Delete blurry photos, add missing details to notes, and make sure everything is properly filed. This weekly habit prevents documentation from piling up into an overwhelming mess.

    Handling Disputes With Confidence

    When properly organized job logs meet a customer complaint, you're prepared. Here's how to handle disputes professionally:

    Stay Calm and Professional

    Lead with understanding: "I want to make sure we address your concerns properly. Let me review the project documentation."

    Present Facts, Not Arguments

    Share relevant photos and notes that address their specific concerns. Let the documentation speak for itself rather than getting into verbal disputes.

    Use Logs to Find Solutions

    Sometimes logs reveal that customer concerns are valid. When that happens, your documentation helps you understand what went wrong and how to fix it efficiently.

    image_4

    Technology That Actually Helps

    While you don't need expensive software to start, the right tools can make logging easier and more effective. Look for solutions that:

    • Work offline (job sites often have poor cell service)
    • Automatically organize photos by date and location
    • Sync across devices without customer involvement
    • Export easily for sharing or backup

    The goal is finding tools that fit your workflow, not changing your workflow to fit the tools.

    Making It Stick: Building the Habit

    The hardest part of job logging isn't learning how to do it – it's remembering to do it consistently. Here are strategies that work:

    Start Small

    Begin with just photos and basic notes. Don't try to document everything perfectly from day one. Build the habit first, then improve the details.

    Set Reminders

    Use phone alarms or calendar reminders until logging becomes automatic. Many contractors set alerts for lunch time and end of day.

    Make It Part of Cleanup

    Include documentation as part of your daily cleanup routine. Before packing tools, document what was accomplished.

    The Bottom Line

    Organized job logs aren't about being paranoid or expecting problems. They're about being professional and protecting the quality work you're already doing. When you can quickly show customers exactly what happened on their project, you're not just resolving disputes – you're demonstrating the level of care and attention you bring to every job.

    The best part? Once you get into the habit, job logging takes almost no extra time but provides invaluable protection for your business, your reputation, and your peace of mind.

    Start simple, be consistent, and let your documentation tell the story of your quality work. Your future self will thank you the first time a customer question becomes an opportunity to showcase your professionalism instead of a stressful dispute.

  • Why Simple Photo Logging Beats Complicated Project Management Apps for Small Teams

    Why Simple Photo Logging Beats Complicated Project Management Apps for Small Teams

    Let's be honest: most small teams are drowning in project management apps that promise the world but deliver headaches instead. You know the drill: endless setup wizards, feature overload, and team members who never actually use the thing after the first week.

    Meanwhile, there's a simpler approach that's been hiding in plain sight: photo logging. It turns out that sometimes the best solution isn't the most complex one.

    The Problem with Complicated Project Management Apps

    Small teams face a unique challenge. Unlike enterprise organizations with dedicated project managers and IT departments, small teams need tools that work immediately, require minimal training, and don't break the bank.

    Most popular project management apps fall into the same trap: they try to be everything to everyone. They offer Gantt charts, custom workflows, automated notifications, integrations with 47 different tools, and reporting dashboards that would make a Fortune 500 company proud.

    But here's what actually happens: Your team spends more time managing the management app than actually getting work done.

    image_1

    Visual Documentation Gets Straight to the Point

    Photos don't lie, and they don't need interpretation. When your electrician takes a picture of the wiring they just completed, everyone on the team immediately understands what's been accomplished. No status updates, no progress percentages, no lengthy descriptions: just crystal-clear visual proof.

    This clarity advantage becomes even more powerful when dealing with client communications. Instead of writing a paragraph explaining that "the bathroom renovation is approximately 65% complete with tile installation in progress," you can show a photo that tells the entire story in seconds.

    Photos also eliminate the ambiguity that kills small team productivity. When someone writes "mostly finished" or "almost done," what does that actually mean? A photo shows exactly where things stand, reducing back-and-forth conversations and preventing misunderstandings that derail projects.

    Speed Wins Every Time

    Small teams move fast, and they can't afford to slow down for administrative overhead. Traditional project management apps require constant feeding: status updates, task completions, time tracking, and milestone adjustments.

    Photo logging flips this model completely. Instead of stopping work to update a system, team members document progress as they go. A quick photo captures not just task completion, but also provides context about quality, potential issues, and next steps.

    This speed advantage compounds over time. While other teams are spending 15-20 minutes per day updating project statuses, photo-logging teams capture the same information (plus visual context) in under 5 minutes total.

    Real-World Scenarios Where Photos Dominate

    Consider a small construction crew working on a kitchen renovation. Traditional project management might track tasks like "install cabinets," "connect plumbing," and "complete electrical work." But photos tell the real story.

    A photo of the installed cabinets shows they're level, properly secured, and match the client's specifications. The plumbing connection photo reveals any potential leaks or alignment issues before they become problems. The electrical work photo documents wire routing and connection quality for future reference.

    image_2

    Each photo serves multiple purposes: progress documentation, quality assurance, client communication, and future reference. A traditional PM app would need separate features for each of these functions.

    The maintenance and service industries benefit even more dramatically. When a technician photographs equipment before and after service, they create an instant record that serves as proof of work, helps with warranty claims, and provides valuable context for future service calls.

    Learning Curves and Adoption Rates

    Here's a brutal truth about small teams: if a tool isn't immediately useful, it gets abandoned. Complex project management apps often require hours of setup, training sessions, and ongoing configuration adjustments.

    Photo logging requires exactly zero training. Everyone already knows how to take a picture and add a basic description. The learning curve is essentially flat, which means 100% team adoption from day one.

    This simplicity extends to client interactions as well. Customers immediately understand photo updates, while project management dashboards and reports often confuse more than they clarify. A homeowner can look at renovation progress photos and instantly see value, but they might struggle to interpret a Gantt chart or burndown report.

    Cost-Effectiveness for Small Operations

    Most feature-rich project management platforms charge per user per month, which adds up quickly for small teams. Even "affordable" options can cost $300-500 annually for a 5-person team, not including setup time and training costs.

    Simple photo logging tools typically offer much more reasonable pricing models, often with generous free tiers that work perfectly for small operations. The total cost of ownership remains low because there's no training requirement, minimal setup time, and immediate value delivery.

    Integration Actually Works When It's Simple

    Complex project management apps promise seamless integrations with dozens of other tools, but small teams rarely benefit from this complexity. They need their documentation system to work with email, basic file storage, and maybe their invoicing software.

    Photo logging naturally integrates with these essential tools. Photos can be attached to emails for client updates, stored in cloud folders for easy access, and included in invoices as proof of completed work. This simplicity often provides better real-world integration than complex API connections that require technical maintenance.

    image_3

    Quality Control Through Visual Evidence

    Small teams can't afford quality problems, but they also can't afford dedicated quality assurance processes. Photo documentation provides automatic quality control by creating a visual record that team members can review and clients can verify.

    When problems do arise, photos provide immediate context for troubleshooting. Instead of trying to remember or describe an installation from last week, team members can refer to timestamped photos that show exactly how work was completed.

    This visual evidence also protects small businesses from disputes and liability issues. Clear documentation of work quality and site conditions can prevent costly legal problems and insurance claims.

    Client Communication That Actually Works

    Small teams succeed through strong client relationships, but traditional project management communication often feels impersonal and corporate. Automated status updates and dashboard access might work for enterprise clients, but individual homeowners and small business owners prefer more direct communication.

    Photo updates create personal connections with clients. They see their project progressing, understand the care and attention being applied, and feel involved in the process. This transparency builds trust and often leads to referrals and repeat business.

    Photos also reduce client anxiety and questions. Instead of wondering whether work is progressing on schedule, clients can see current status and understand what's happening next.

    The Bottom Line for Small Teams

    Simple photo logging works because it aligns with how small teams actually operate. They need immediate value, minimal overhead, and tools that enhance rather than complicate their workflow.

    While complex project management apps continue adding features for enterprise customers, small teams benefit more from focused solutions that do one thing exceptionally well. Photo logging provides the essential project documentation small teams need without the complexity they can't afford.

    Ready to see how simple photo logging can transform your team's project documentation? JobLuma specializes in straightforward photo logging solutions designed specifically for small construction and field service teams. No complicated setup, no feature overload: just the visual documentation tools your team actually needs.

  • The Easiest Way for Contractors to Share Job Progress with Customers

    The Easiest Way for Contractors to Share Job Progress with Customers

    Let's face it – keeping customers in the loop about their project progress shouldn't feel like a full-time job. Yet many contractors struggle with this exact challenge, spending hours crafting detailed emails or fielding worried phone calls from clients wondering what's happening on their job site.

    The good news? Sharing job progress with customers doesn't have to be complicated or time-consuming. With the right approach and simple tools, you can keep clients happy and informed while actually saving time in your day.

    Why Customer Communication Matters More Than Ever

    Today's customers expect transparency. They want to see their investment at work, understand potential delays before they happen, and feel confident their project is in good hands. When contractors fail to communicate regularly, customers fill the silence with worry – and worried customers become demanding customers.

    Think about it from their perspective. They've likely invested thousands of dollars in your services, and their property is temporarily disrupted. A simple photo showing today's progress can eliminate a dozen anxious thoughts and prevent three follow-up phone calls.

    Regular progress sharing also builds trust and sets you apart from competitors. When customers can see consistent forward movement, they're more likely to recommend your services and less likely to micromanage your work.

    image_1

    Start With Visual Documentation

    The easiest way to share progress is through photos and videos. Visual updates require minimal explanation and show exactly what's happening on site. Here's how to make visual documentation work for you:

    Take photos at key milestones. You don't need to document every nail or screw. Focus on major progress points – foundation completion, framing stages, rough-in work, or finished installations. These milestone photos tell the project's story without overwhelming your customer.

    Use your phone's built-in features. Modern smartphones automatically timestamp and location-tag photos. Take advantage of these features to create an automatic progress timeline. Many phones also allow you to add voice notes to photos, which can provide context without typing lengthy explanations.

    Capture before, during, and after shots. Show the starting point, work in progress, and completed stages. This progression helps customers understand the scope of work and appreciate the transformation happening on their property.

    Include your crew in action shots. Photos of your team actively working reassure customers that progress is happening daily. These human elements make your updates more engaging and personal.

    Real-Time Communication Strategies

    The key to easy progress sharing is making communication part of your daily routine rather than a separate task. Here are practical approaches that save time while keeping customers informed:

    Daily check-ins work better than weekly reports. A quick photo with a two-sentence text message takes less than a minute but provides tremendous value. "Finished installing the kitchen cabinets today. Starting countertop prep tomorrow morning."

    Use group messaging for efficiency. If multiple family members want updates, create a group text or messaging thread. This eliminates duplicate conversations and ensures everyone receives the same information.

    Share challenges before they become problems. If you discover an issue that might delay progress, communicate it immediately with a photo and brief explanation. "Found some old wiring that needs updating before we can proceed. This will add one day to the timeline, but ensures everything meets current safety codes."

    image_2

    Choose Simple Technology Solutions

    You don't need complex software to share progress effectively. The best solution is often the simplest one that you'll actually use consistently. Here are options that work for different communication styles:

    Text messaging with photos remains the most accessible option. Every customer has text messaging, and photos send instantly. Create a dedicated contact group for each project to streamline communication.

    Construction management apps offer more organization for larger projects. Tools like CompanyCam, Fieldwire, or Buildern allow you to organize photos by project phase, add detailed notes, and create professional progress reports. These apps often include client portals where customers can view updates at their convenience.

    Simple cloud folders work well for customers who prefer comprehensive documentation. Create a shared Google Drive or Dropbox folder organized by date or project phase. Upload photos regularly with descriptive filenames like "2024-12-15_Kitchen_Cabinets_Installed.jpg"

    Video updates can be incredibly effective for complex projects. A 30-second walkthrough video can explain progress better than multiple photos. Use your phone's video feature to provide brief narrated tours of completed work areas.

    Make It Part of Your Daily Routine

    The secret to consistent customer communication is building it into your existing workflow. Here's how to make progress sharing automatic:

    End-of-day routine: Spend five minutes before leaving each job site taking progress photos and sending a quick update. This becomes as automatic as packing up your tools.

    Assign responsibility: If you have crew members, designate someone to handle daily photo documentation. This ensures updates happen even when you're managing multiple job sites.

    Use travel time wisely: Send updates while driving between jobs (hands-free, of course). Voice-to-text features make it easy to add context to photos without typing.

    Batch similar communications: If you're working on multiple projects, handle all customer updates during one dedicated time block rather than sporadically throughout the day.

    image_3

    Handle Common Communication Challenges

    Every contractor faces similar obstacles when sharing project progress. Here's how to address the most common issues:

    "I forget to take photos." Set a phone reminder for the same time each day. Many contractors find that taking photos during their lunch break works well – it's a natural pause in the workday.

    "Customers want too much detail." Establish communication expectations upfront. Explain that you'll provide daily milestone updates, and customers can request additional information if needed. This sets boundaries while ensuring transparency.

    "I'm not good with technology." Start with basic text messages and photos. Once this becomes comfortable, you can explore additional features. The goal is consistent communication, not technological complexity.

    "Updates take too much time." Focus on quality over quantity. One well-timed photo with a brief explanation provides more value than multiple photos without context.

    Best Practices for Professional Updates

    Your progress updates reflect your professionalism and attention to detail. Follow these guidelines to ensure your communications enhance your reputation:

    Clean up photo backgrounds when possible. A quick scan for debris or personal items makes your work area look more professional in photos.

    Use consistent timing. Whether you send updates at lunch, end of day, or first thing in the morning, consistency helps customers know when to expect communication.

    Be honest about delays or challenges. Customers appreciate transparency about unexpected issues. Brief explanations show your expertise in handling complications professionally.

    Celebrate milestones. When you complete major project phases, acknowledge these achievements in your updates. Customers enjoy sharing in the progress excitement.

    image_4

    The Bottom Line on Progress Sharing

    The easiest way for contractors to share job progress with customers is through simple, consistent visual communication. A daily photo with a brief explanation takes minimal time but provides maximum customer satisfaction.

    Technology should support your communication goals, not complicate them. Whether you use basic text messaging or specialized construction apps, the key is choosing tools you'll actually use every day.

    Remember that progress sharing isn't just about keeping customers happy – it's about building your reputation as a professional contractor who values transparency and communication. These habits set you apart in a competitive market and lead to more referrals and repeat business.

    Start simple, stay consistent, and watch how this small daily investment transforms your customer relationships. Your clients will appreciate the transparency, and you'll appreciate the reduction in worried phone calls and project stress.

    For contractors looking to streamline their progress documentation and customer communication, JobLuma offers simple, mobile-first solutions designed specifically for field service professionals who value straightforward tools that actually get used.

  • How to Create Professional Before and After Photo Documentation in 5 Minutes (Without Fancy Software)

    How to Create Professional Before and After Photo Documentation in 5 Minutes (Without Fancy Software)

    Picture this: You're wrapping up a bathroom renovation, HVAC repair, or landscaping job, and your client asks to see the progress. You scramble through dozens of random photos on your phone, trying to find the "before" shots while your client waits awkwardly. Sound familiar?

    Professional photo documentation isn't just about looking good: it's about protecting your business, showcasing your work, and keeping clients happy. The best part? You don't need fancy cameras or expensive software to do it right.

    Why Before and After Photos Matter More Than You Think

    In construction and field services, photos are your best friend. They document work progress, protect you from liability claims, and serve as powerful marketing tools. When Mrs. Johnson claims you damaged her fence (that was already broken), your timestamped before photos become your saving grace.

    Good documentation also builds trust with clients. When they can see exactly what you accomplished, they're more likely to recommend you to their neighbors and pay invoices without pushback.

    image_1

    The 5-Minute Setup That Changes Everything

    Step 1: Pick Your Angles and Stick to Them (1 minute)

    Consistency beats creativity every time. For most jobs, you need four standard shots:

    • Wide overview of the work area
    • Close-up of the specific problem or feature
    • Side angle showing context
    • Detail shot of materials or damage

    Write these down and use them for every job. Your future self will thank you when you're trying to create a proposal and need similar reference photos.

    Step 2: Master the Lighting Game (30 seconds)

    Natural light is your friend: it's free and makes everything look better. If you're working indoors, turn on all available lights and open curtains or blinds. For outdoor work, avoid shooting directly into the sun.

    The golden rule: if you can clearly see details with your naked eye, your phone camera can probably capture them well enough.

    Step 3: Frame Like a Pro (1 minute)

    Keep it simple. Fill about 70% of your frame with the subject, leaving some context around the edges. This gives viewers a sense of scale and location without cutting off important details.

    Hold your phone horizontally for wide shots and vertically for tall objects like doors or trees. Most importantly, keep the camera steady: shaky photos scream "amateur."

    image_2

    The Quick-Capture Method That Actually Works

    Before Photos: Set the Scene

    Take your before photos as soon as you arrive, before moving any equipment or materials. This protects you legally and gives clients a clear baseline for comparison.

    Start wide, then zoom in. Capture the overall area first, then focus on specific problem areas, existing damage, or unique features. If something looks questionable, photograph it from multiple angles.

    During Photos: Show Your Process

    Quick progress shots don't just document your work: they keep clients engaged and informed. Take a few photos at key milestones: demolition complete, new materials installed, systems tested.

    These photos also help with invoicing. When clients can see the complexity of your work, they're less likely to question your pricing.

    After Photos: Showcase the Results

    Use the same angles as your before photos for easy comparison. Clean up your work area first: remove tools, debris, and materials that don't belong in the final shot.

    Take a few extra "beauty shots" of your best work. These become your marketing gold when you need to show potential clients what you can accomplish.

    image_3

    Organization Without the Headache

    Naming That Actually Makes Sense

    Skip complicated file naming systems. Use this simple format: ClientName_Date_JobType_BeforeOrAfter. For example: "Smith_120824_PlumbingRepair_Before."

    This system lets you find any photo in seconds, whether you're looking for it next week or next year.

    The Three-Folder Rule

    Create three folders on your phone:

    1. "JobPhotos_Current" for active projects
    2. "JobPhotos_Completed" for finished work
    3. "JobPhotos_Marketing" for your best shots

    Move photos between folders as projects progress. When "Current" gets too full, archive older completed projects to cloud storage.

    Quick Backup Strategy

    Set your phone to automatically upload photos to cloud storage. Google Photos, iCloud, or Dropbox all work fine. The key is making it automatic so you never lose important documentation.

    image_4

    Creating Professional Layouts in Minutes

    The Side-by-Side Magic

    For client presentations, put before and after photos side by side. Most phones have built-in collage features that work perfectly for this. On iPhone, use the Photos app's "Create" function. Android users can try Google Photos or the built-in Gallery editor.

    Keep it simple: two photos, same size, with a thin border between them. Add basic text labels like "Before" and "After" if needed.

    The Progress Story Layout

    For complex projects, create a timeline layout showing 3-4 key stages. This works great for renovations, landscaping, or multi-day repairs. Most free apps like Canva or even PowerPoint can create these layouts quickly.

    Common Mistakes That Make You Look Amateur

    Inconsistent Timing

    Taking before photos three hours into the job defeats the purpose. Shoot immediately upon arrival, before you've moved anything or started work.

    Poor Background Choices

    Your work truck, tools, and lunch don't belong in client photos. Take an extra 30 seconds to clear distracting objects from your shot.

    Forgetting the Wide Shot

    Detail photos are important, but clients need context. Always include at least one wide shot that shows the entire work area and surrounding space.

    Skipping the Cleanup

    Your after photos should show the space ready for the client to use. Sweep up debris, wipe down surfaces, and remove your equipment before hitting the camera button.

    image_5

    Making Photos Work for Your Business

    Client Communication

    Send progress photos throughout longer projects. A quick text with "Day 2 progress" and a photo keeps clients informed and reduces anxiety about your timeline.

    Marketing Content

    Your best before and after combinations become powerful marketing tools. Share them on social media, add them to your website, or include them in proposals for similar work.

    Warranty Protection

    Detailed after photos protect you from future warranty claims. If a client reports an issue months later, your documentation shows exactly how you left the job.

    The Technology You Already Have

    Your smartphone camera is probably more powerful than you realize. Modern phones can capture professional-quality images in good lighting conditions. The key is using them consistently and purposefully.

    For field service businesses, this simple photo documentation system can transform how you communicate with clients, protect your business, and showcase your expertise. The best camera is the one you have with you: and the best system is the one you'll actually use consistently.

    Skip the expensive software and complicated workflows. Focus on consistency, good lighting, and clear organization. Your clients will notice the professionalism, your business will be better protected, and you'll spend less time searching through random photos trying to remember what happened last Tuesday.

    Remember: professional results come from professional habits, not professional equipment. Start with these simple steps, and you'll be amazed at how much more organized and credible your business appears to clients.