
Picture this: You're wrapping up a bathroom renovation, HVAC repair, or landscaping job, and your client asks to see the progress. You scramble through dozens of random photos on your phone, trying to find the "before" shots while your client waits awkwardly. Sound familiar?
Professional photo documentation isn't just about looking good: it's about protecting your business, showcasing your work, and keeping clients happy. The best part? You don't need fancy cameras or expensive software to do it right.
Why Before and After Photos Matter More Than You Think
In construction and field services, photos are your best friend. They document work progress, protect you from liability claims, and serve as powerful marketing tools. When Mrs. Johnson claims you damaged her fence (that was already broken), your timestamped before photos become your saving grace.
Good documentation also builds trust with clients. When they can see exactly what you accomplished, they're more likely to recommend you to their neighbors and pay invoices without pushback.
The 5-Minute Setup That Changes Everything
Step 1: Pick Your Angles and Stick to Them (1 minute)
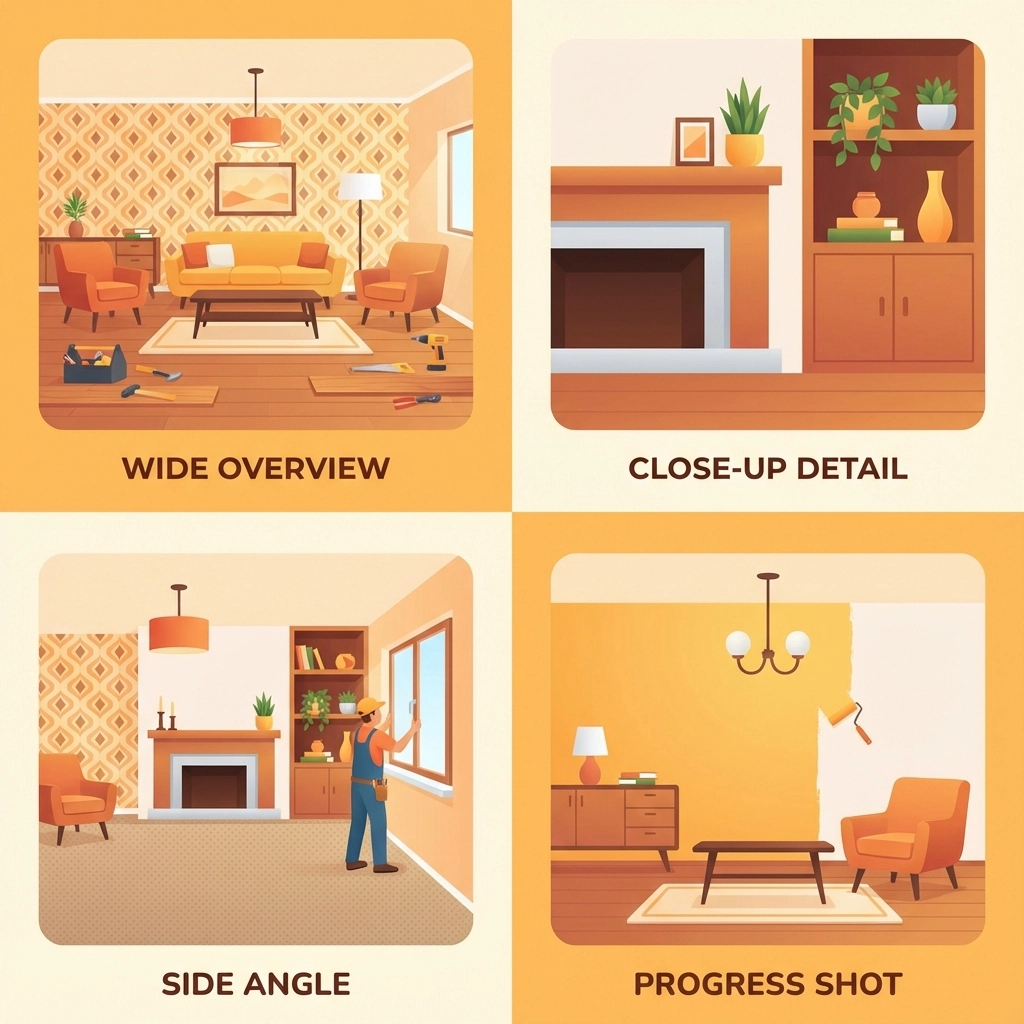
Consistency beats creativity every time. For most jobs, you need four standard shots:
- Wide overview of the work area
- Close-up of the specific problem or feature
- Side angle showing context
- Detail shot of materials or damage
Write these down and use them for every job. Your future self will thank you when you're trying to create a proposal and need similar reference photos.
Step 2: Master the Lighting Game (30 seconds)
Natural light is your friend: it's free and makes everything look better. If you're working indoors, turn on all available lights and open curtains or blinds. For outdoor work, avoid shooting directly into the sun.
The golden rule: if you can clearly see details with your naked eye, your phone camera can probably capture them well enough.
Step 3: Frame Like a Pro (1 minute)
Keep it simple. Fill about 70% of your frame with the subject, leaving some context around the edges. This gives viewers a sense of scale and location without cutting off important details.
Hold your phone horizontally for wide shots and vertically for tall objects like doors or trees. Most importantly, keep the camera steady: shaky photos scream "amateur."
The Quick-Capture Method That Actually Works
Before Photos: Set the Scene
Take your before photos as soon as you arrive, before moving any equipment or materials. This protects you legally and gives clients a clear baseline for comparison.
Start wide, then zoom in. Capture the overall area first, then focus on specific problem areas, existing damage, or unique features. If something looks questionable, photograph it from multiple angles.
During Photos: Show Your Process
Quick progress shots don't just document your work: they keep clients engaged and informed. Take a few photos at key milestones: demolition complete, new materials installed, systems tested.
These photos also help with invoicing. When clients can see the complexity of your work, they're less likely to question your pricing.
After Photos: Showcase the Results
Use the same angles as your before photos for easy comparison. Clean up your work area first: remove tools, debris, and materials that don't belong in the final shot.
Take a few extra "beauty shots" of your best work. These become your marketing gold when you need to show potential clients what you can accomplish.
Organization Without the Headache
Naming That Actually Makes Sense
Skip complicated file naming systems. Use this simple format: ClientName_Date_JobType_BeforeOrAfter. For example: "Smith_120824_PlumbingRepair_Before."
This system lets you find any photo in seconds, whether you're looking for it next week or next year.
The Three-Folder Rule
Create three folders on your phone:
- "JobPhotos_Current" for active projects
- "JobPhotos_Completed" for finished work
- "JobPhotos_Marketing" for your best shots
Move photos between folders as projects progress. When "Current" gets too full, archive older completed projects to cloud storage.
Quick Backup Strategy
Set your phone to automatically upload photos to cloud storage. Google Photos, iCloud, or Dropbox all work fine. The key is making it automatic so you never lose important documentation.

Creating Professional Layouts in Minutes
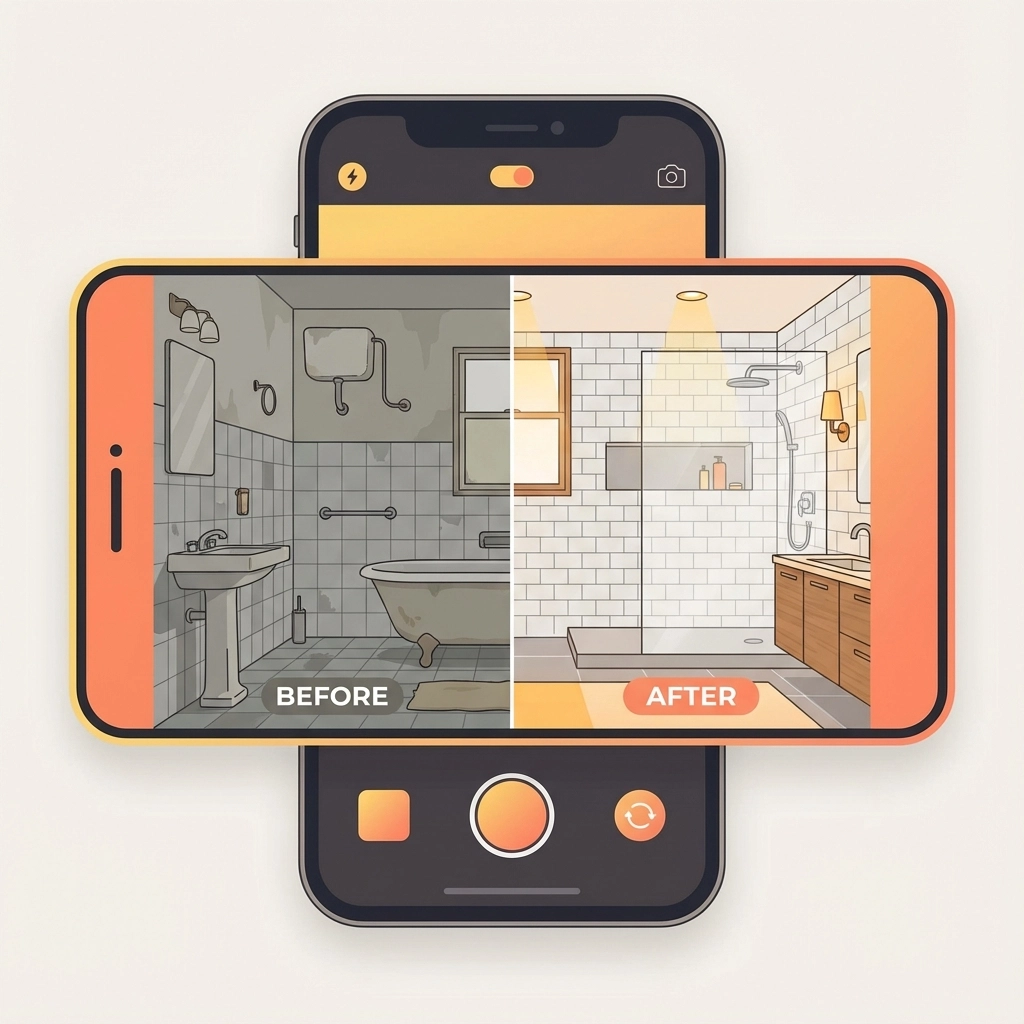
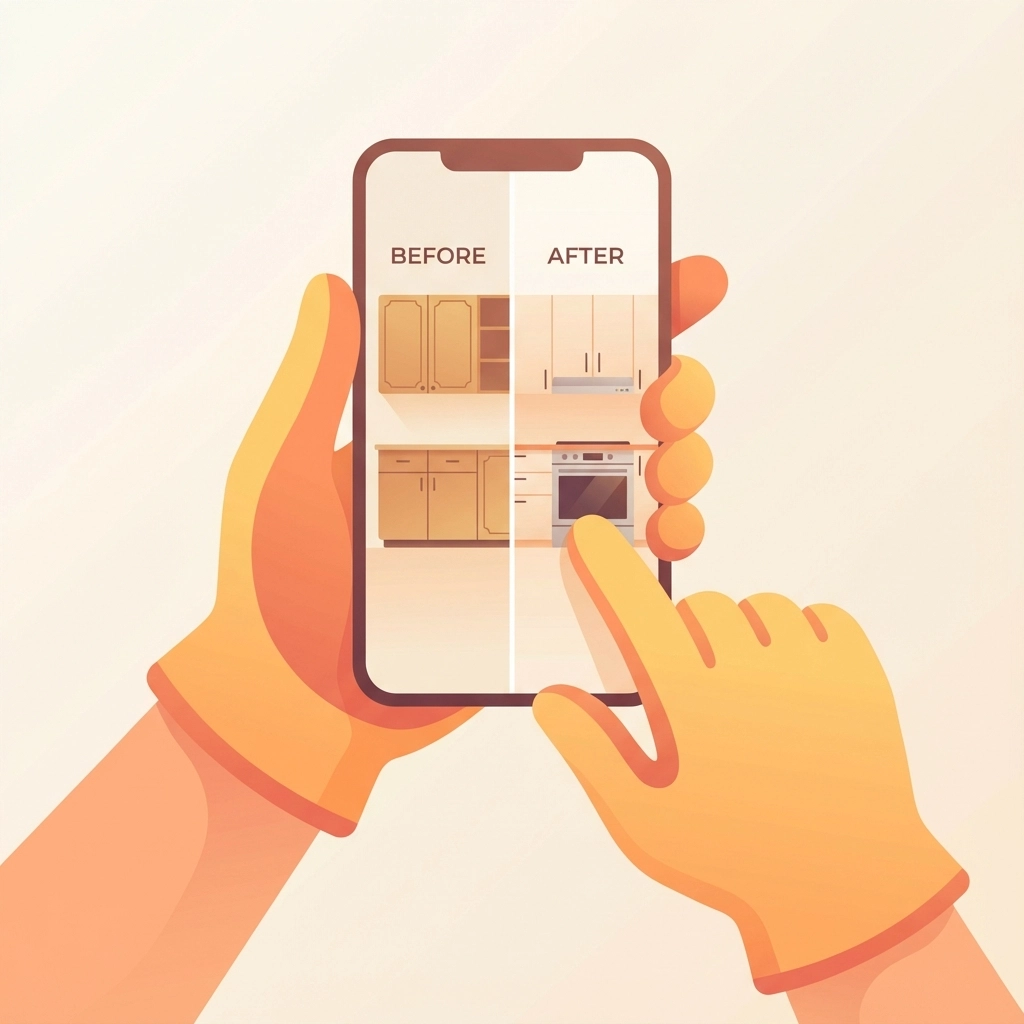
The Side-by-Side Magic
For client presentations, put before and after photos side by side. Most phones have built-in collage features that work perfectly for this. On iPhone, use the Photos app's "Create" function. Android users can try Google Photos or the built-in Gallery editor.
Keep it simple: two photos, same size, with a thin border between them. Add basic text labels like "Before" and "After" if needed.
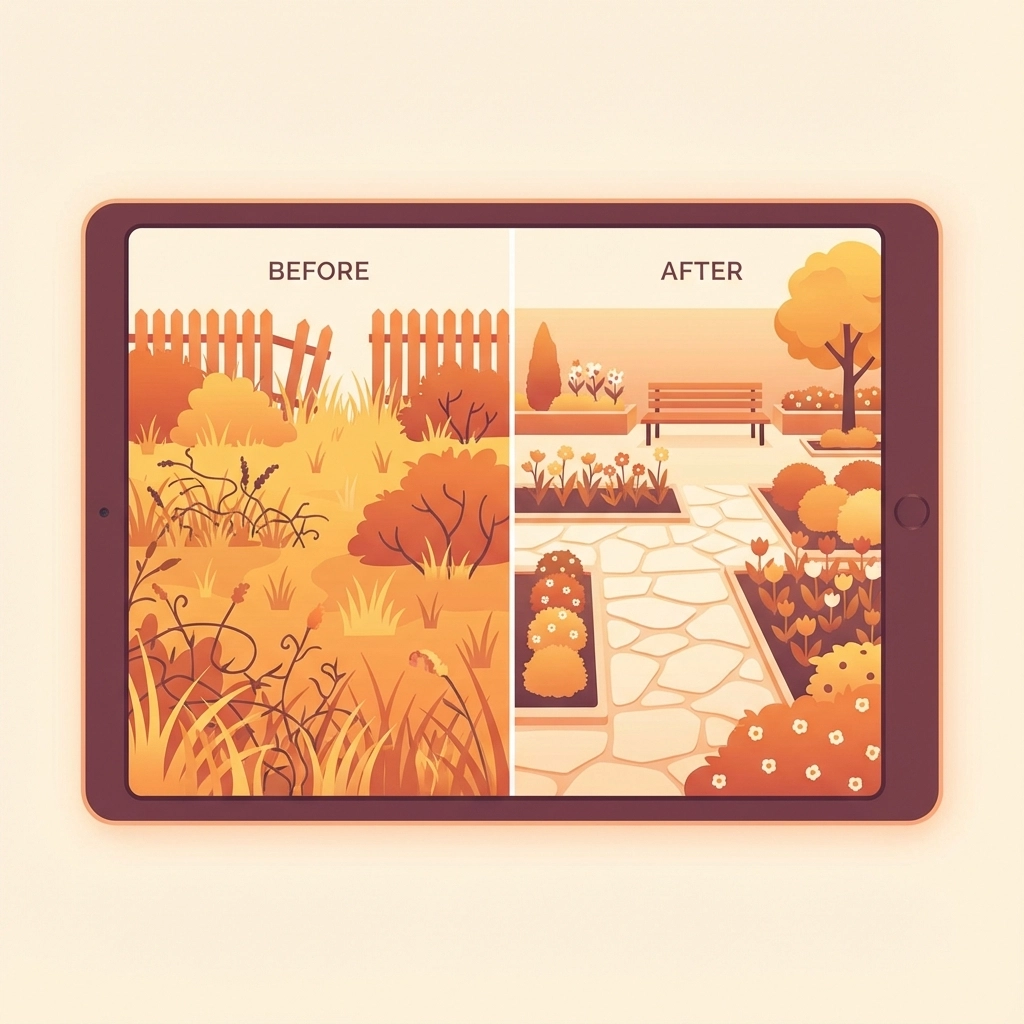
The Progress Story Layout
For complex projects, create a timeline layout showing 3-4 key stages. This works great for renovations, landscaping, or multi-day repairs. Most free apps like Canva or even PowerPoint can create these layouts quickly.
Common Mistakes That Make You Look Amateur
Inconsistent Timing
Taking before photos three hours into the job defeats the purpose. Shoot immediately upon arrival, before you've moved anything or started work.
Poor Background Choices
Your work truck, tools, and lunch don't belong in client photos. Take an extra 30 seconds to clear distracting objects from your shot.
Forgetting the Wide Shot
Detail photos are important, but clients need context. Always include at least one wide shot that shows the entire work area and surrounding space.
Skipping the Cleanup
Your after photos should show the space ready for the client to use. Sweep up debris, wipe down surfaces, and remove your equipment before hitting the camera button.
Making Photos Work for Your Business
Client Communication
Send progress photos throughout longer projects. A quick text with "Day 2 progress" and a photo keeps clients informed and reduces anxiety about your timeline.
Marketing Content
Your best before and after combinations become powerful marketing tools. Share them on social media, add them to your website, or include them in proposals for similar work.
Warranty Protection
Detailed after photos protect you from future warranty claims. If a client reports an issue months later, your documentation shows exactly how you left the job.
The Technology You Already Have
Your smartphone camera is probably more powerful than you realize. Modern phones can capture professional-quality images in good lighting conditions. The key is using them consistently and purposefully.
For field service businesses, this simple photo documentation system can transform how you communicate with clients, protect your business, and showcase your expertise. The best camera is the one you have with you: and the best system is the one you'll actually use consistently.
Skip the expensive software and complicated workflows. Focus on consistency, good lighting, and clear organization. Your clients will notice the professionalism, your business will be better protected, and you'll spend less time searching through random photos trying to remember what happened last Tuesday.
Remember: professional results come from professional habits, not professional equipment. Start with these simple steps, and you'll be amazed at how much more organized and credible your business appears to clients.
Leave a Reply