
Every contractor knows the frustration: you complete an amazing project, but your photos look like they were taken during an earthquake in a cave. Meanwhile, your competition is posting crisp, professional-looking before and after shots that make their work look incredible.
Here's the thing – you don't need expensive cameras or fancy editing software to create professional documentation. You just need to know a few simple tricks that take literally five minutes to set up.
Why Professional Documentation Matters More Than Ever
Before we dive into the how-to, let's be real about why this matters. Your photos are often the first impression potential customers get of your work. Whether you're posting on social media, updating your website, or sending progress reports to clients, clear before and after photos can be the difference between landing a job and watching it go to someone else.
Plus, good documentation protects you legally. When clients question what was done or insurance companies need proof of damage, having professional-quality photos saves you headaches and money.
The 5-Minute Setup: What You Actually Need
Forget about expensive DSLR cameras and professional lighting rigs. Here's what actually works:
Your smartphone – Seriously, that's it for equipment. Modern phones have cameras that rival professional equipment from just a few years ago. Clean your lens (this matters more than you think), and you're 80% of the way there.
A simple tripod or stabilizer – You can grab a basic phone tripod for under $20, or even prop your phone against a toolbox or ladder. The key is keeping it steady and consistent.
Consistent lighting – Natural light is your best friend. Work near windows when possible, or use the same lighting setup for both before and after shots.

The Actual 5-Minute Process
Here's the step-by-step process that works every single time:
Step 1: Clean and Prepare (30 seconds)
Clean your phone lens – use your shirt, a microfiber cloth, whatever. You'd be amazed how many "professional" photos are ruined by a smudged lens. Also, clear the work area of tools, debris, or anything that doesn't need to be in the shot.
Step 2: Set Your Position (1 minute)
Pick your angle and mark it. Use tape on the floor, or remember specific landmarks like "three steps back from the corner, level with the electrical outlet." You need to shoot your after photo from the exact same spot.
Take multiple angles if the project warrants it – straight on, from the side, close-up details. But commit to your positions and stick with them.
Step 3: Lighting Check (30 seconds)
Look for harsh shadows or overly bright spots. If you're indoors, position yourself so windows are behind or to the side of you, not behind your subject. If you're outside, avoid shooting directly into the sun or in deep shadows.
The goal is even, consistent lighting that shows the work clearly without dramatic shadows hiding important details.
Step 4: Frame and Shoot (1 minute)
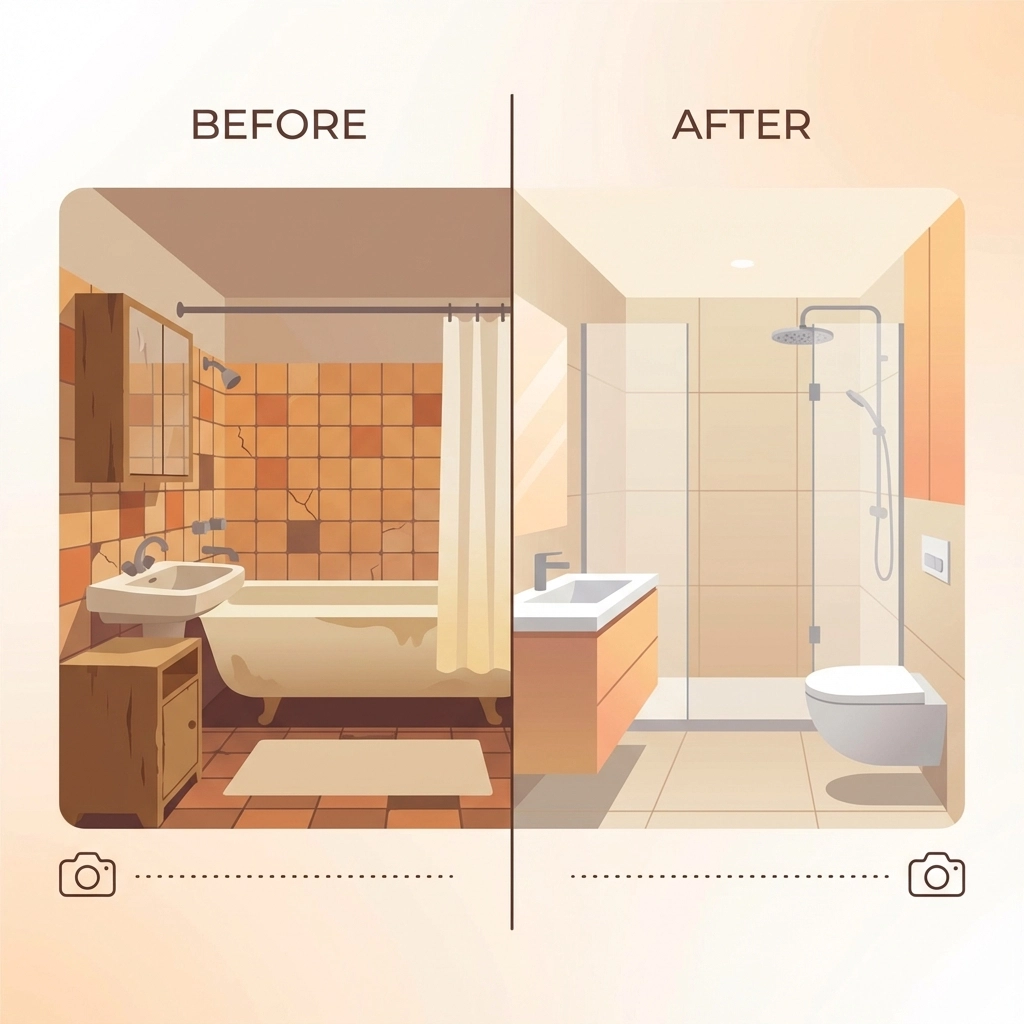
Fill the frame with what matters, but leave some context. For a bathroom renovation, show the whole room but make sure the new tile work is clearly visible. For exterior work, include enough of the building to show the scope.
Take multiple shots – one wide, one medium, one close-up if relevant. Having options costs nothing and saves you when one shot turns out blurry.
Step 5: Quick Review (30 seconds)
Check your photos immediately. Are they sharp? Can you see the details that matter? Is the lighting consistent? If not, reshoot now while everything is still set up.
Step 6: Repeat for After Photos (1.5 minutes)
When the job is done, return to your exact positions. Use the same lighting conditions if possible. If you marked your spots well, this should be quick and painless.
The Consistency Tricks That Make You Look Like a Pro
The difference between amateur and professional-looking photos isn't expensive equipment – it's consistency. Here are the tricks that matter:
Same height every time – Whether you're holding the phone or using a tripod, shoot from the same height. Most people unconsciously change their height between shots, making comparisons look sloppy.
Same distance – Mark your position or count steps. Being even a foot closer or farther away changes the perspective dramatically.
Same time of day – If your before photo was taken in morning light, try to take your after photo in similar conditions. The color and quality of light changes throughout the day.
Same orientation – Keep your phone in the same orientation (portrait vs landscape) and hold it level. Most phones have built-in level guides you can turn on.
Organizing and Storing Your Photos
This is where most contractors lose steam, but it's crucial for long-term success. Create a simple system:
Name your files consistently – Use the format: ClientName_ProjectType_Date_BeforeAfter. For example: "SmithBathroom_Renovation_120524_Before" and "SmithBathroom_Renovation_121524_After."
Create project folders – Group all photos from each job together. Include progress shots, detail shots, and any problem areas you encountered.
Back everything up – Use cloud storage, an external drive, or both. These photos are valuable for marketing, insurance claims, and legal protection.

Common Mistakes That Ruin Otherwise Good Photos
Shooting too close – Back up and show context. A close-up of beautiful tile work means nothing if viewers can't see how it fits into the overall space.
Forgetting the mess – Don't just show the pretty finished product. Document problems, damage, or challenging conditions you had to work with. This shows your problem-solving skills and justifies your pricing.
Inconsistent angles – If your before photo shows the room from the doorway, your after photo should too. Don't get creative between shots.
Bad timing – Taking your after photo when the space is still messy or not fully complete makes even excellent work look unprofessional.
Making Your Photos Work Harder for Your Business
Once you have professional-looking before and after photos, put them to work:
Social media posts – These photos are perfect for Instagram, Facebook, and LinkedIn. They tell a complete story without needing much text.
Website updates – Fresh project photos keep your website current and show you're actively working.
Proposals and estimates – Including photos of similar past work in your proposals helps clients visualize the finished product.
Progress reports – Clients love seeing regular updates. Professional photos in progress reports build trust and justify payments.
The Bottom Line
Professional-looking before and after photos don't require professional equipment or skills. They require consistency, attention to detail, and five minutes of planning.
The contractors who master this simple process stand out from the competition, build stronger client relationships, and create valuable marketing materials with every job they complete.
Your next project starts tomorrow. Spend five minutes setting up for great photos, and you'll have marketing materials that work for years to come.
Start with your phone, pick your spots, and keep it consistent. Everything else is just details.
Leave a Reply