
Look, we get it. You're already juggling a dozen things on every job site. The last thing you need is another complicated system to manage. But here's the thing – a solid photo documentation process can be your secret weapon for impressing clients and protecting your business. And it doesn't have to be a headache.
The best part? You probably already have everything you need in your pocket.
Why Photos Are Your Best Insurance Policy
Think about the last time a client questioned your work or a dispute came up. Wouldn't it be nice to just pull out your phone, scroll through some photos, and say "Here's exactly what we did and when we did it"?
Photos create an objective, time-stamped record that written reports just can't match. When clients see consistent, professional documentation of your work, they immediately understand you're serious about quality. Plus, these images settle disagreements fast and keep everyone on the same page without endless back-and-forth calls.
Beyond client relations, photos protect you during inspections, prove safety compliance, and document code adherence. They're basically your visual paper trail.

The Simple Three-Step System That Actually Works
Here's a system so straightforward you can implement it tomorrow without buying anything new or learning complicated software.
Step 1: Pick Your Spots and Stick to Them
Choose 3-4 consistent camera positions on each job. Think of it like creating your own time-lapse movie – you want to show progress from the same angles every time.
For most jobs, this means:
- Each corner of the work area
- Main entrance/approach to the site
- Any area where major work is happening
The magic happens when you photograph from these exact spots on a regular schedule. Daily for big jobs, weekly for smaller ones. Same positions, same time of day if possible. When clients review these photos in sequence, they get an instant understanding of progress that feels almost cinematic.
Step 2: Capture the Moments That Matter
Instead of randomly snapping photos whenever you remember, focus on these critical phases:
Before You Start
Document existing conditions, site access, building interiors (furniture moved), electrical panels, utility meters. This protects you from "you broke it" claims later.
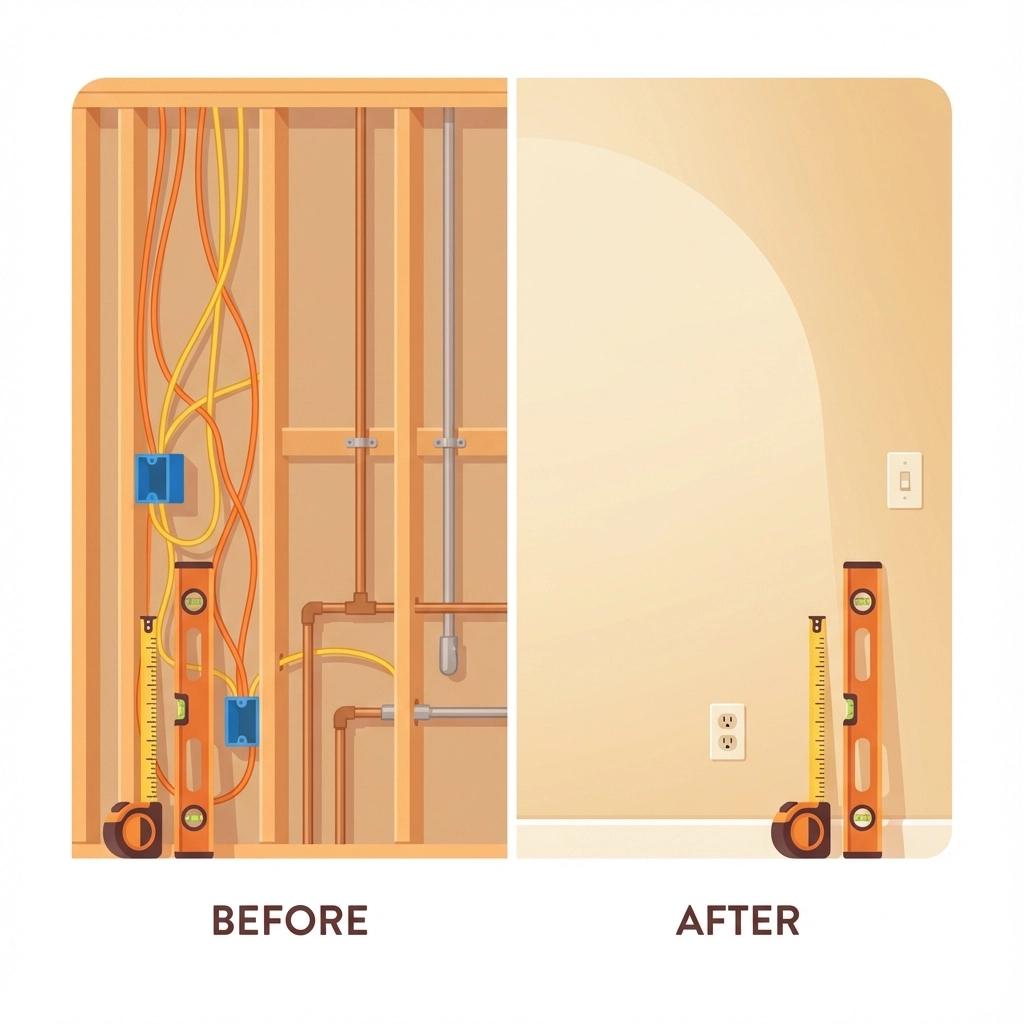
Before It Gets Covered Up
This is huge. Photograph all rough-ins, installations, connections, and fasteners before drywall, insulation, or final coverings go up. Trust us on this one – it'll save your bacon more than once.
When Problems Pop Up
Issues happen on every job. When they do, capture wide context shots, multiple angles, and always include measuring tools or reference objects for scale.
The Grand Finale
Document completed work, quality checkpoints, and any punch list items. These become your "after" shots that showcase your craftsmanship.
Step 3: Keep It Organized (The Easy Way)
Forget fancy project management platforms. A simple naming system beats complicated software every time.
Use this format: PROJECTNAME_DATE_PHASE_LOCATION
Example: Johnson-Kitchen_120125_Plumbing_UnderSink
Create folders organized by project name, then by date. Store everything on cloud backup (Google Drive, Dropbox, whatever you already use). This gives clients instant access via shared links and keeps everything backed up automatically.
Quality That Impresses (Without Breaking the Bank)
Your photos don't need to look like they came from Architectural Digest, but they should meet these basic standards:
- Use at least 12 megapixel resolution (most phones from the last 5 years work fine)
- Make sure everything's in focus with good lighting
- Keep angles consistent between visits
- Include overlapping shots to show complete coverage
The secret isn't expensive equipment – it's consistency and timing.
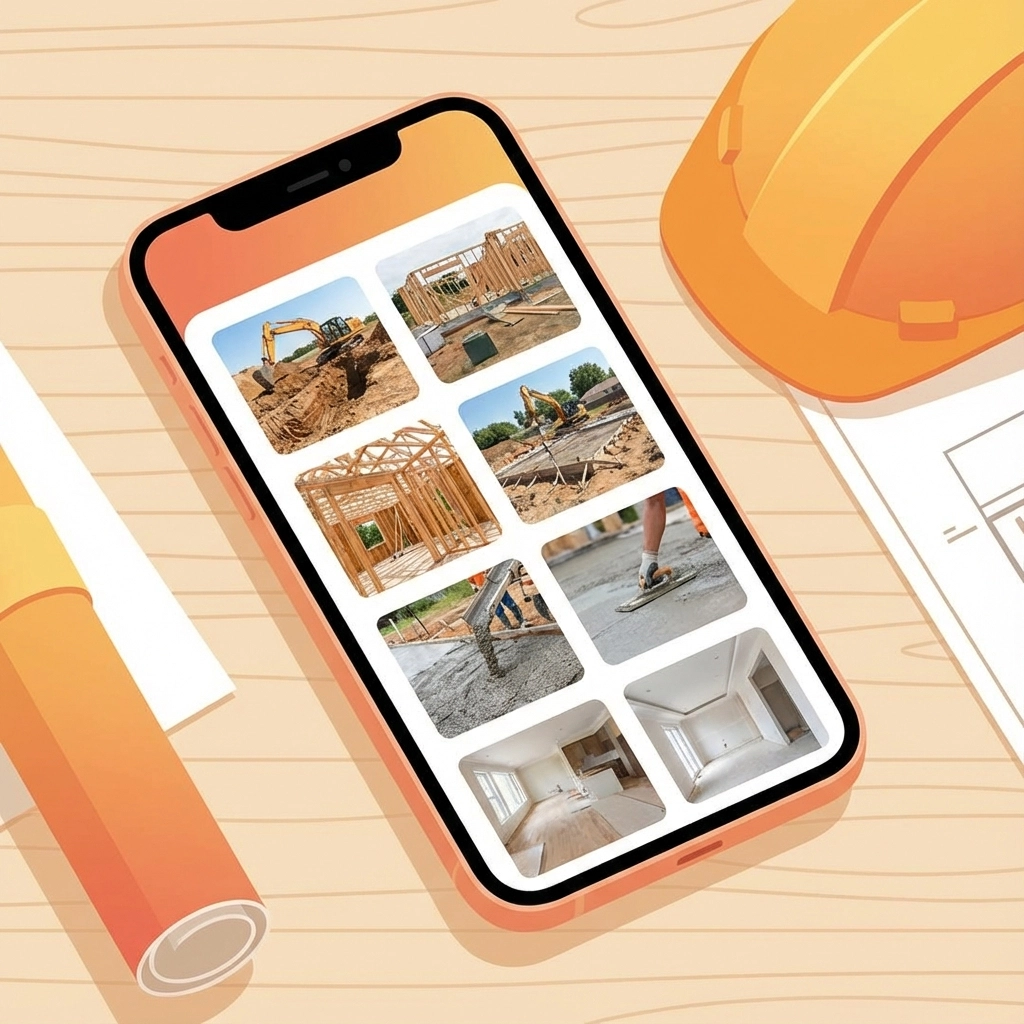
What to Actually Photograph
Daily Progress Shots
- Wide overview from your fixed positions
- Weather conditions (these matter for delay claims)
- Active work zones showing your crew in action
- Materials delivered or installed that day
Critical Installation Documentation
- Before: prepared area ready for work
- During: proper installation techniques in action
- After: completed work before it gets hidden
- Close-ups of connections, welds, fasteners
Pro tip: Hold the project plans in the frame occasionally for visual reference. Clients love seeing that level of organization.
Issue Documentation
When problems need tracking:
- Wide shot showing where the issue is in the overall project
- Multiple angles of the problem area
- Measuring tools clearly visible for scale
- Follow-up shots using identical framing to show progress
How to Present This to Clients
Frame photo documentation as a value-add, not a chore. Tell them: "I'll send weekly photo updates showing your project's progress. This keeps everyone aligned and gives you peace of mind that work is proceeding exactly as planned."
Most clients genuinely appreciate this transparency. It reduces their anxiety about progress and shows you're detail-oriented. When they can see work happening week by week, they're way more likely to recommend you and less likely to nitpick small details.

The System That Prevents Headaches
Set a Schedule and Stick to It
Pick specific days for photos (every Monday morning, every Friday afternoon) and make it part of your routine like a job start checklist. This removes decision-making fatigue and ensures consistency.
Assign One Person
Designate someone as the photographer – doesn't have to be you. Could be a crew lead or site manager. Consistent photographer means consistent framing and better quality.
Create a Simple Checklist
Before each job starts, write down what phases need photos. Print it, laminate it, stick it in the job box. Everyone knows what matters.
Link Photos to Communication
When clients ask about progress or issues come up, pull the exact photo that answers their question. "Here's the electrical rough-in from January 8th" – instant credibility and resolution.
The Real Competitive Advantage
Here's what most contractors miss: clients don't just want good work, they want peace of mind. Professional photo documentation gives them both.
Contractors who deliver consistent, organized photo updates don't just avoid disputes – they earn loyalty and referrals. Clients remember the contractor who kept them visually informed. They remember when photos proved the work was done right. They don't care about your project management complexity – they remember results and professionalism.
Getting Started Tomorrow
Start simple. Pick your fixed positions, establish a schedule (even if it's just twice a week), and take photos at major phase transitions. That alone puts you ahead of most contractors.
Add a basic cloud backup folder and you've built a system that protects you, impresses clients, and takes maybe 10 extra minutes per visit to maintain.
The best part? Once this becomes routine, you'll wonder how you ever worked without it. And your clients will too.
Remember – this isn't about being perfect from day one. It's about being consistent and professional. Start with one job, refine your process, then roll it out to everything else.
Your future self (and your clients) will thank you.
Leave a Reply