You finished the job. The customer seemed happy. Then two months later, you get a call: "The work looks different than what we agreed on" or "There's damage that wasn't there before." Now you're scrambling to remember exactly what the job site looked like, what condition things were in, and what you actually installed.
Sound familiar?
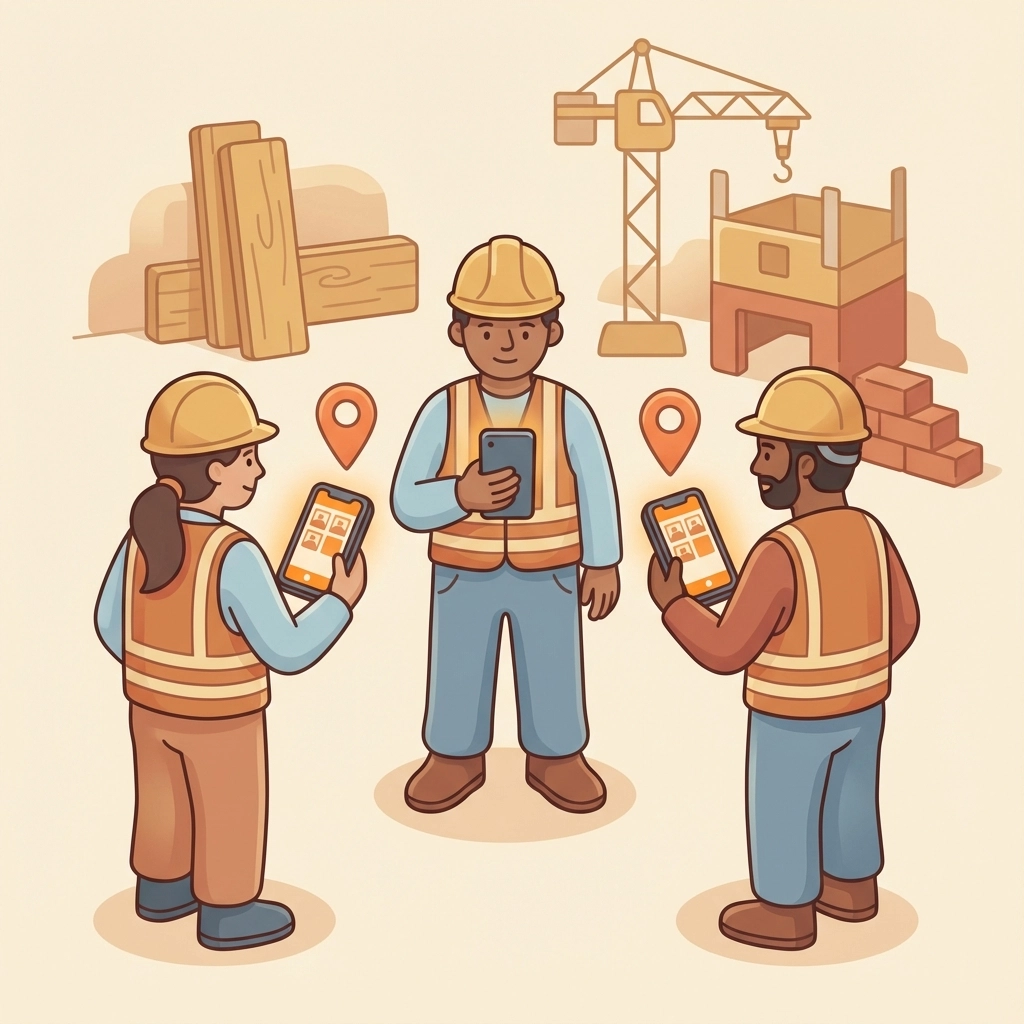
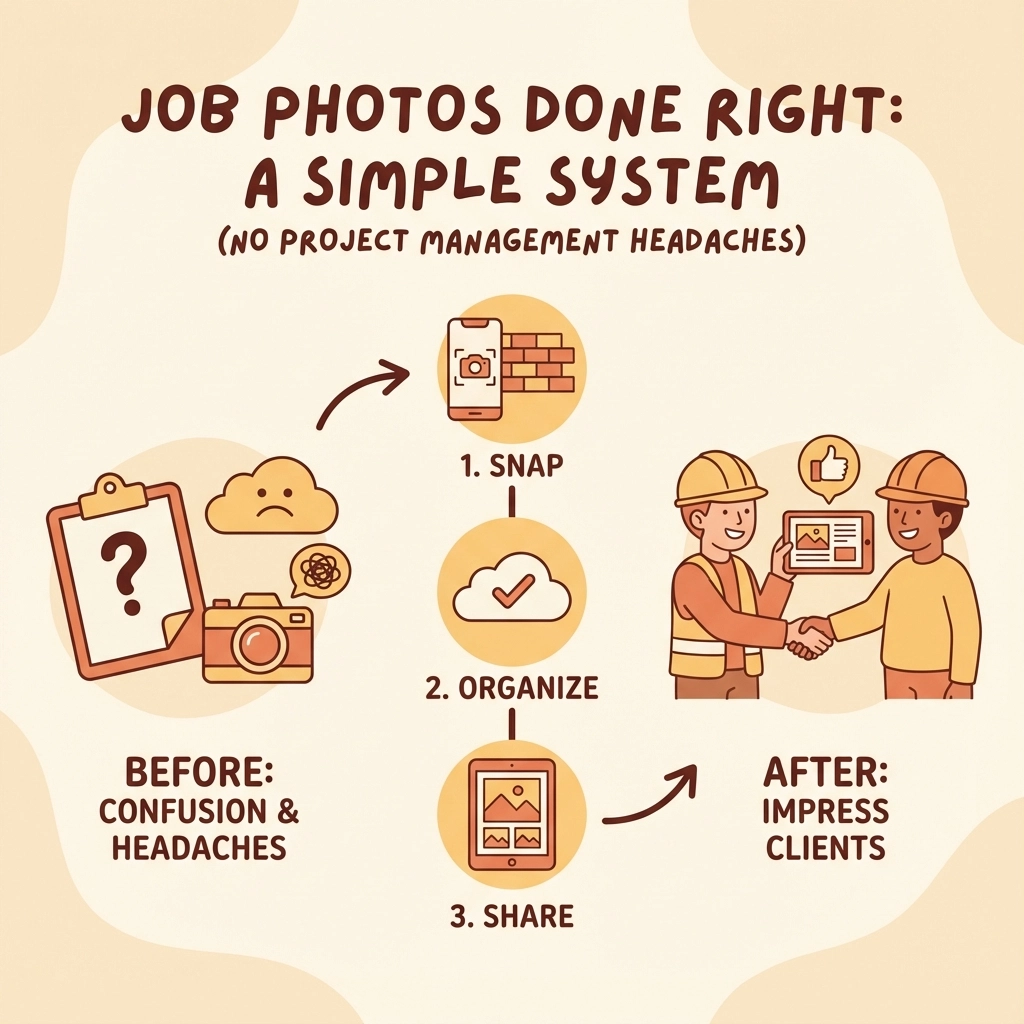
If you're a small contractor: electrician, plumber, HVAC tech, or any trades professional: photo documentation isn't just a nice-to-have. It's your insurance policy, your proof of work, and often the only thing standing between you and an expensive dispute.
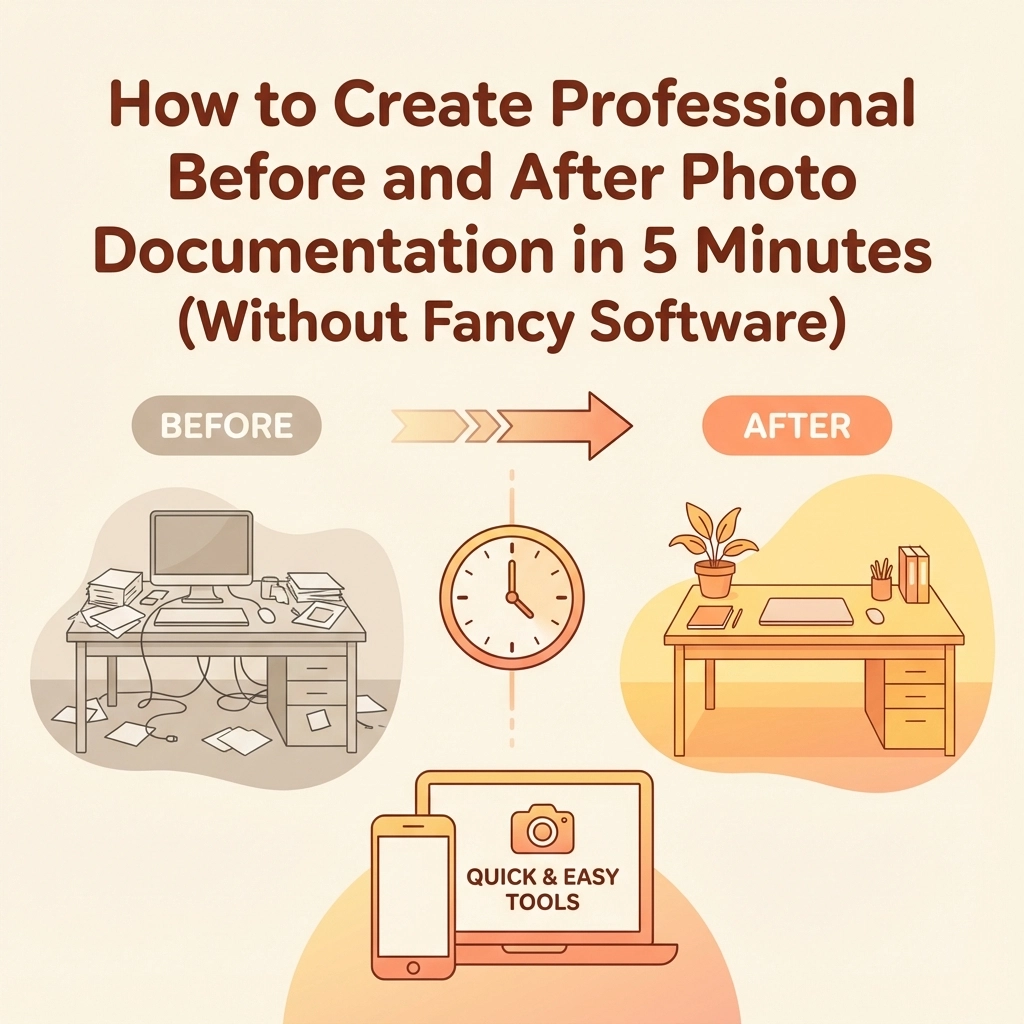
The good news? You don't need fancy equipment or complicated software. You just need to know what to photograph, when to do it, and how to keep it organized. Let's break it down.
Why Photo Documentation Actually Protects You
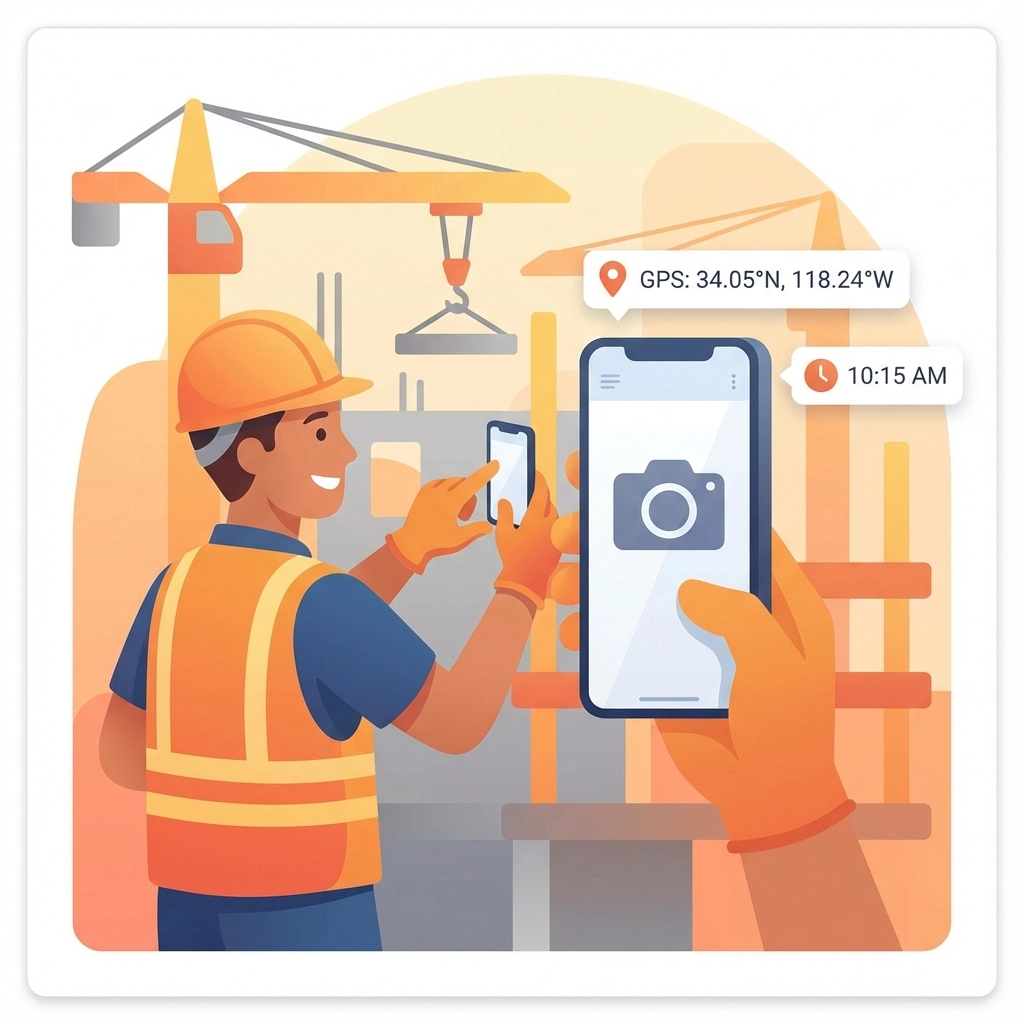
Think of construction photo documentation as your visual paper trail. Every image you capture is time-stamped proof of what happened on the job site.
Here's what solid photo documentation does for you:
Proves your work quality. When a customer questions the installation or claims something was done incorrectly, your photos show exactly what you did and how you did it. No more "he said, she said" conversations.
Protects you legally. Time-stamped photos document site conditions before you started, safety measures you took, and the condition you left things in. If someone claims you damaged their property or violated safety protocols, your photos can save you thousands in legal fees.
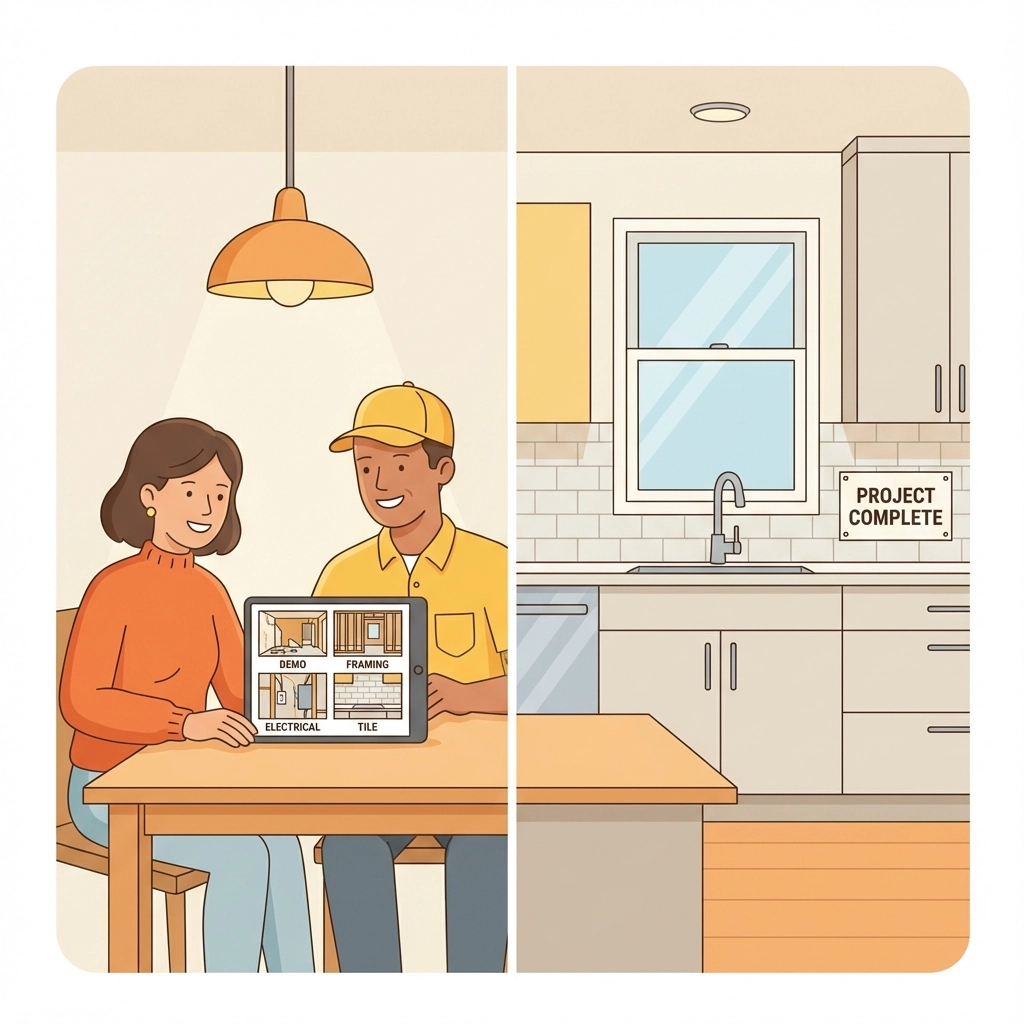
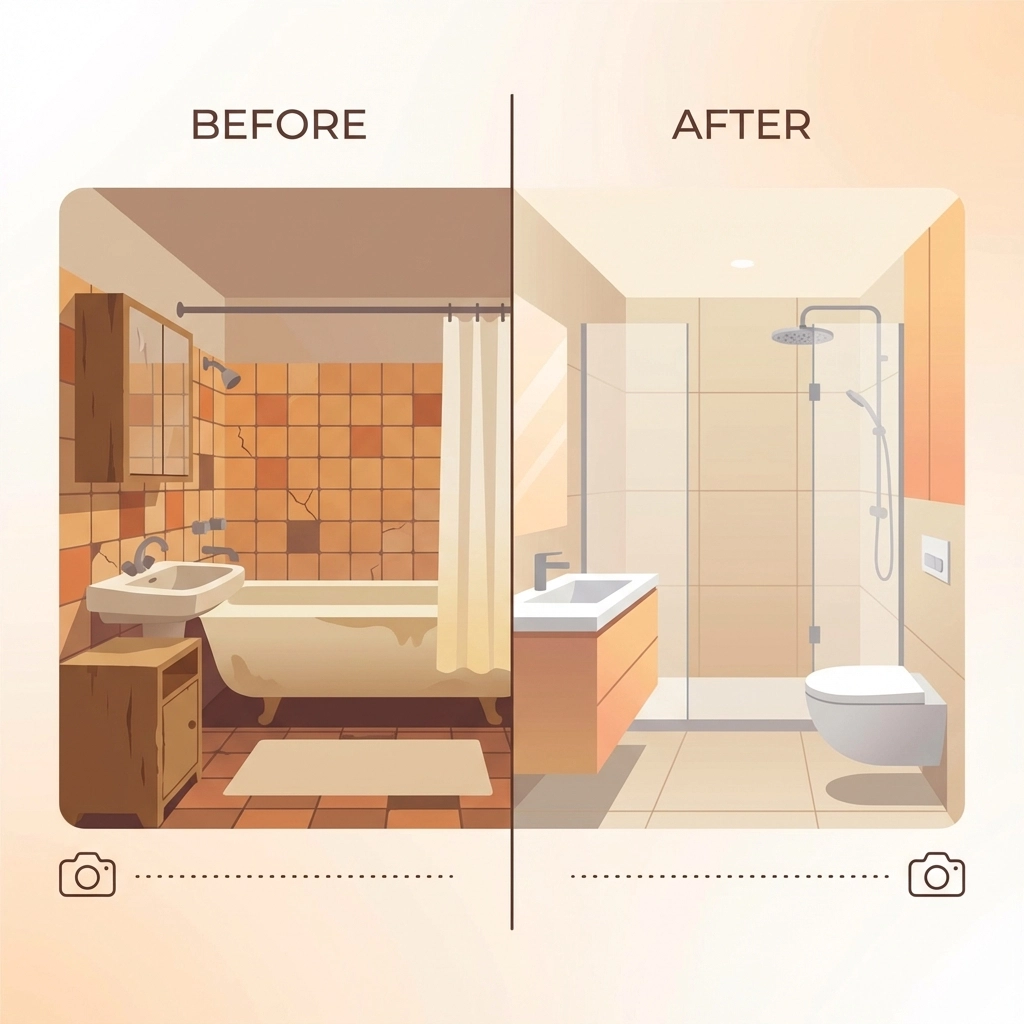
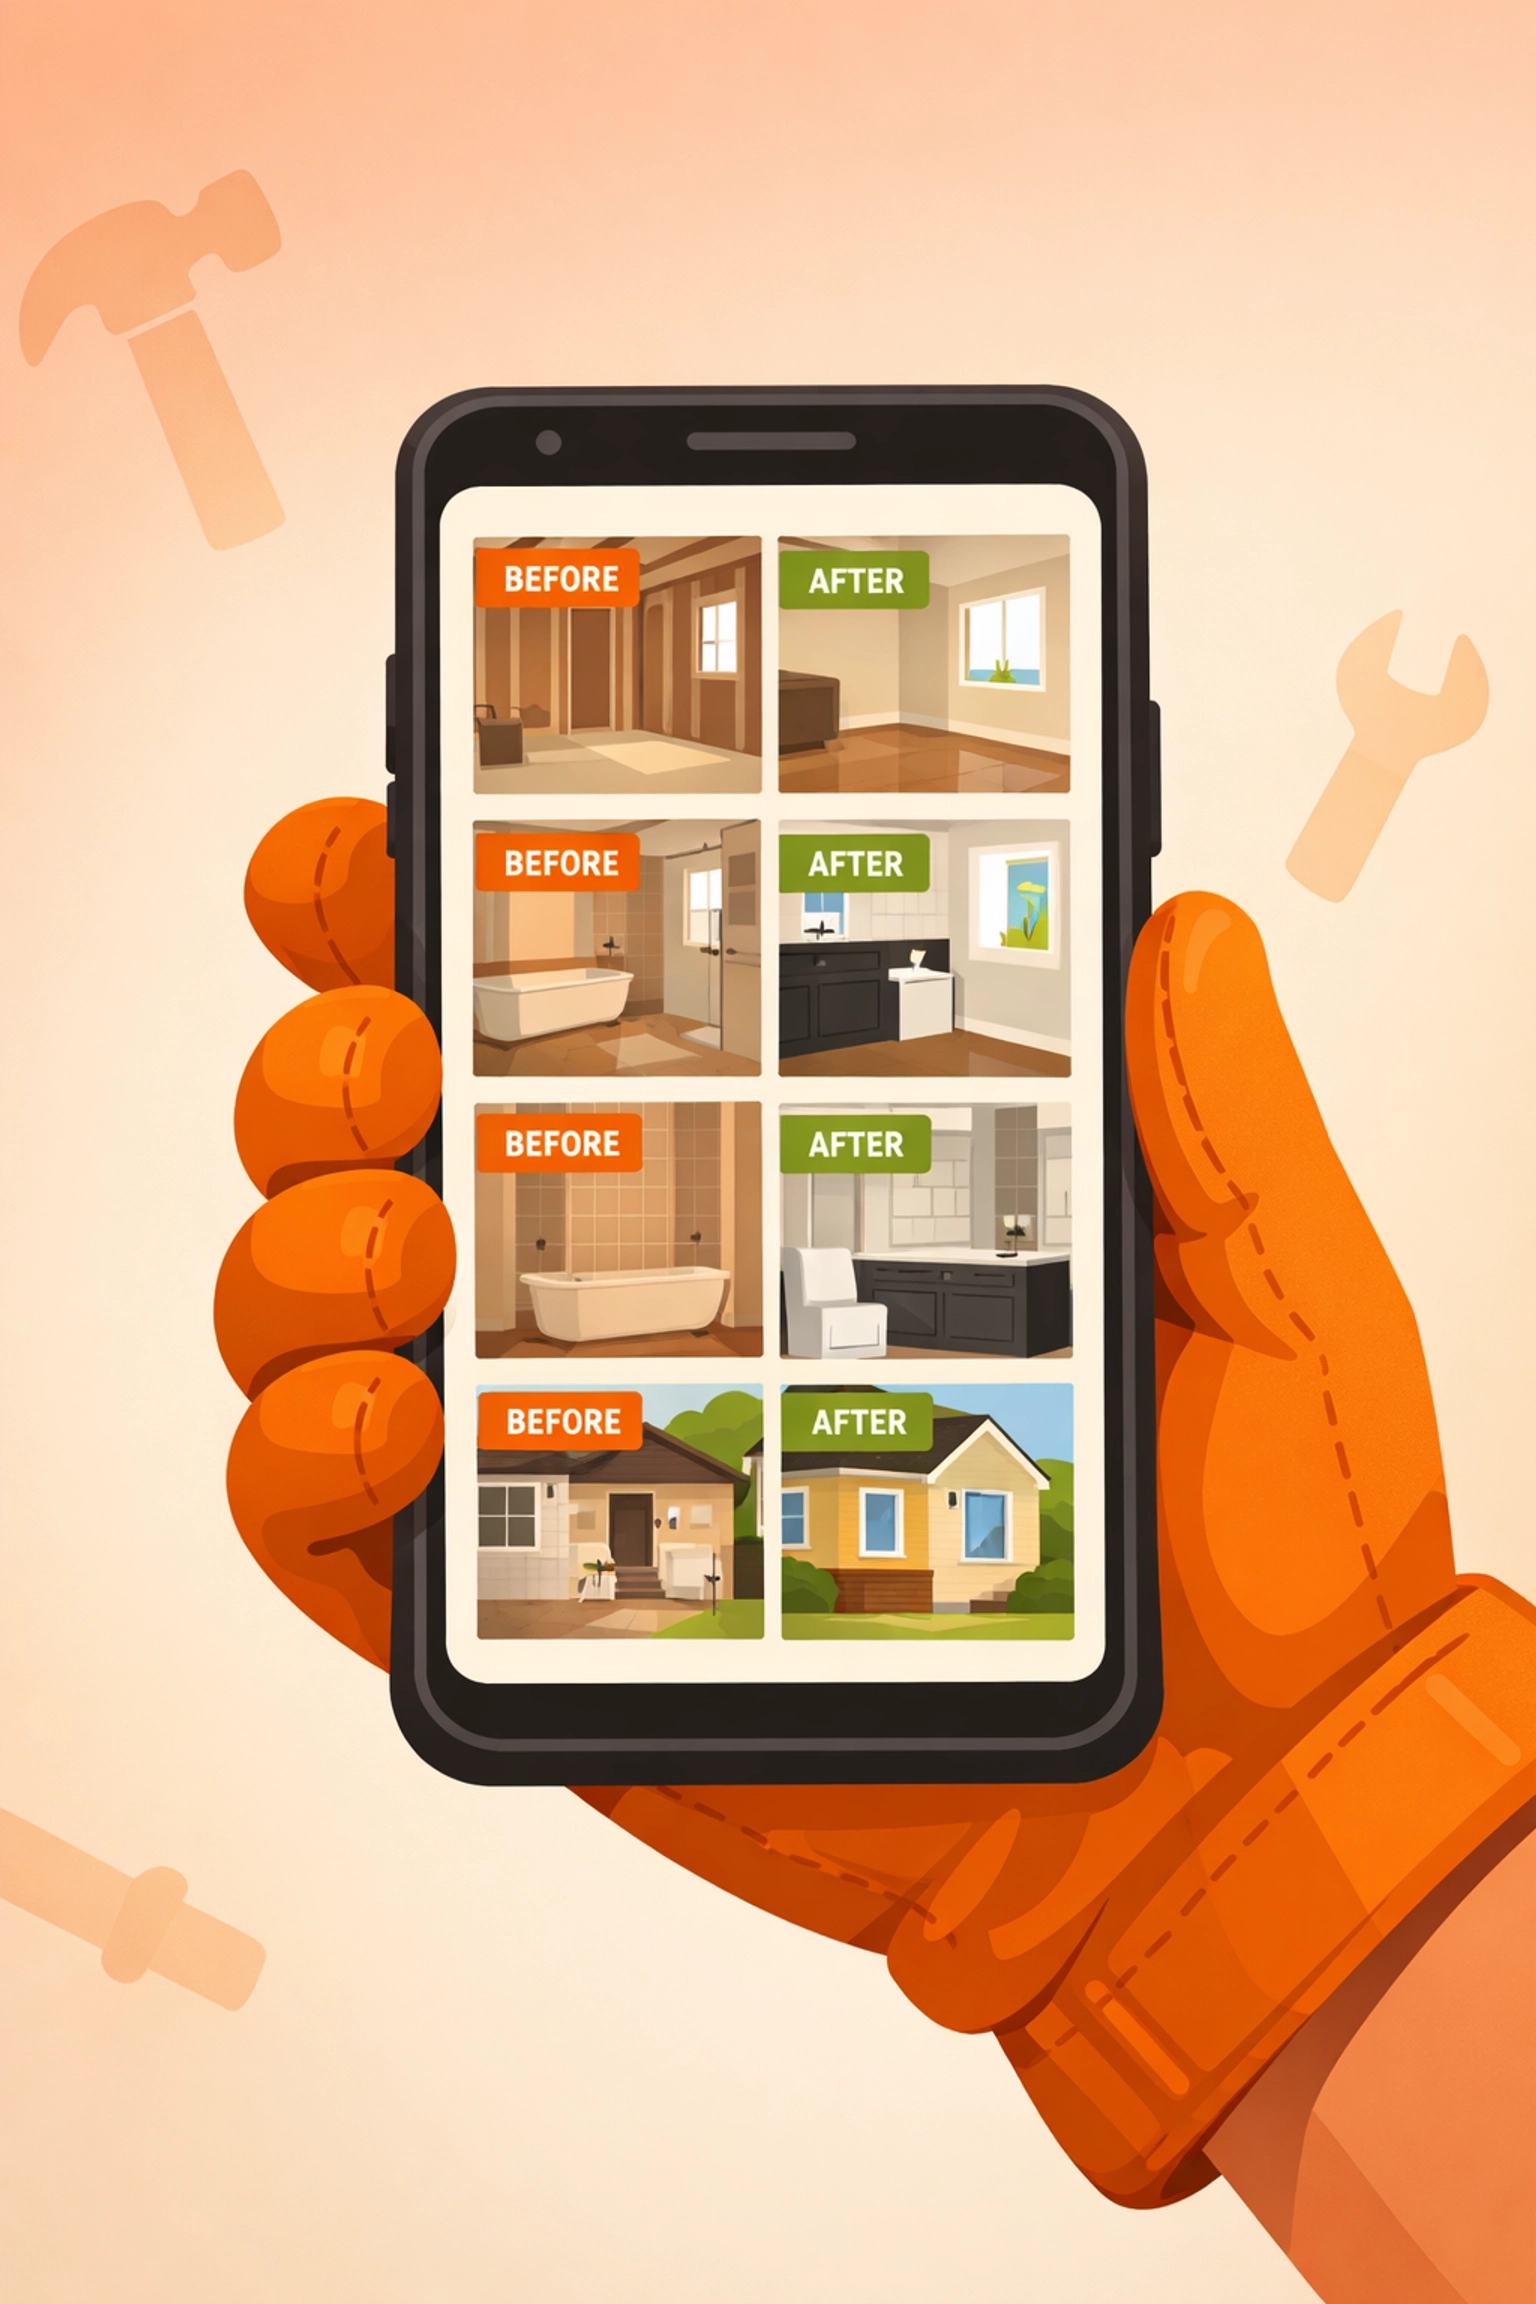
Speeds up payments. Before and after photos make it crystal clear what work was completed. Customers can see the transformation, which makes them more comfortable signing off on invoices quickly.
Reduces callbacks. When you document each step of complex installations: especially work that gets hidden behind walls or ceilings: you have a reference if something needs troubleshooting later. No more guessing where you ran that wire or installed that fitting.
When to Actually Take Photos (Without It Taking Forever)
The key is building photo documentation into your normal workflow, not treating it like extra work you do at the end of the day when you're exhausted.
Before you start: Take wide shots of the work area from multiple angles. Capture existing conditions, potential problem areas, and anything that's already damaged or questionable. This is your baseline.
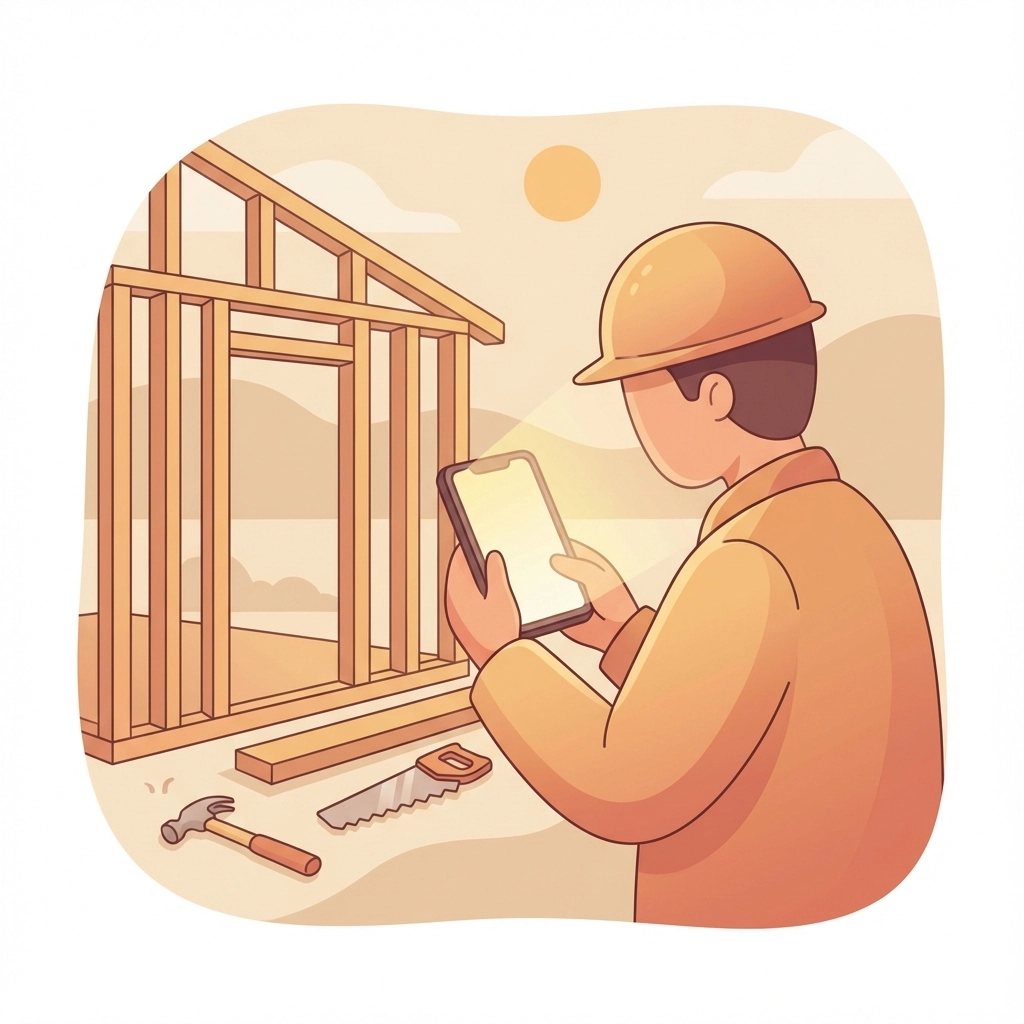
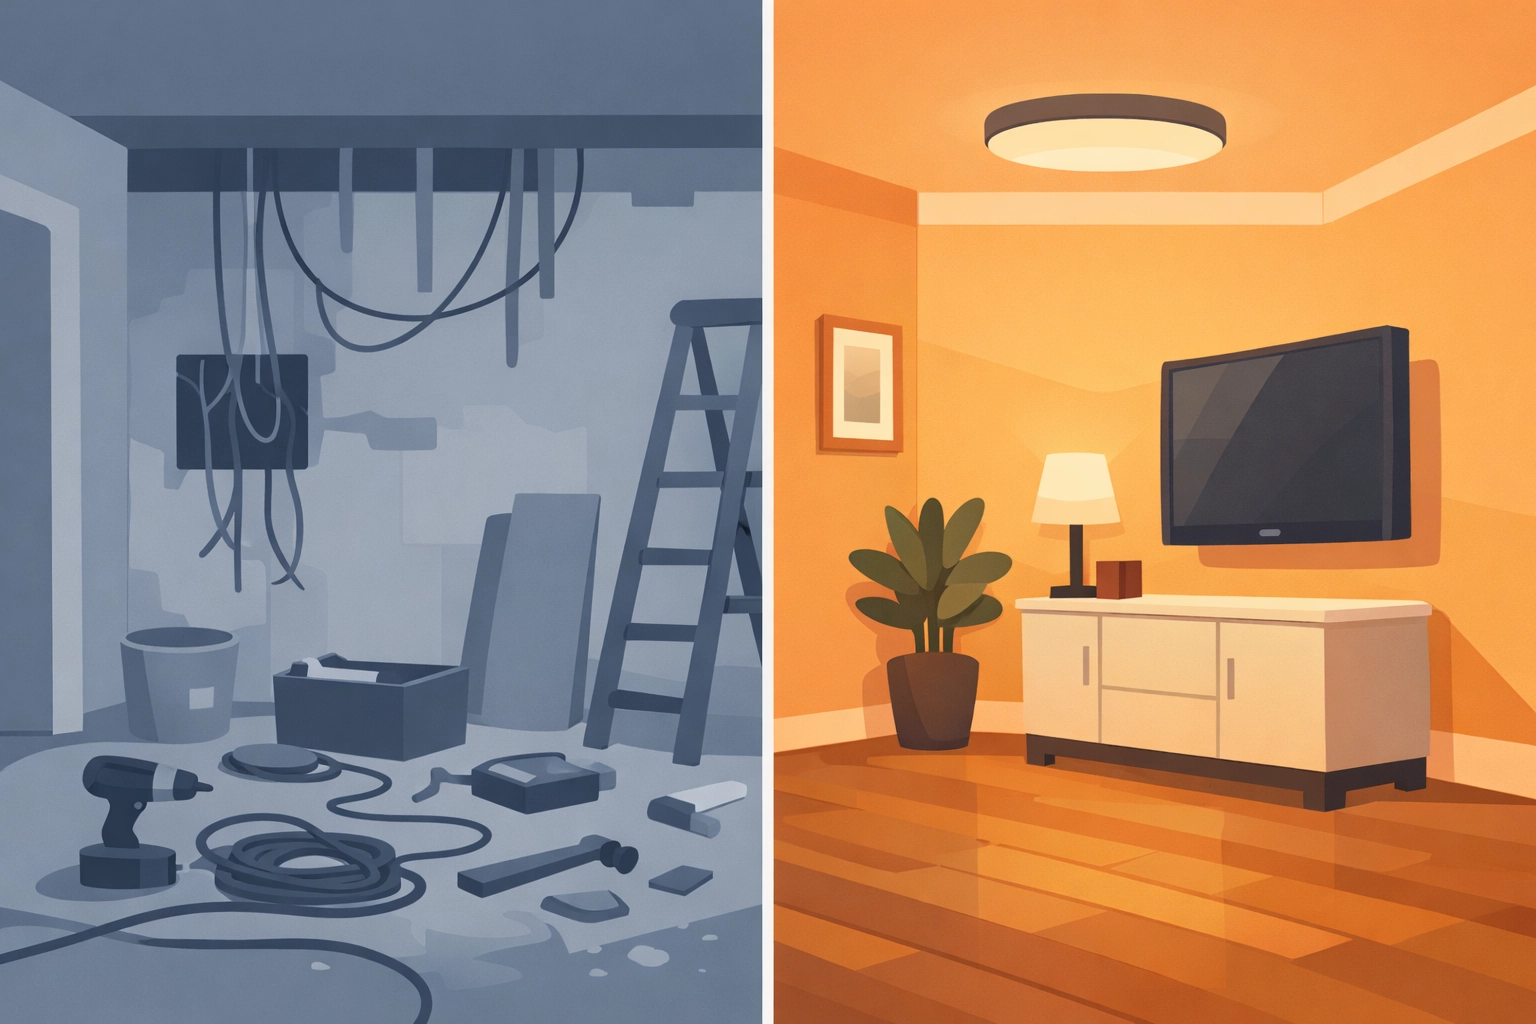
During the job: Document critical stages, especially before anything gets covered up. That electrical panel installation? Photograph it before you close the wall. Those pipe connections behind the cabinet? Snap them before the drywall goes up. Future-you will be grateful when troubleshooting becomes necessary.
At key milestones: Major installations, system tests, and inspections all deserve documentation. If an inspector signed off on something, photograph that approval along with what they approved.
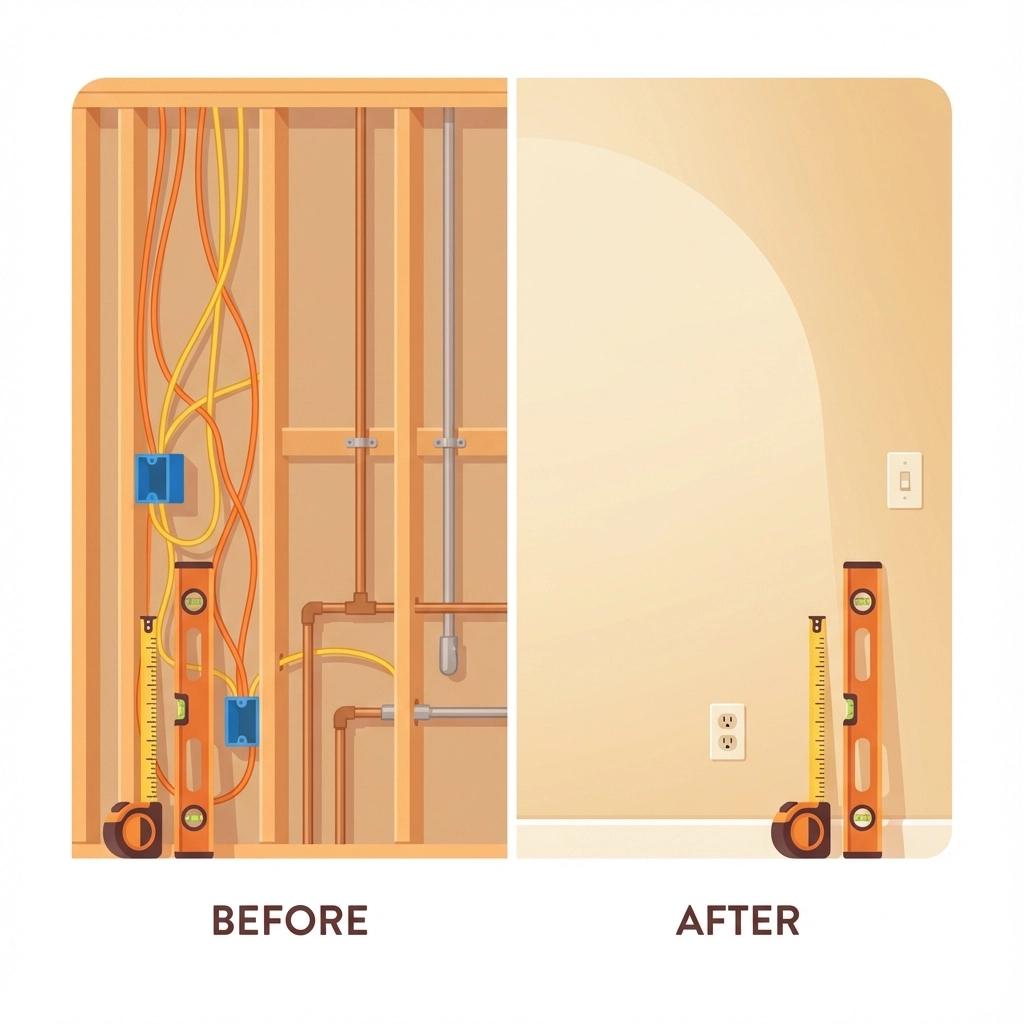
After completion: Take the same wide shots you took at the beginning, but now showing the finished work. These before and after photos are gold for your portfolio and proof of completion.
You don't need to document every single screw you turn. Just establish a rhythm: arrive on site, take "before" shots, document major steps, capture "after" shots before you leave.
What to Photograph (The Essential Shots)
Not all photos are created equal. Here's what actually matters:
Wide shots show the overall workspace and give context. Take these from consistent spots: each corner of the room works great. These help orient anyone looking at your photos later and show the scope of work.
Detail shots capture the specifics: connections, labels, model numbers, serial numbers, installation techniques. If you're an electrician, photograph how you made connections and secured wiring. If you're a plumber, document joint work and pipe routing. These details prove you followed proper procedures and specifications.
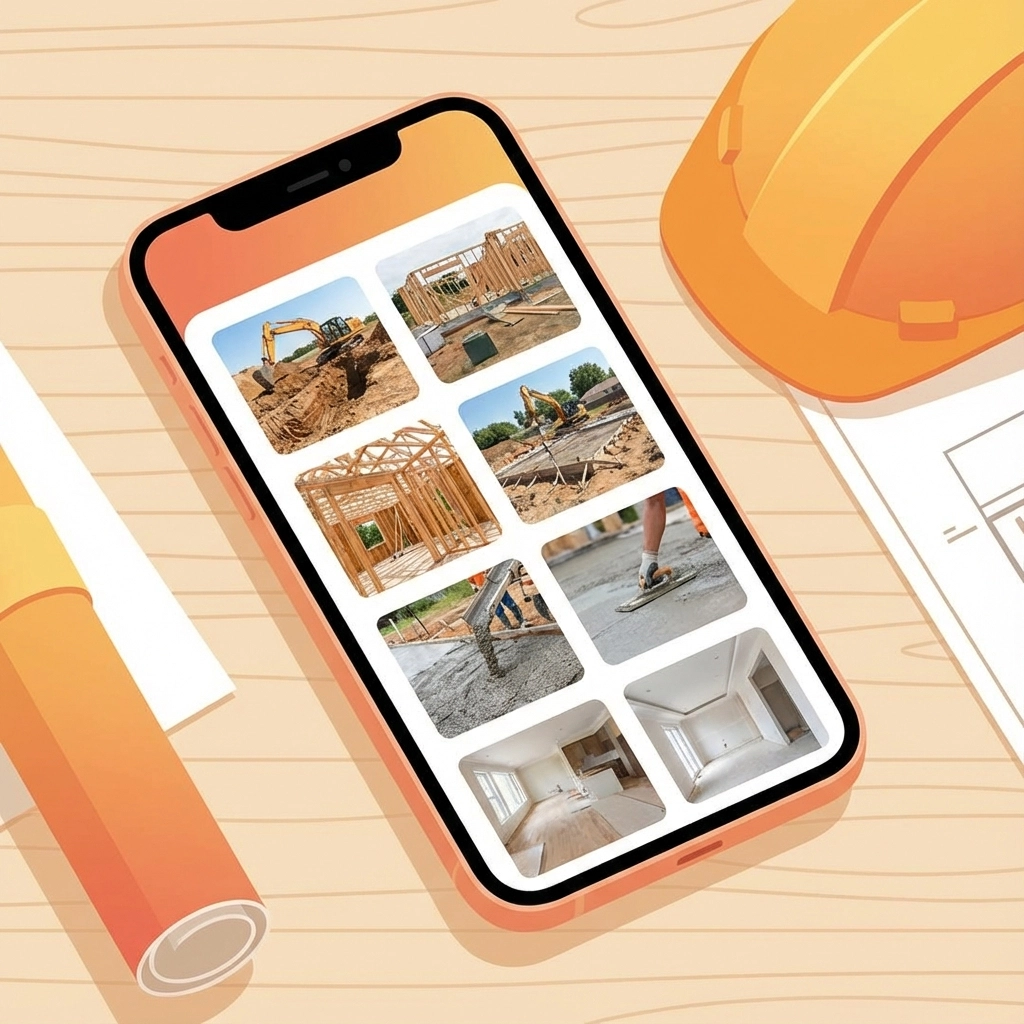
Progress documentation creates a visual timeline. Taking photos from the same angle throughout the project shows measurable progress and helps if there are questions about timing or sequence.
Work that disappears is the most critical to document. Before you install drywall, insulation, flooring, or any finish work that conceals your installation, photograph everything underneath. Seriously: everything. This is your get-out-of-jail-free card if something goes wrong later and someone needs to know what's behind that wall.
Context and conditions matter too. Photograph weather conditions if they're relevant, materials as they're delivered (capturing any pre-existing damage), and any unusual site conditions that might affect your work or timeline.
Keeping Everything Organized (Without Losing Your Mind)
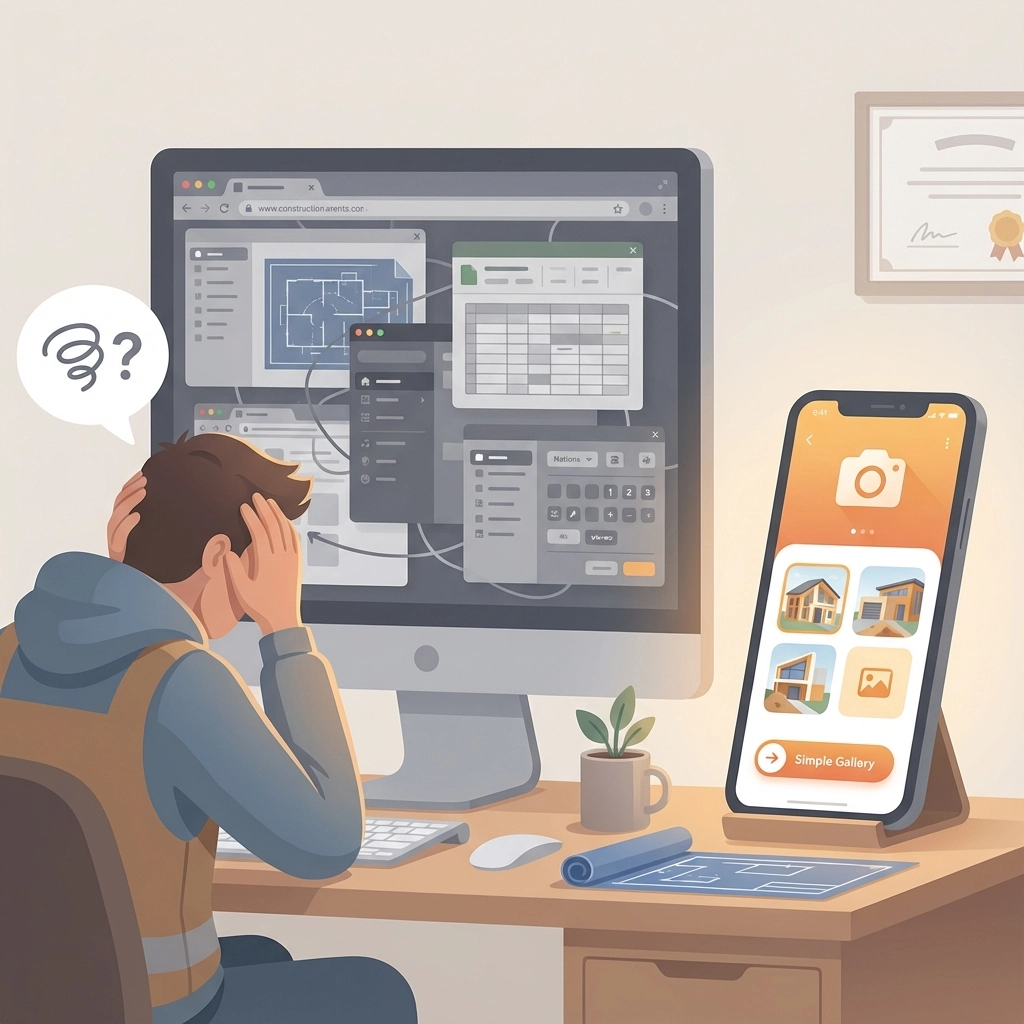
Taking photos is easy. Finding the right photo three months later when you need it? That's where most contractors struggle.
The secret isn't complicated project management software that requires training videos to understand. You need something simple that works the way you already work.
A good contractor photo app should let you organize images by job automatically, add quick notes or voice memos, and share photos with customers without forcing them to download anything. (That last part is huge: customers hate downloading apps just to see photos of their own job.)
Your system should include:
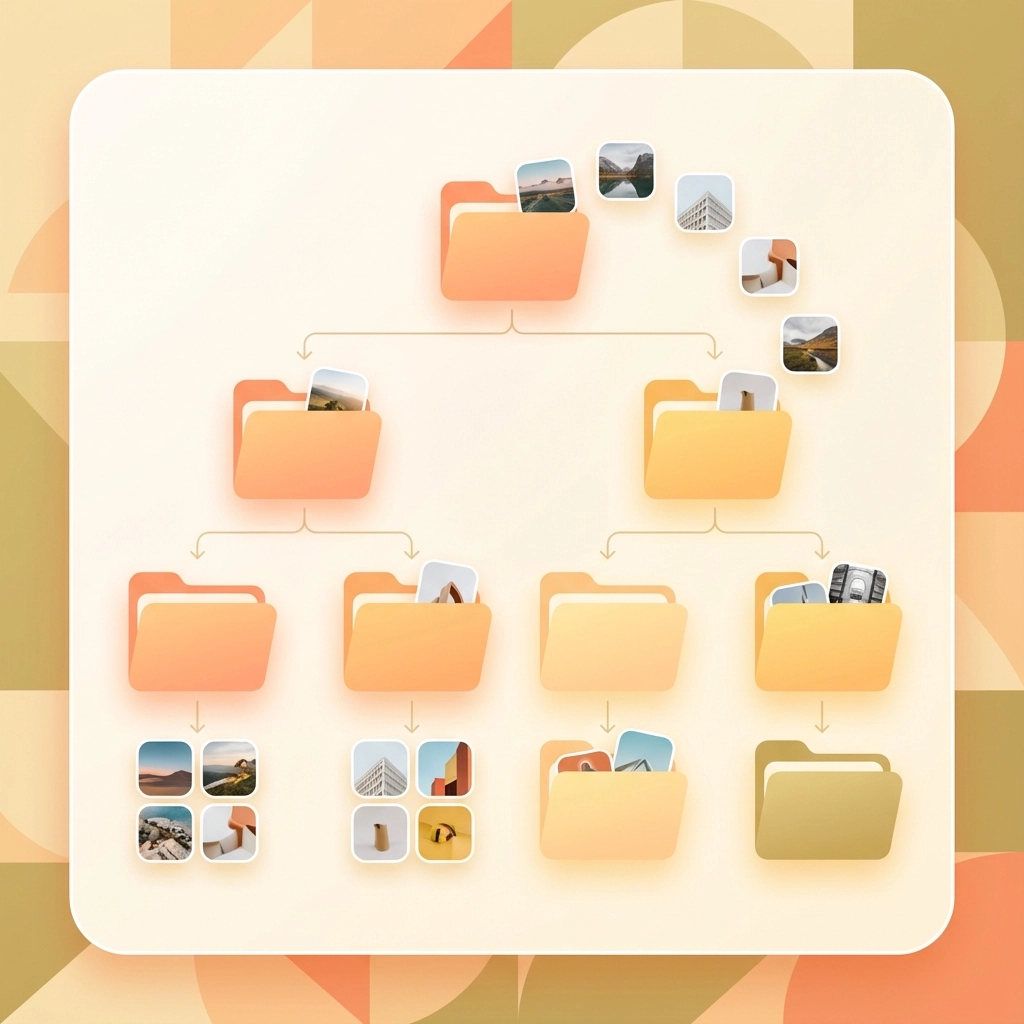
Consistent file naming if you're going old-school with phone photos. Something like "CustomerName-Date-Location" works. But honestly, this gets tedious fast.
Automatic organization is better. Modern contractor software can tie photos directly to specific jobs and dates without you manually sorting anything. Take the photo, and it's already in the right place.
Easy sharing means customers can see their job progress or final results through a simple link. No app downloads, no password hassles. They click, they see the photos, done.
Cloud backup protects you if your phone dies, gets stolen, or takes a swim. Your documentation shouldn't live only on one device.
The reality is most contractors just need a dead-simple photo timeline app that captures, organizes, and shares without a learning curve. Anything more complicated than that typically ends up abandoned after the first week.
Simple Best Practices That Make a Real Difference
Make it non-negotiable. Photo documentation can't be something you do "when you remember." Build it into your arrival and departure routine. Park the truck, grab your tools, take baseline photos. Finish the work, take completion photos, pack up. Make it automatic.
Use your phone. You already have it with you. The best camera is the one you actually use. Modern smartphone cameras are more than good enough for construction documentation, and they automatically timestamp everything.
Stay consistent. Take photos from similar angles each time. If you photographed the work area from the northeast corner at the start, take the "after" shot from the same spot. Consistency makes progress obvious and helps with visual comparisons.
Add quick notes. Even just "Main panel installation" or "Customer requested additional outlet here" helps when you're looking back months later. Voice memos work great if you're not a typer.
Share early, share often. Don't wait until the job is done to show customers what you're doing. Share progress photos throughout the project. It builds trust, reduces surprises, and often prevents scope creep because everyone stays aligned on what's happening.

The Bottom Line
Construction photo documentation doesn't need to be complicated. You don't need a degree in photography or a project management system designed for building skyscrapers.
You just need to capture the right moments, keep things organized simply, and make it part of your normal workflow. Do that, and you've got protection against disputes, proof of quality work, and a visual story of every job you complete.
For small contractors and trades professionals, the goal is simple tools that solve real problems without adding complexity. That's the whole point of good contractor software: making your life easier, not harder.
Start with your next job. Take those before photos, document your work as you go, capture the after shots, and keep everything tied to that specific customer. After a few jobs, it becomes second nature.
And when that inevitable "this isn't what I expected" call comes in, you'll have exactly what you need to show what actually happened. That peace of mind is worth way more than the thirty seconds it takes to snap a few photos.