As a solo contractor or small shop owner, you've probably felt the frustration. You just want to document your jobs professionally: capture before and after photos, keep a clean timeline, and share progress with clients without looking like you're texting from your personal phone. Simple, right?
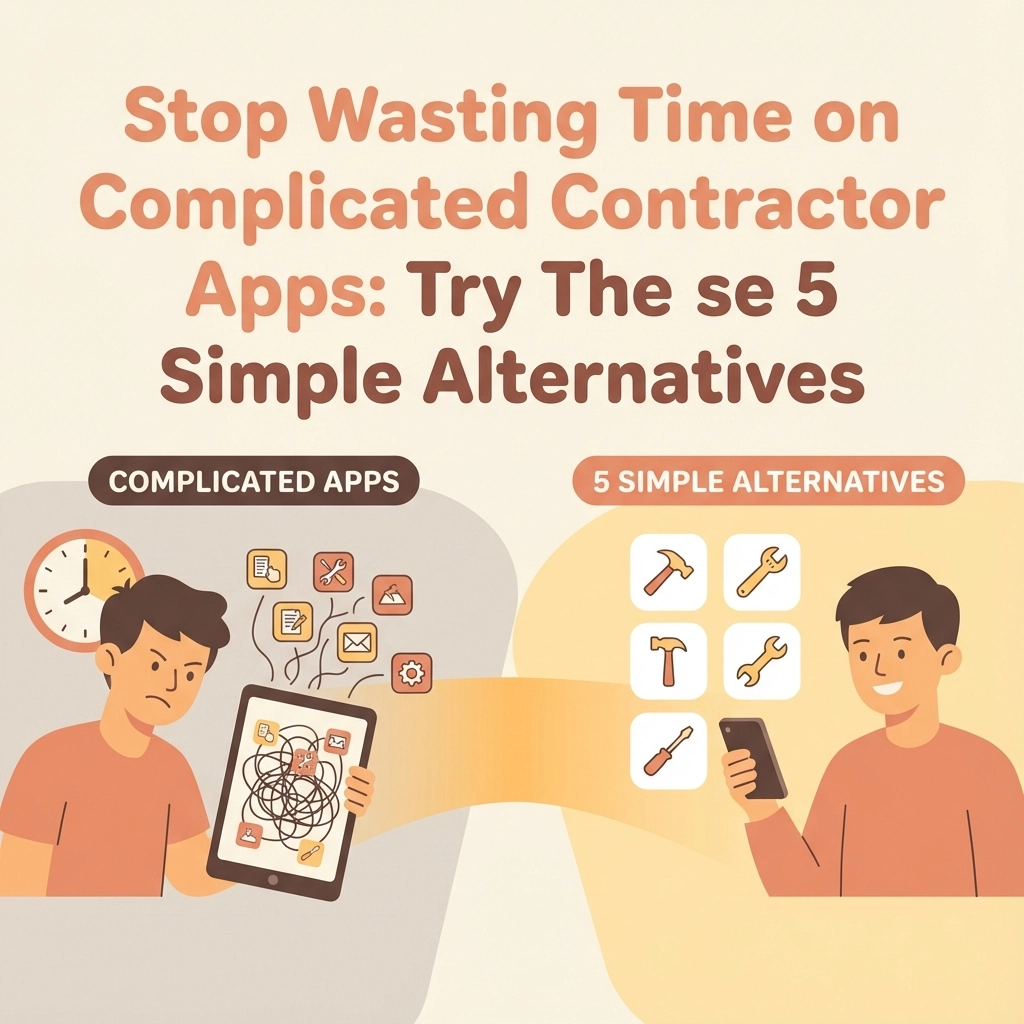
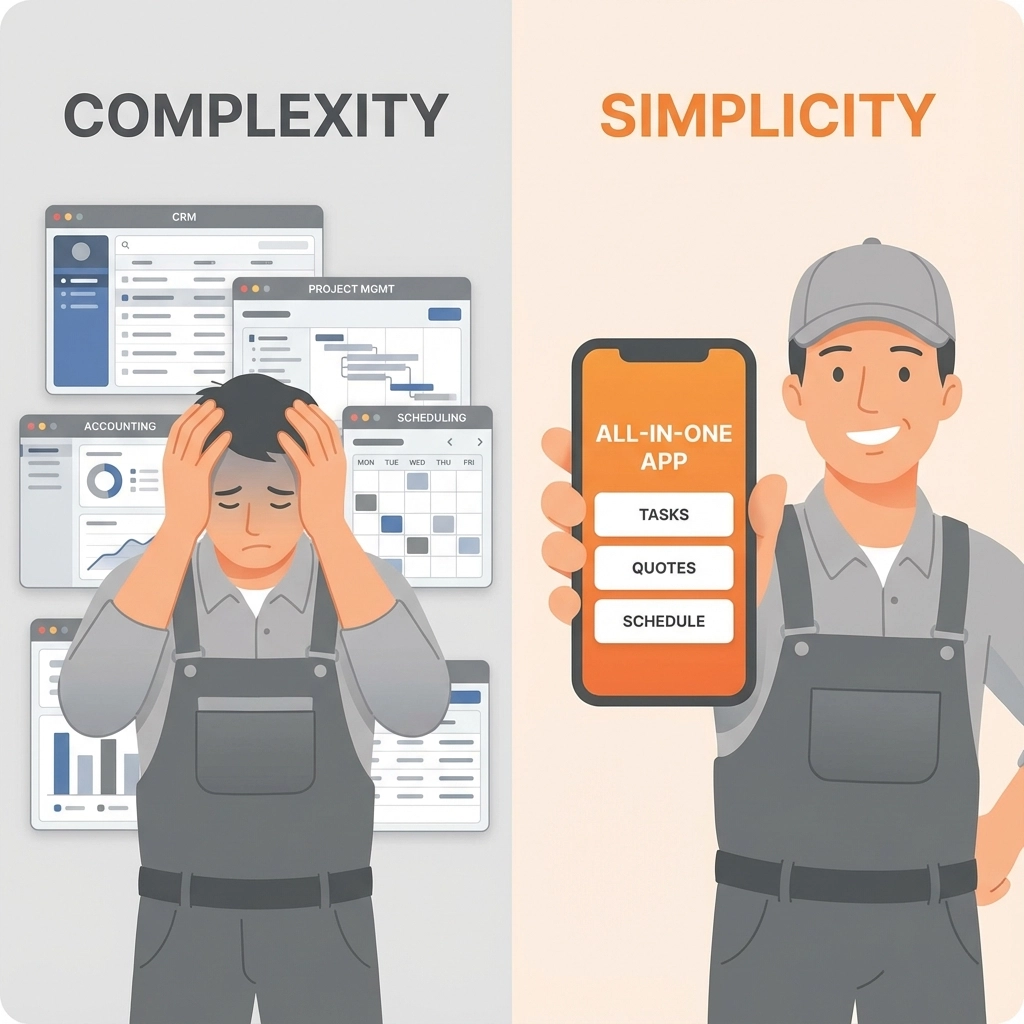
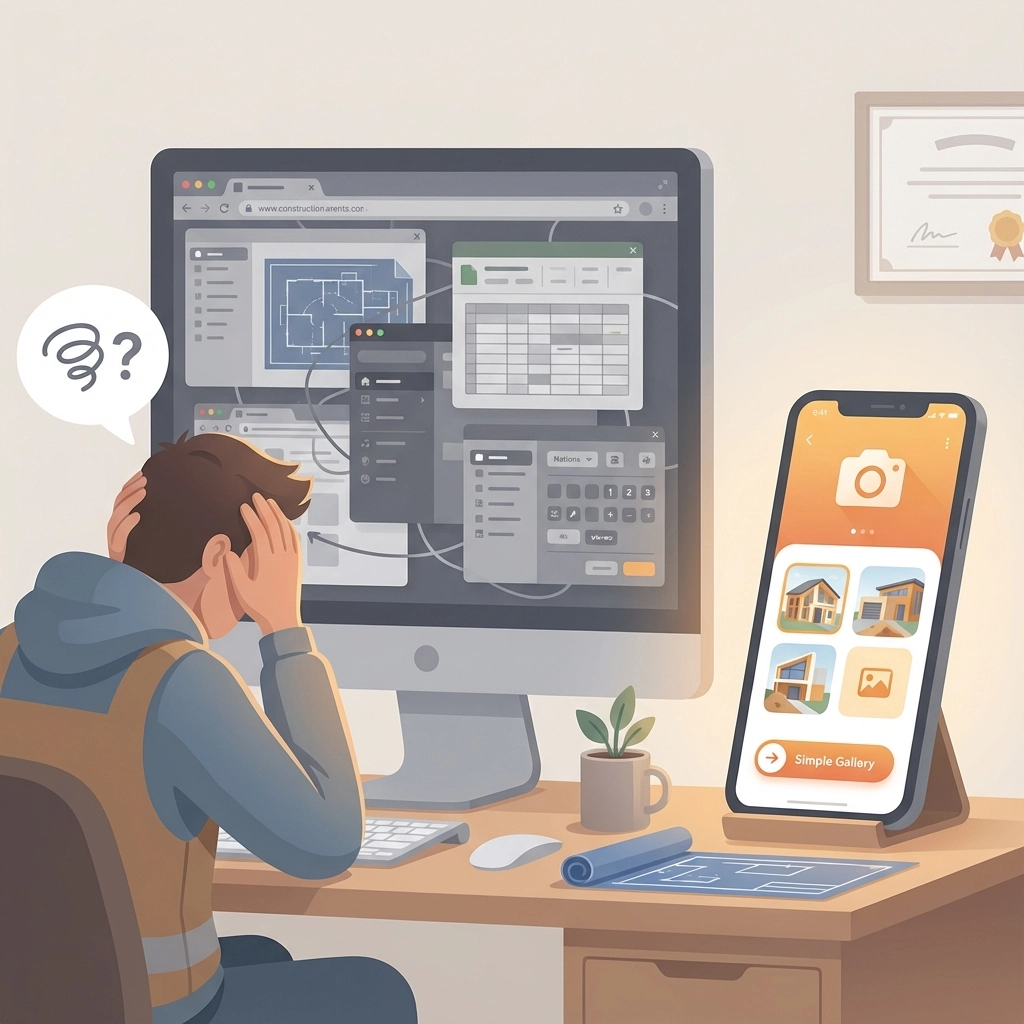
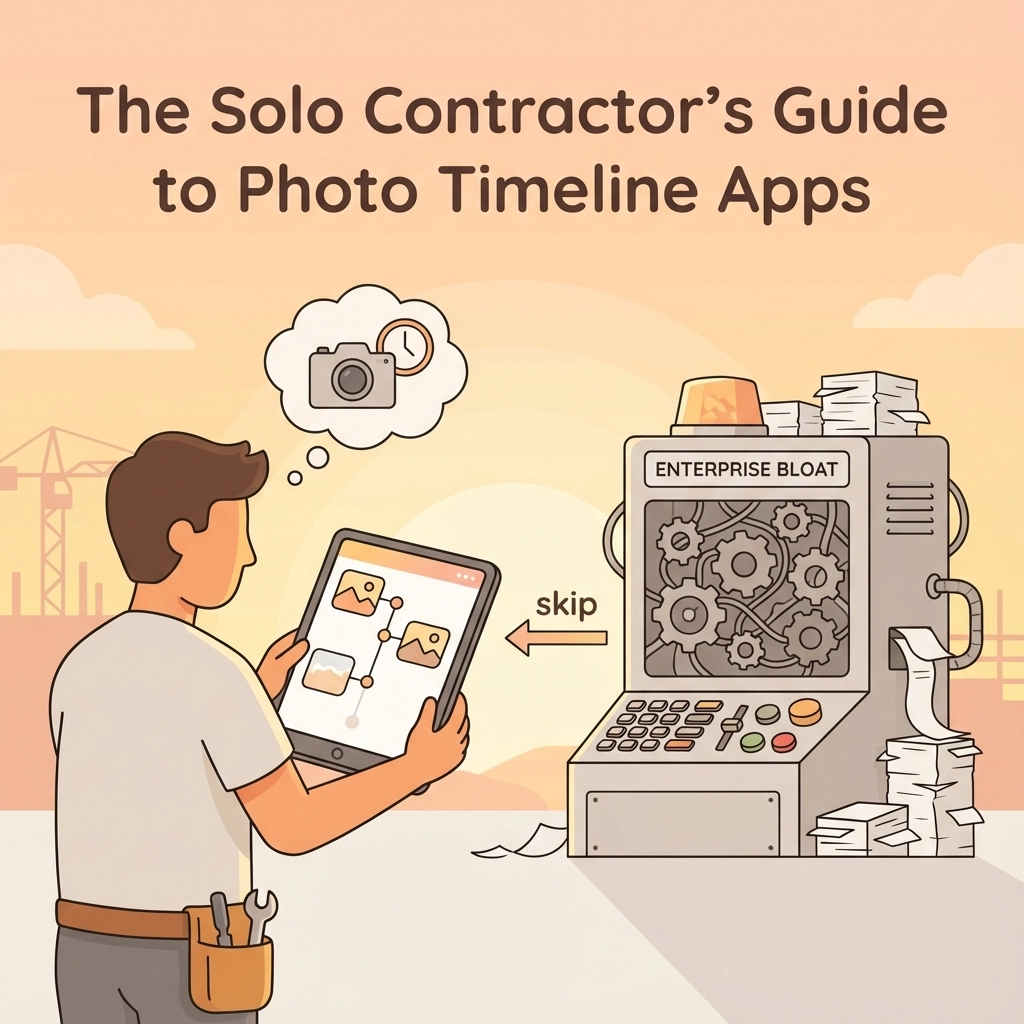
But when you start shopping for photo documentation apps, you're hit with "comprehensive project management platforms," "enterprise-grade solutions," and "all-in-one construction software suites" that cost more than your truck payment and require a manual thicker than your local building code.
Here's the truth: most construction software is built for corporate teams, not solo operators who just need clean job documentation.
The Enterprise Bloat Problem
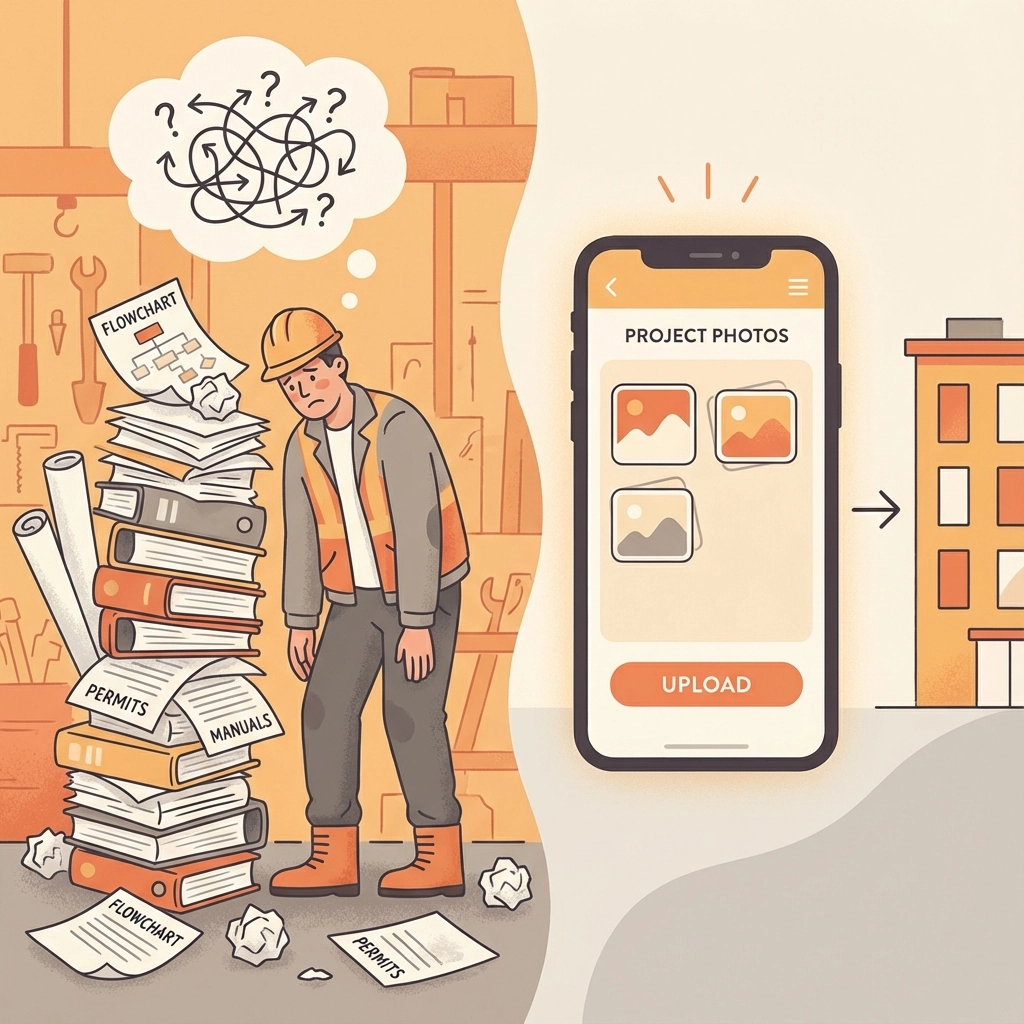
Walk into any app store or Google search for "construction photo apps," and you'll find platforms trying to solve every problem under the sun. They bundle photo documentation into massive systems that force you into:
- Dispatching modules you don't need (you dispatch yourself)
- CRM systems for managing hundreds of clients (you have 12 regulars)
- Team scheduling for crews you don't have
- Mandatory multi-user seats you'll never fill
- Training sessions just to upload a photo
The result? You're paying enterprise prices for simple needs, spending more time learning software than doing actual work, and your photos are still buried somewhere in a maze of dashboards, tabs, and workflows.

What Solo Contractors Actually Need
Let's get real about what matters when you're working alone or with a small crew:
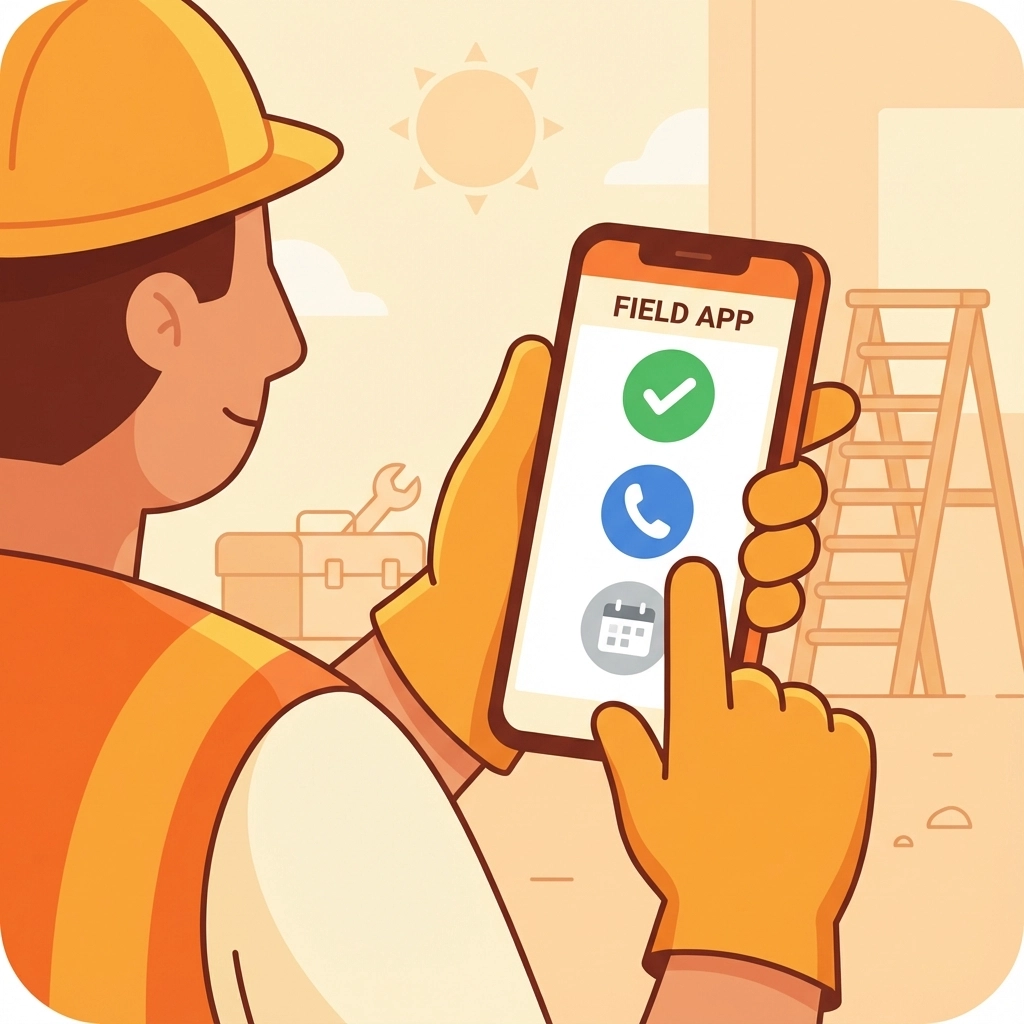
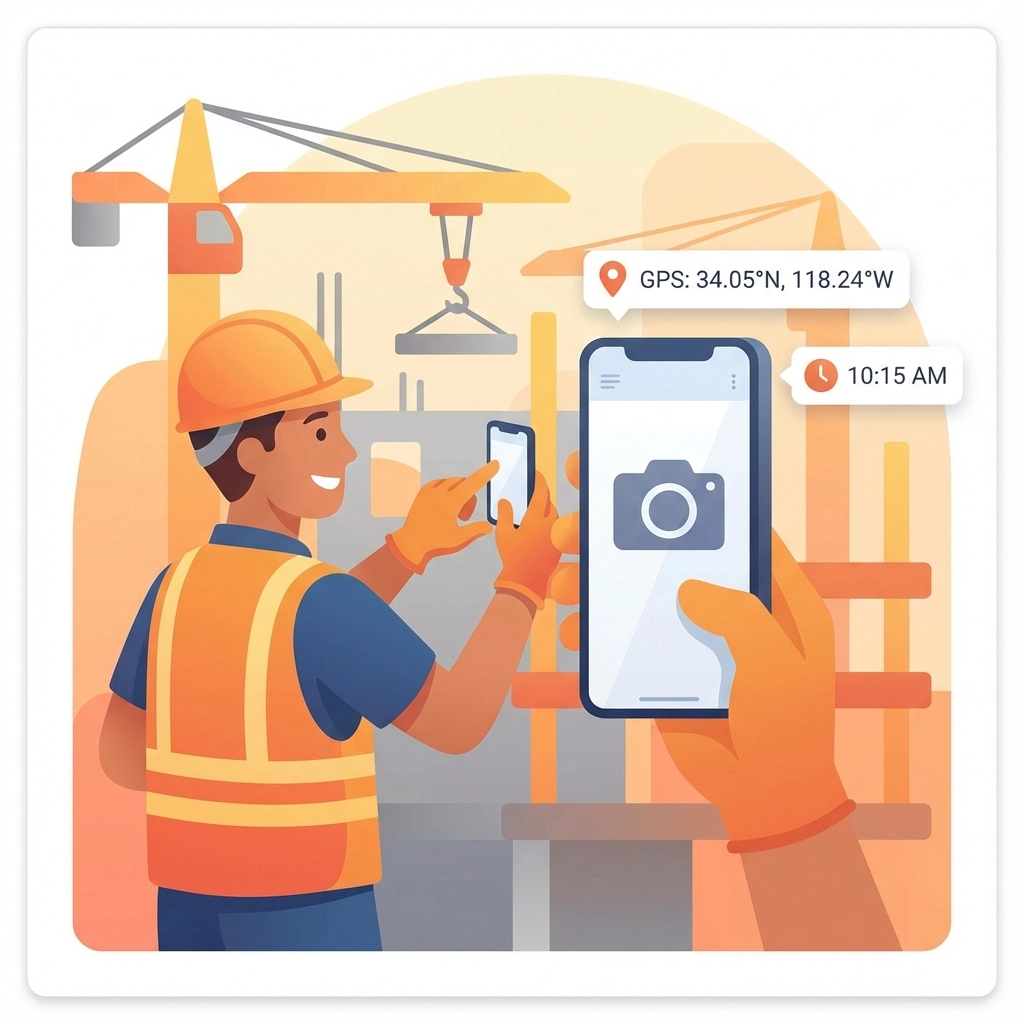
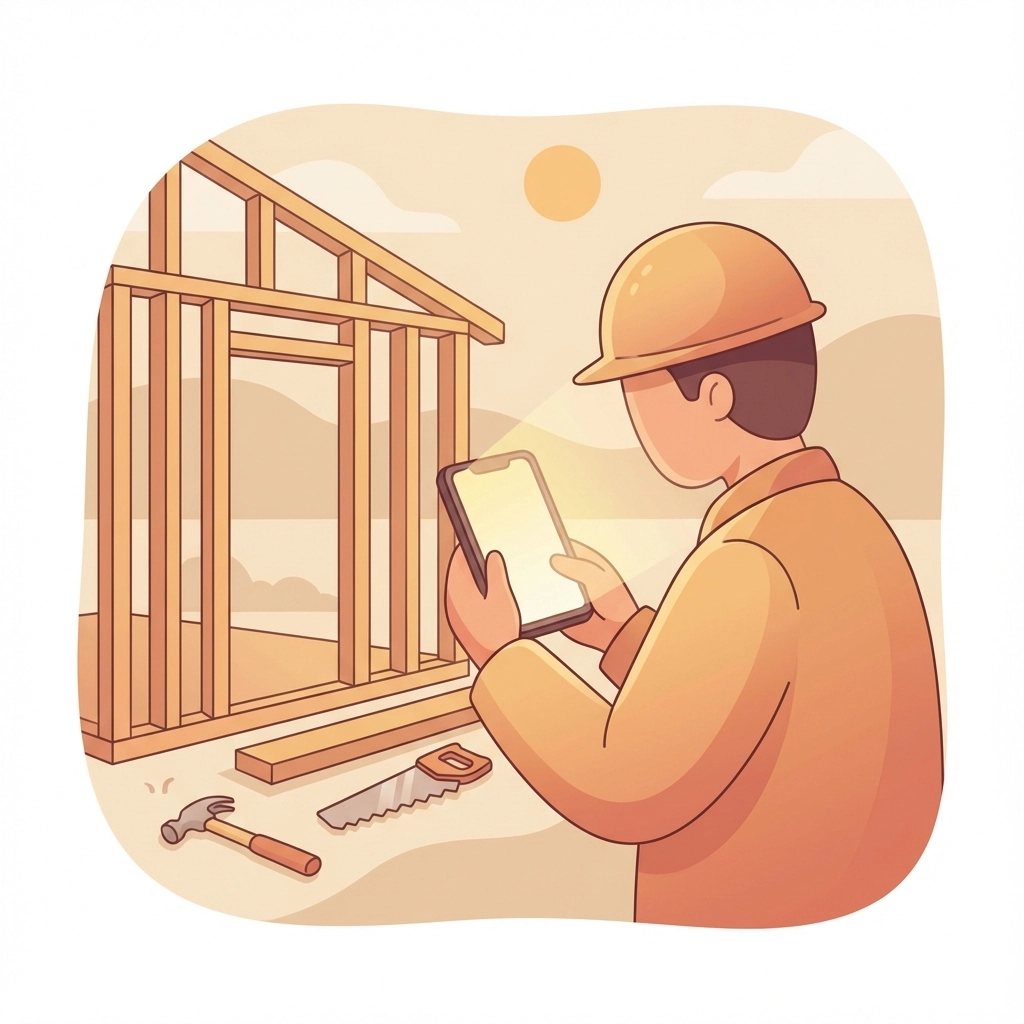
Speed on the job site. You need to snap photos, add quick notes, and get back to work. Not navigate through five menus to find the "photo upload" button.
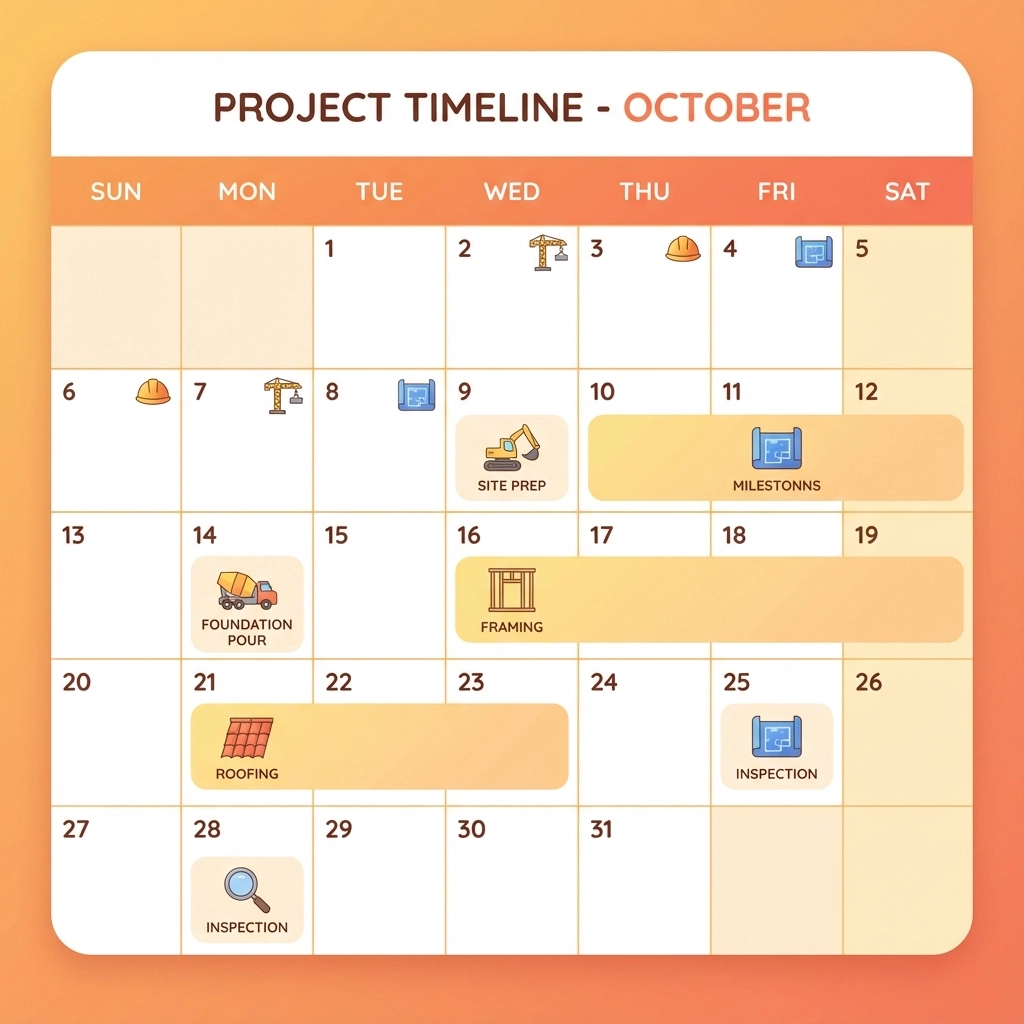
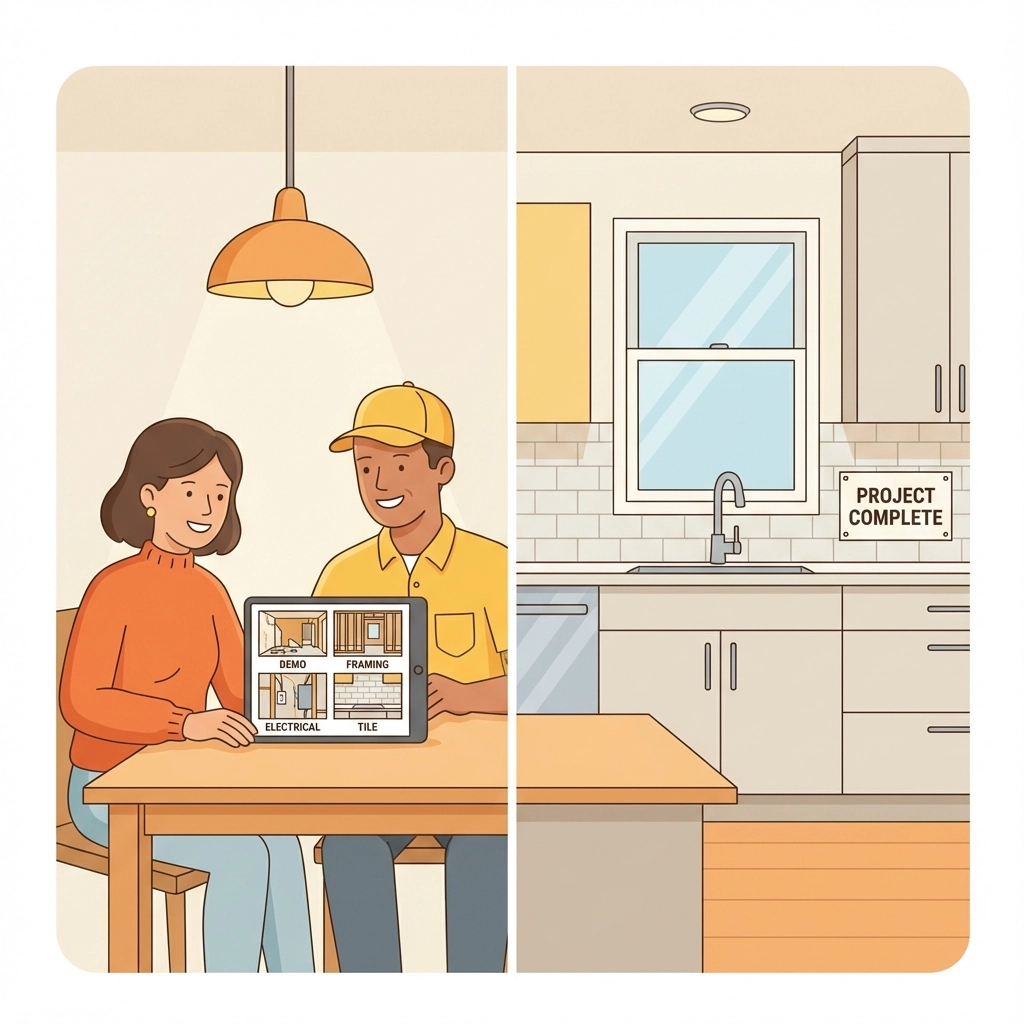
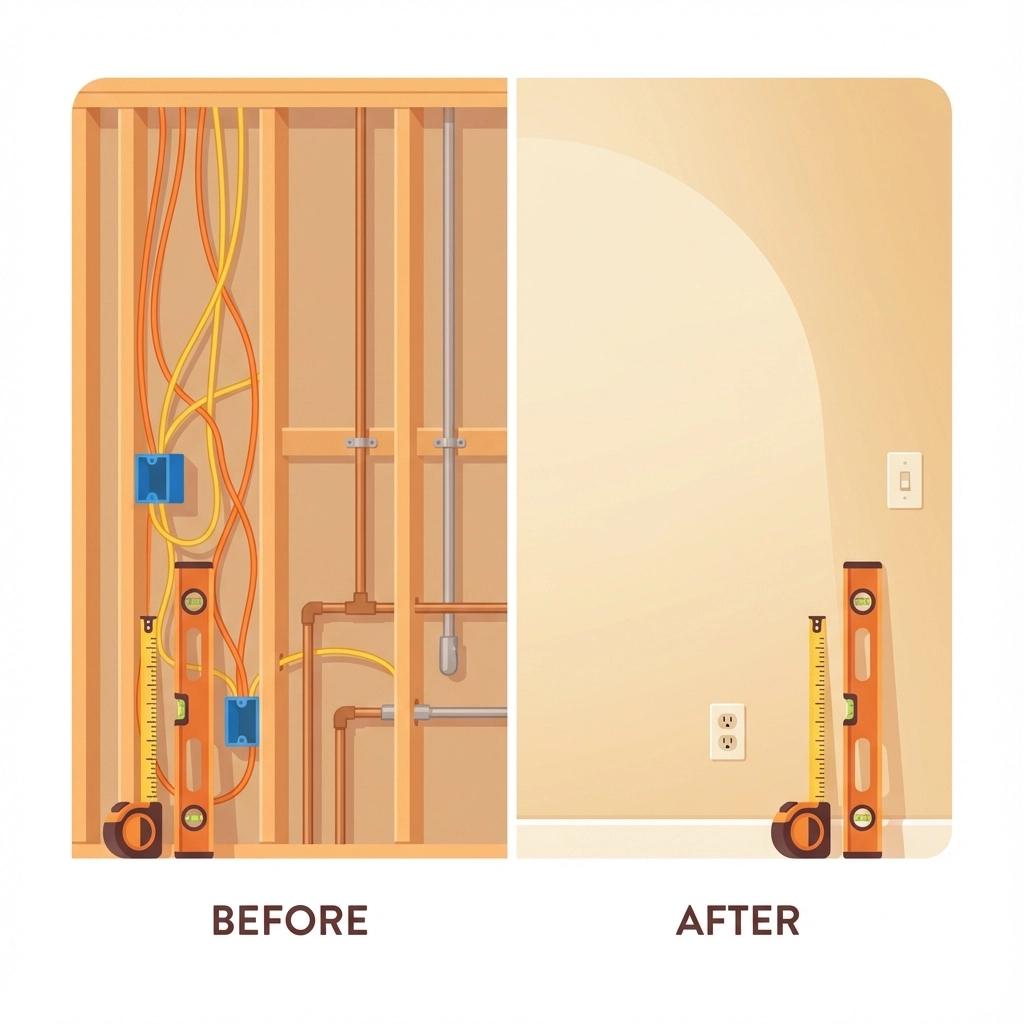
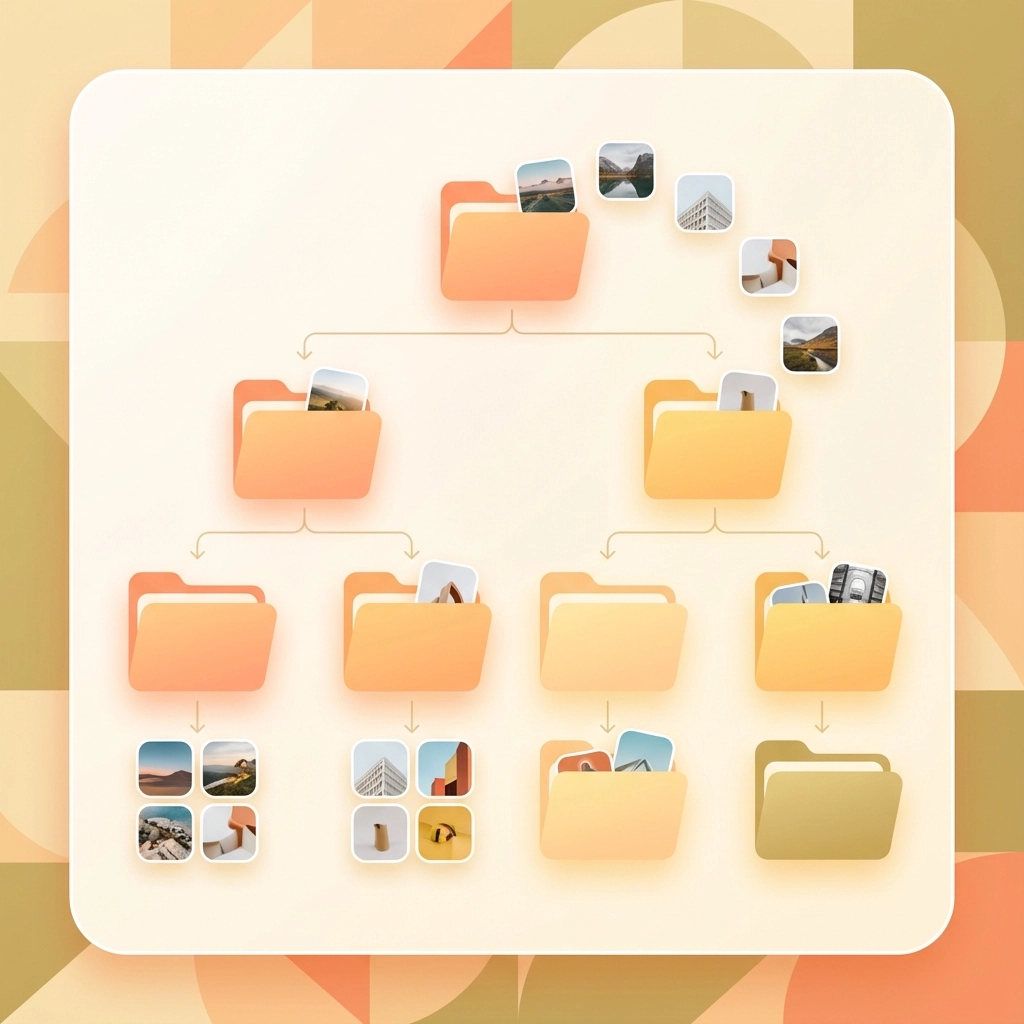
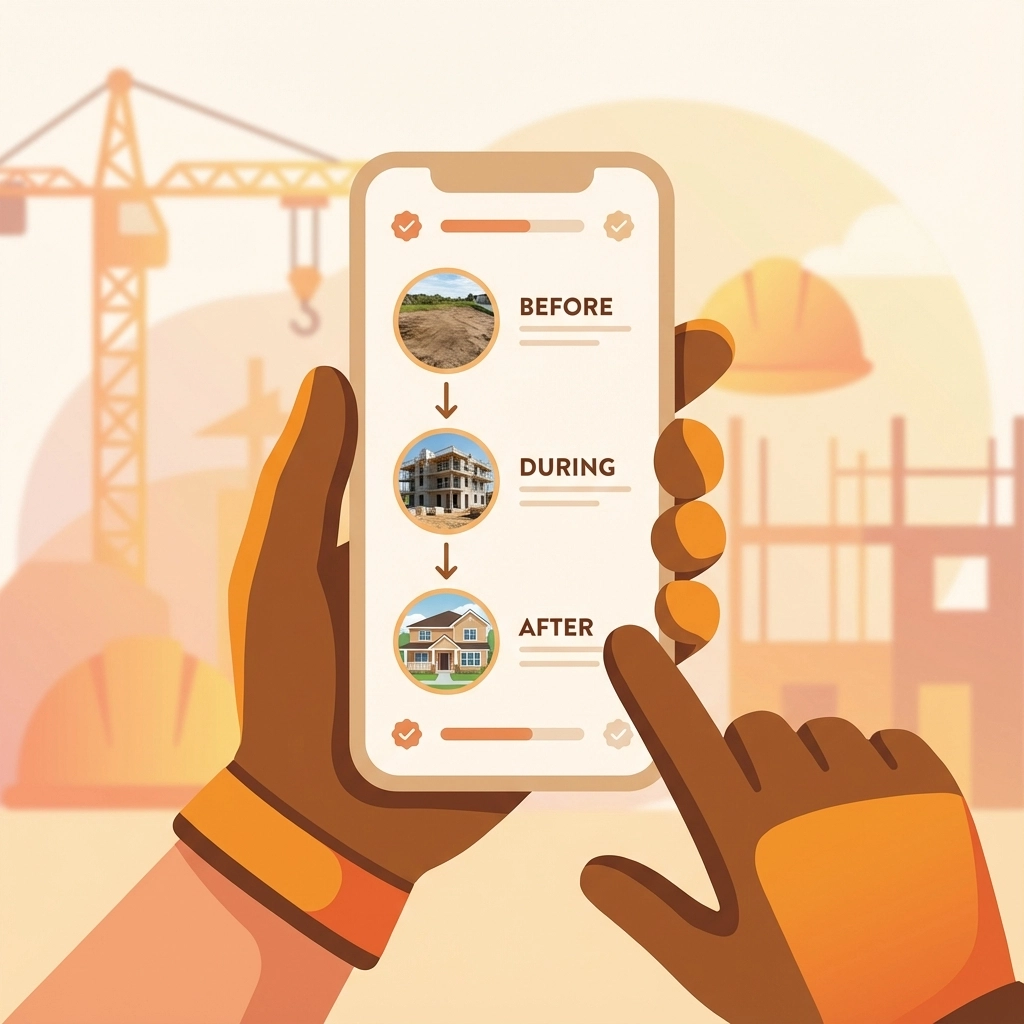
One clear timeline per job. Every job should tell a simple story: what you started with, what you did, and what you delivered. No hunting through folders or trying to remember which photos go with which project.
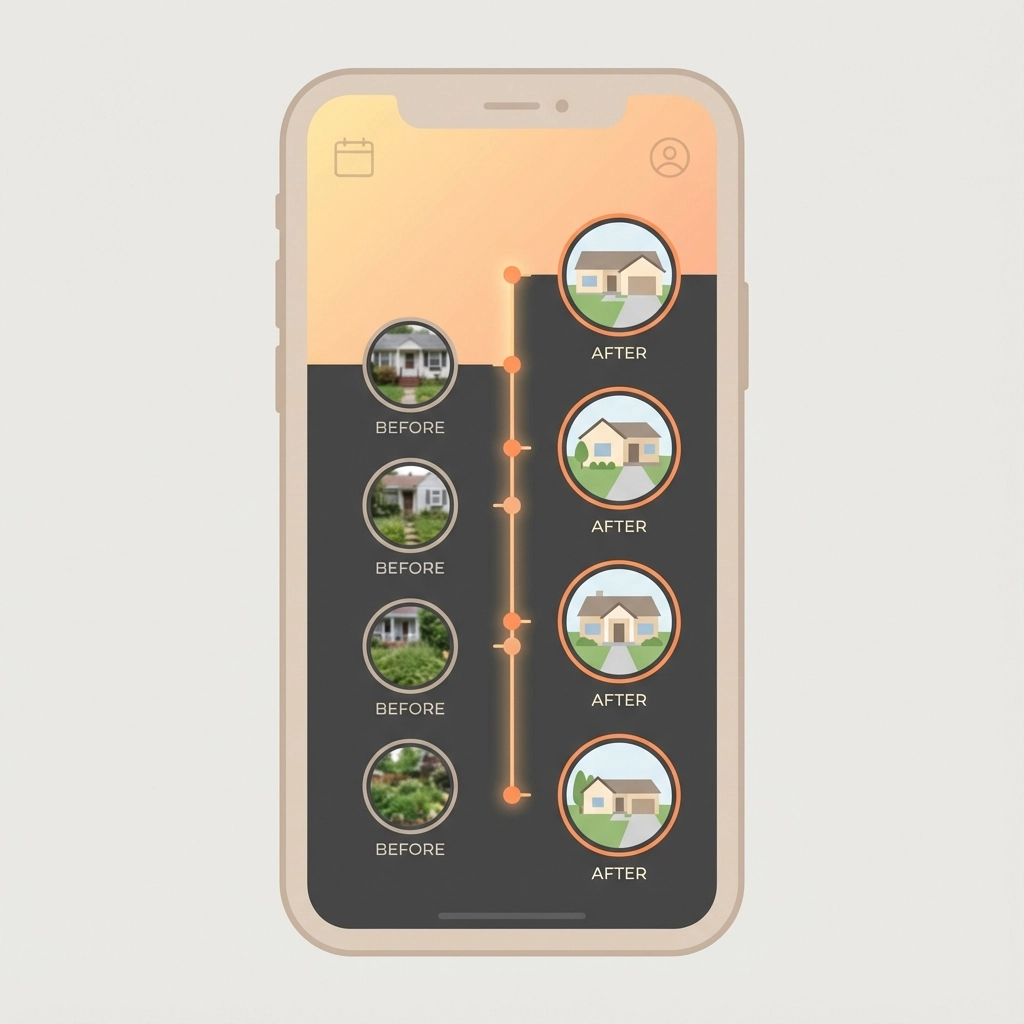
Professional client communication. Instead of texting blurry photos or creating messy email chains, you want to send one clean link that shows your work in order, with timestamps and notes.
Protection when questions arise. You need documentation that proves what work was done, when it was done, and what the site looked like before you touched it.
Fair pricing. You shouldn't pay for features designed for 50-person crews when you're a solo operator.
The JobLuma Difference: Built for Your Reality
This is exactly why JobLuma exists. Instead of building another "everything platform," we focused on what small contractors actually need: clean, professional job documentation without the enterprise bloat.
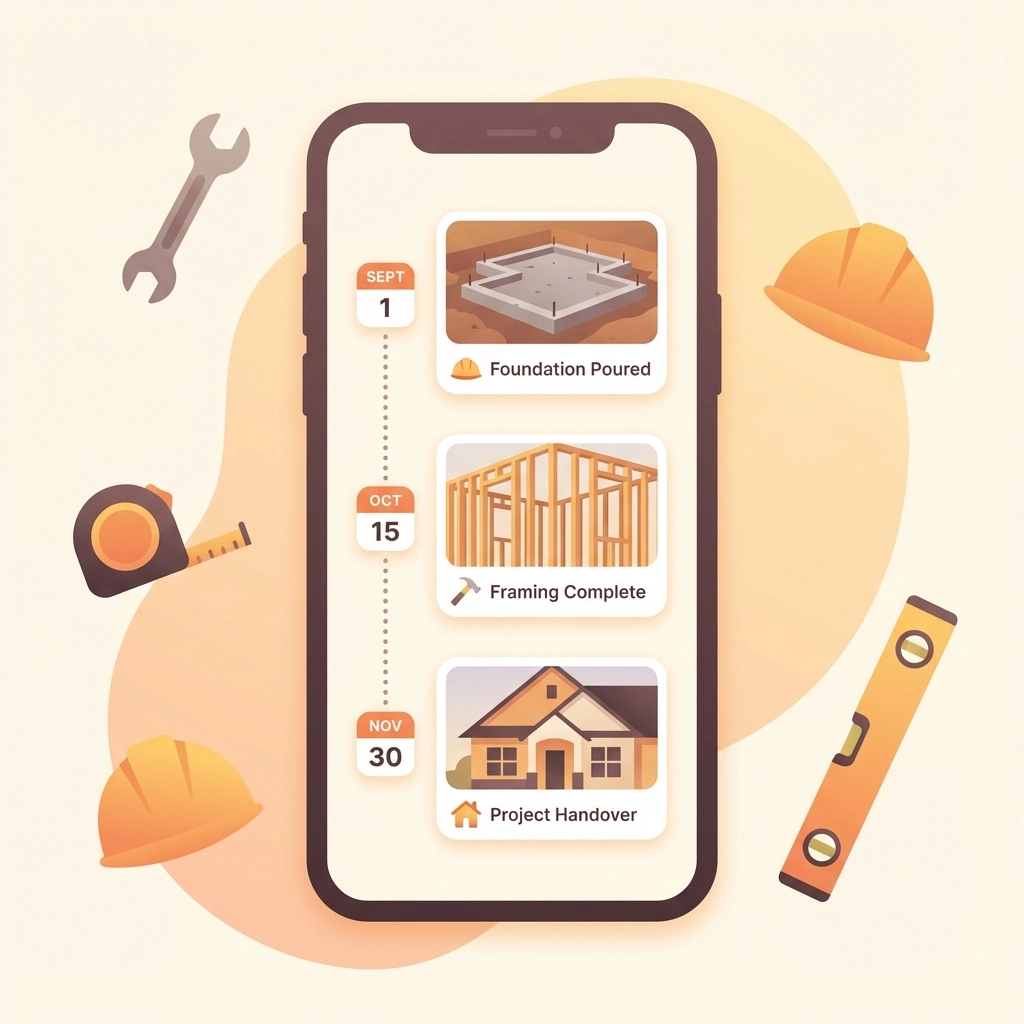
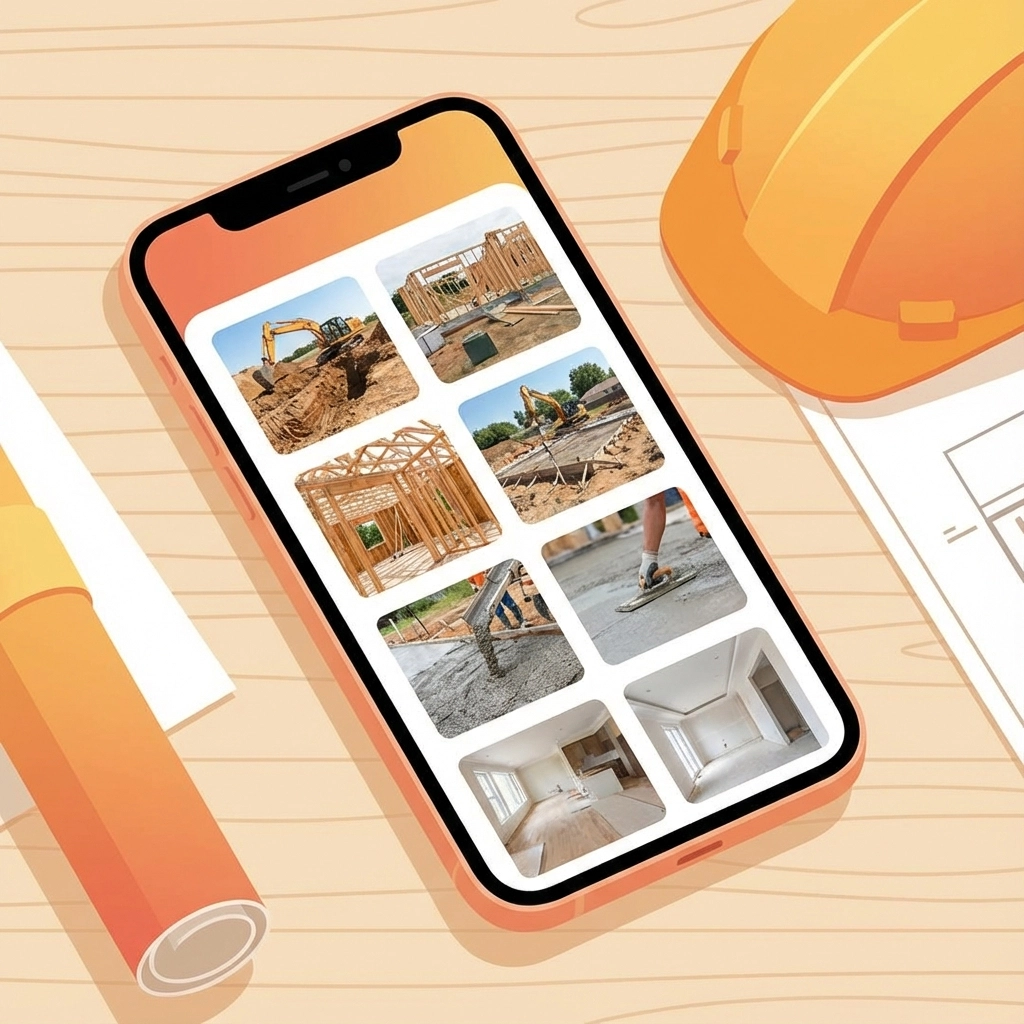
One Job = One Story
Every job in JobLuma gets a single, chronological timeline. Take photos throughout your work, add notes when needed, and everything stays organized automatically. No folders to manage, no categories to set up, no sorting required.
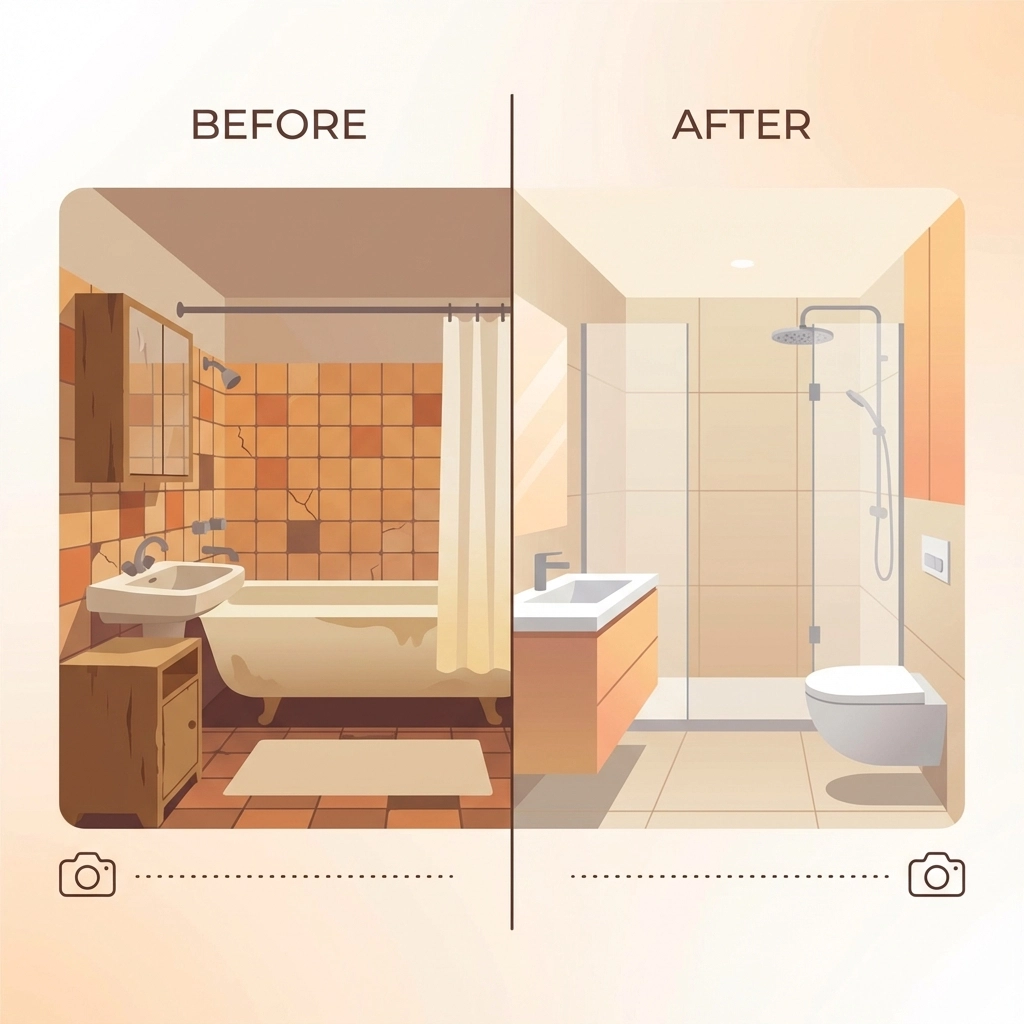
Your client sees a clean, professional timeline showing exactly what you did, when you did it, and how their property looked before and after. It's that simple.
Mobile-First Design
JobLuma is built for contractors who work on their phones, not at desks. You don't need to "configure" anything or watch training videos. Open the app, select your job, and start documenting.
Everything works the way you'd expect: take a photo, it goes in the timeline with a timestamp. Add a note, it stays with that moment in the job. Done.
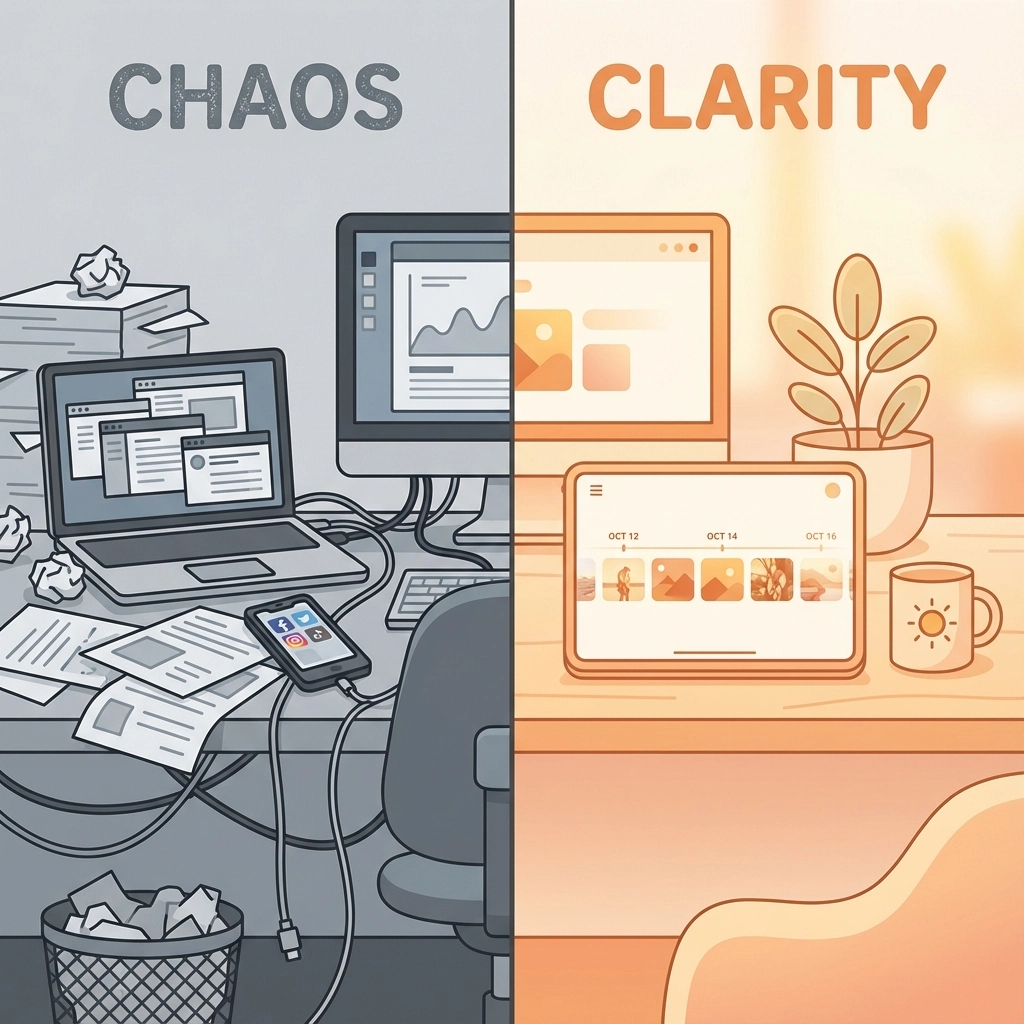
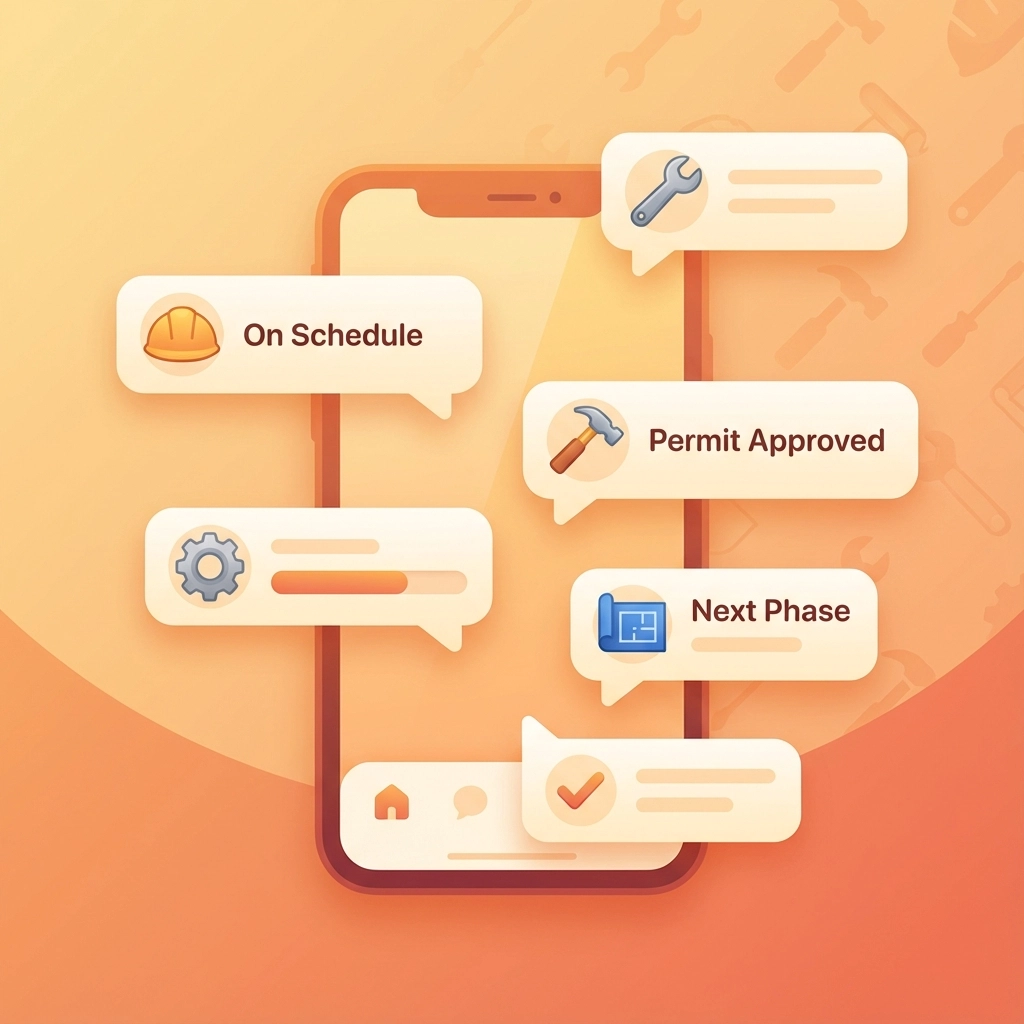
Professional Client Sharing Made Easy
Instead of sending:
- Text messages with random photos
- Email attachments that get lost
- Screenshots from your camera roll
You send one clean, read-only link to your job timeline. Your client clicks it and sees a professional presentation of your work. No app required, no login needed, no confusion.
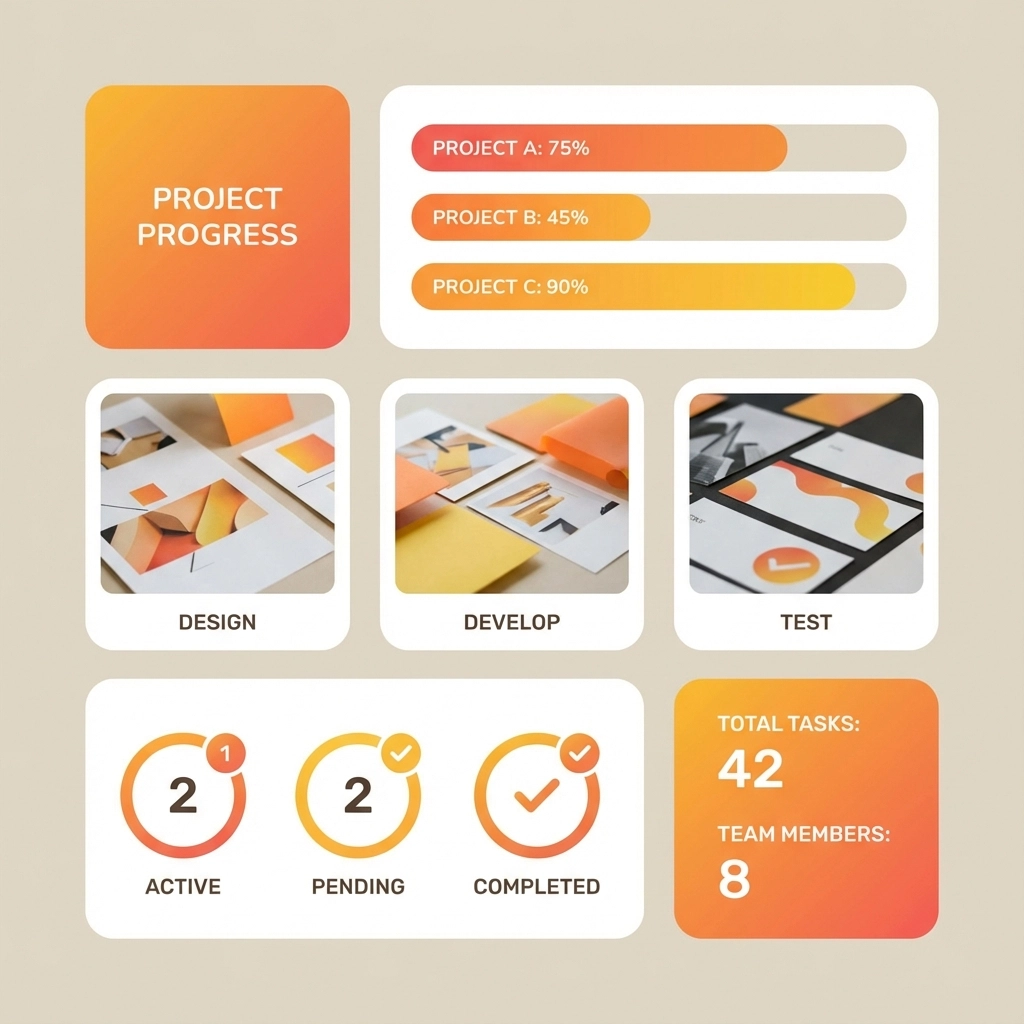
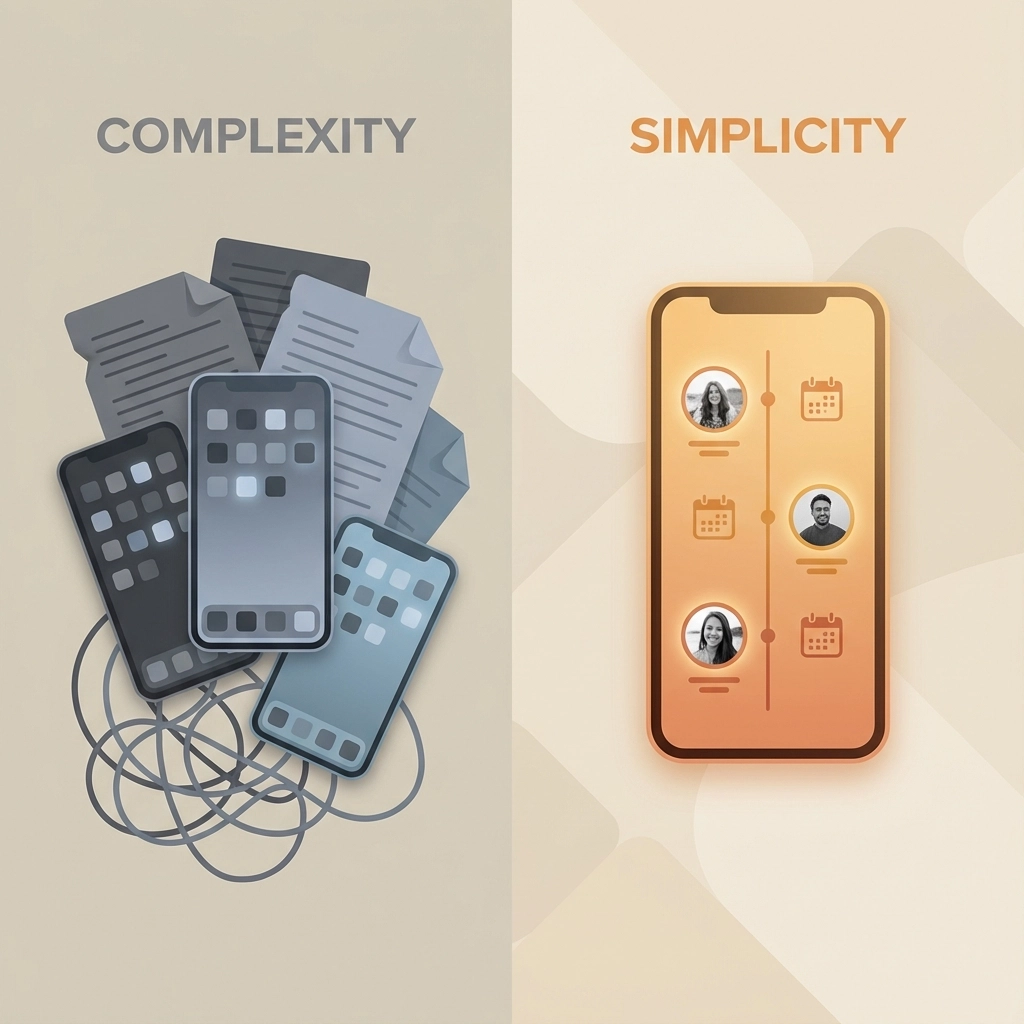
Complexity Comparison: Simple vs. Bloated
Here's how JobLuma stacks up against typical "all-in-one" platforms:
Setup Time:
- Typical tools: Hours of onboarding, account configuration, user training
- JobLuma: Start documenting jobs immediately
Features:
- Typical tools: Overloaded with dispatching, CRM, scheduling, inventory
- JobLuma: Purpose-built for job documentation only
Pricing:
- Typical tools: Tiered pricing, feature gates, "contact sales" tiers
- JobLuma: One simple monthly price, no contracts
Mobile Experience:
- Typical tools: Desktop-first design squeezed onto phones
- JobLuma: Built mobile-first for actual jobsite conditions
Protection That Actually Protects
When clients question your work or try to claim damage that was already there, your documentation becomes your protection. But only if it's organized and professional.
With scattered phone photos and unclear timelines, you're vulnerable. With JobLuma's time-stamped, job-specific documentation, you have clear proof of work completed and site conditions before you arrived.
Every photo includes metadata showing exactly when and where it was taken. Every job timeline shows the logical progression of work. If questions arise months later, you have professional documentation ready to go.
The Philosophy Behind Simple
Most construction software companies ask: "What else can we add to justify higher prices?"
We ask: "What can we remove to make this actually useful?"
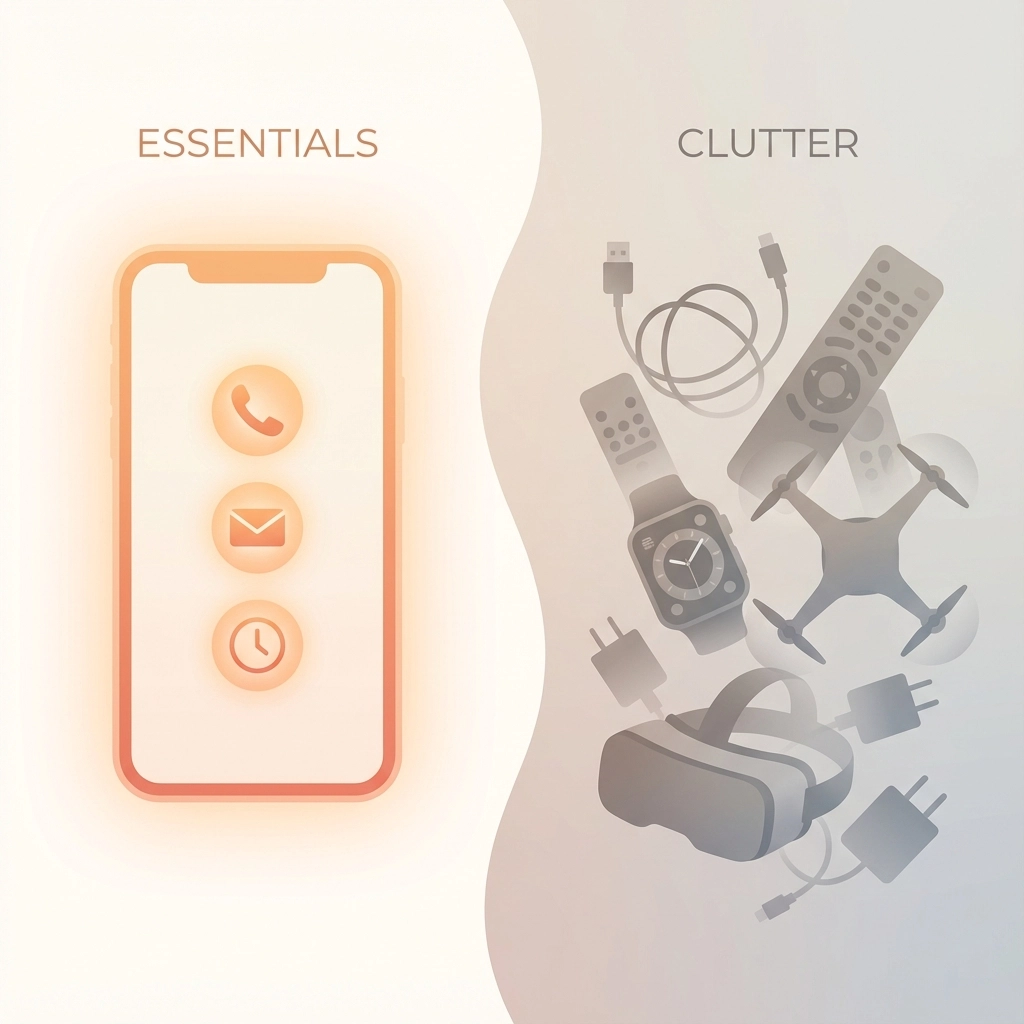
The result is intentionally limited software that does one thing extremely well: job-based photo documentation with professional client sharing.
No extras. No distractions. No enterprise features you'll never use.
Who This Is (And Isn't) For
JobLuma is built for:
- Solo contractors who want professional documentation
- Small crews focused on quality work, not software management
- Local service providers who need clear client communication
- Anyone tired of paying enterprise prices for simple photo organization
JobLuma isn't for:
- Large construction companies with complex project management needs
- Teams requiring dispatching, scheduling, or inventory management
- Operations that need extensive reporting and analytics
- Anyone looking for comprehensive business management software

Getting Started: No Setup Required
Unlike enterprise platforms that require configuration, training, and setup time, JobLuma works immediately. Create an account, add your first job, and start taking photos. Everything else happens automatically.
Your photos organize into clean timelines. Your client gets professional job documentation. Your work is protected with proper timestamps and metadata.
You can try JobLuma today and see the difference between software built for contractors versus software built for corporations.
The Bottom Line
As a solo contractor, your time is money. You need documentation that protects your work and impresses clients without requiring a computer science degree to operate.
Stop paying for features you don't need. Stop wasting time learning complicated software. Stop sending unprofessional photos via text message.
Job documentation without the bloat. That's what JobLuma delivers.
Everything you need to document a job: nothing you don't.
Ready to skip the enterprise bloat and try contractor software actually built for contractors? Start your free trial and document your next job the professional way.