You just finished a complicated HVAC installation. The customer's basement went from a tangled mess of old ductwork to a clean, efficient system. You snap a few photos on your phone, send them in a text, and… that's it.
Meanwhile, your customer has already forgotten what the "before" looked like. And when their neighbor asks who did the work, they can't quite remember the transformation that justified your price.
Sound familiar?
Here's the thing: before and after photos are pure gold for contractors. They prove your value, justify your pricing, and turn satisfied customers into walking billboards. But most contractors either skip them entirely or make them way more complicated than they need to be.
Why Before and After Photos Actually Matter (More Than You Think)
Let's be real. When you tell someone you charged $4,500 for a plumbing job, they might wince. But when they see the nightmare of corroded pipes, leaks, and water damage you fixed? Suddenly that price makes total sense.
Before and after photo documentation does three critical things for your business:
It proves the value. Customers remember problems differently after they're fixed. Having visual proof of what you actually dealt with stops "sticker shock" conversations before they start.
It generates referrals. A timeline showing the progression of work is way more shareable than you saying "yeah, we did a good job." Your customers will actually show their friends and family.
It protects you legally. When a customer claims you damaged something or didn't complete work, having timestamped photo documentation saves your butt.
The problem? Most contractors either use bloated project management software that's overkill, or they ask customers to download some clunky app just to see their photos. Neither option is ideal.
The "Download Our App" Problem Nobody Talks About
Here's what usually happens with traditional contractor photo apps:
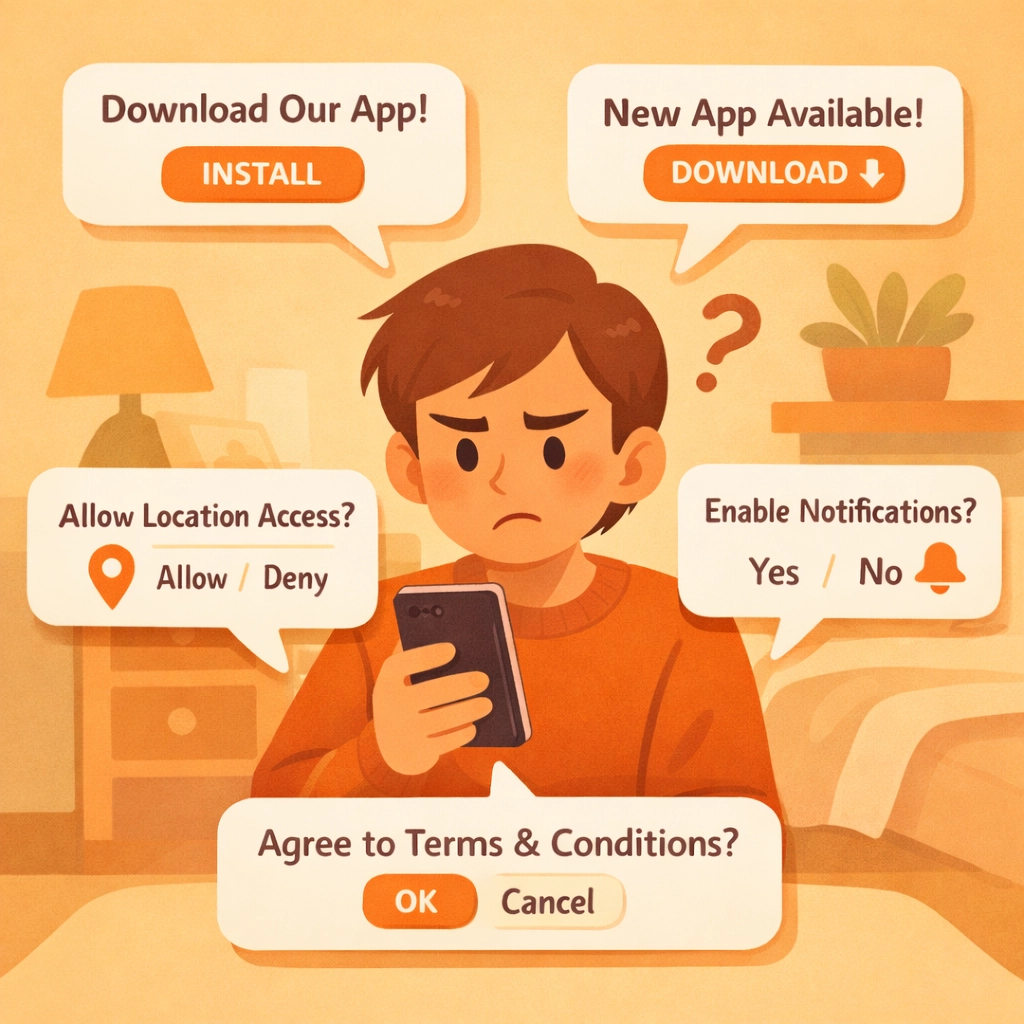
You finish a job and tell Mrs. Johnson, "Great! I'll send you the before and after photos through our app. Just download it from the App Store, create an account, verify your email, and…"
Mrs. Johnson nods politely. But she's never downloading that app. She's got 47 unread emails, three kids screaming in the background, and she's not about to install yet another app for something she'll use exactly once.
Your photos sit there, unviewed. No referrals. No social proof. No "wow, look at this transformation!" moments with her neighbors.
This is where most contractor software gets it wrong. They build these massive platforms with features you'll never use, then force your customers to jump through hoops just to see photos of their own property.
There's a better way.
The 3-Minute Photo Timeline That Actually Works
The fastest approach isn't about fancy editing tools or complicated workflows. It's about keeping it dead simple, for you AND your customers.
Here's how to create professional photo timelines in under three minutes:
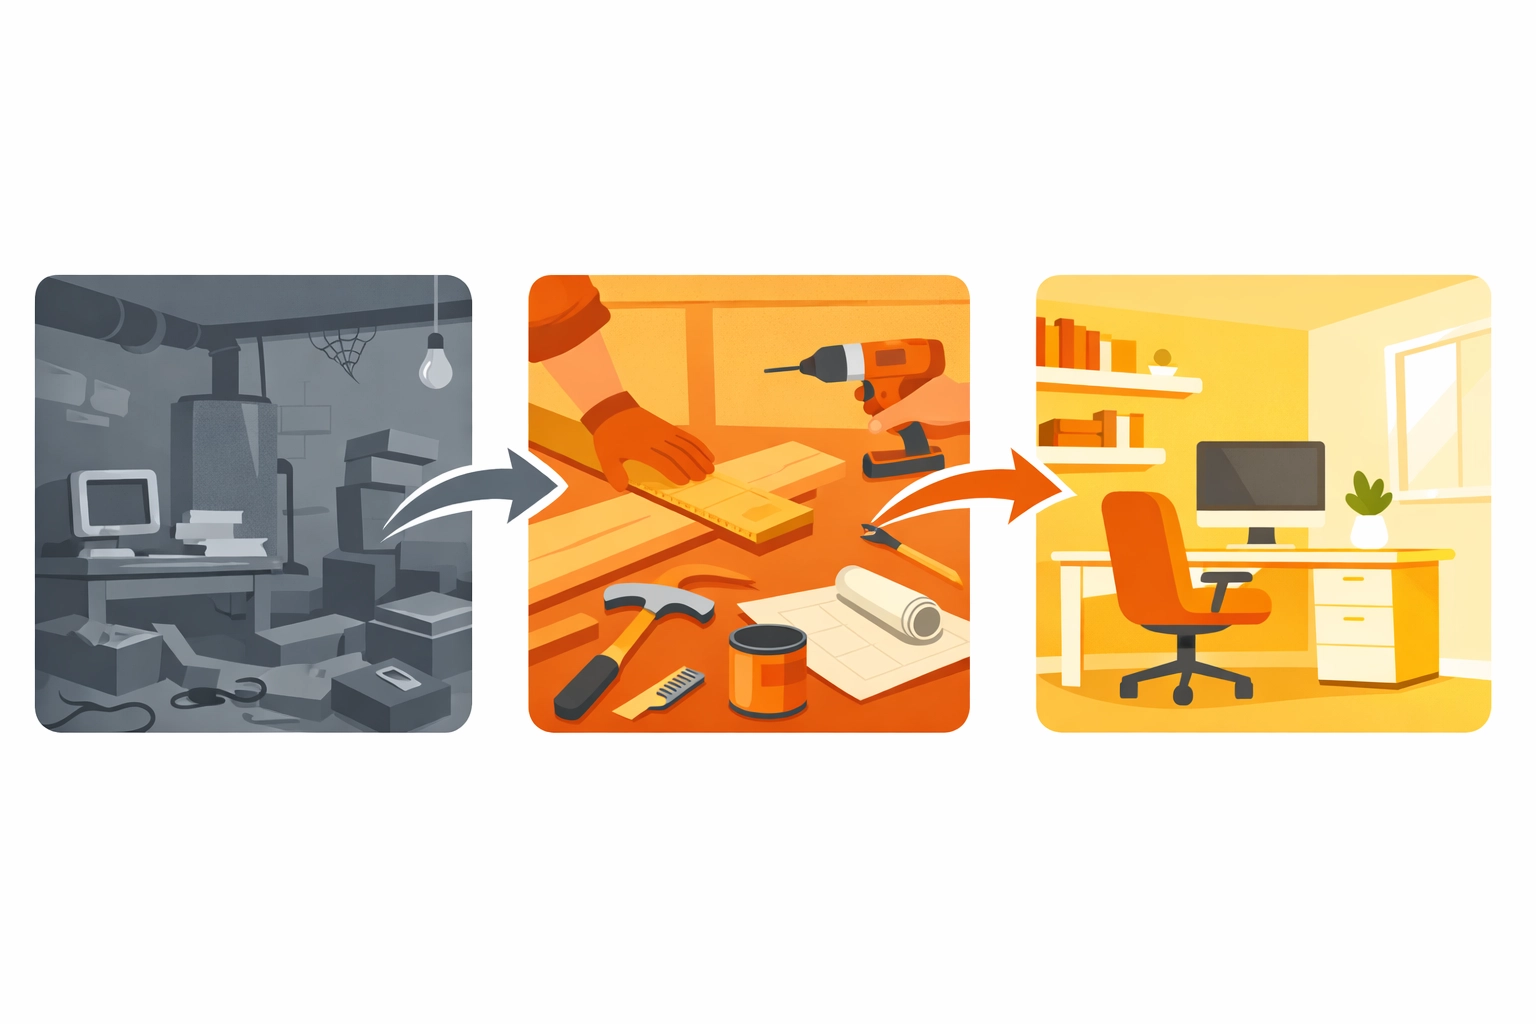
Minute 1: Capture the befores
Before you start any work, pull out your phone and take 3-4 photos of the work area from different angles. Don't overthink it. Just make sure you capture the current state clearly.
Pro tip: Take photos from the same spot you'll stand later for the "after" shots. Consistent angles make the transformation way more obvious.
Minute 2: Document as you work
Snap a few progress shots during the job, especially when you uncover problems the customer can't see in the final result (corroded pipes, faulty wiring, structural issues). These photos justify your invoice later.
Minute 3: Take the afters and create the timeline
Once the job's done, take your "after" photos from those same angles. With the right contractor photo app, you can instantly create a timeline that shows the progression from start to finish, no editing software needed.
The key difference? Choose construction photo documentation software that creates shareable links your customers can open in any browser. No downloads. No accounts. No friction.
They click, they see the timeline, they share it with everyone they know. Done.
What Makes a Good Before and After Photo App for Contractors
Not all contractor job apps are created equal. Here's what actually matters when you're documenting jobs:
Mobile-first design: You're not editing photos on a desktop computer. You need something that works perfectly on your phone, in the field, with gloves on.
Instant sharing: The timeline should generate a link you can text or email immediately. If it takes more than 10 seconds to share, it's too slow.
No customer downloads required: This is non-negotiable. Your customers shouldn't need to install anything to view their project timeline.
Automatic organization: Photos should automatically organize by job, date, and customer. You shouldn't be hunting through your camera roll trying to remember which basement belonged to which Johnson.
Professional presentation: The timeline should look clean and branded, not like you just threw some iPhone photos into a text message.
The goal is simple: make yourself look more professional while doing less work. That's it.
Real-World Example: 3-Minute Timeline in Action

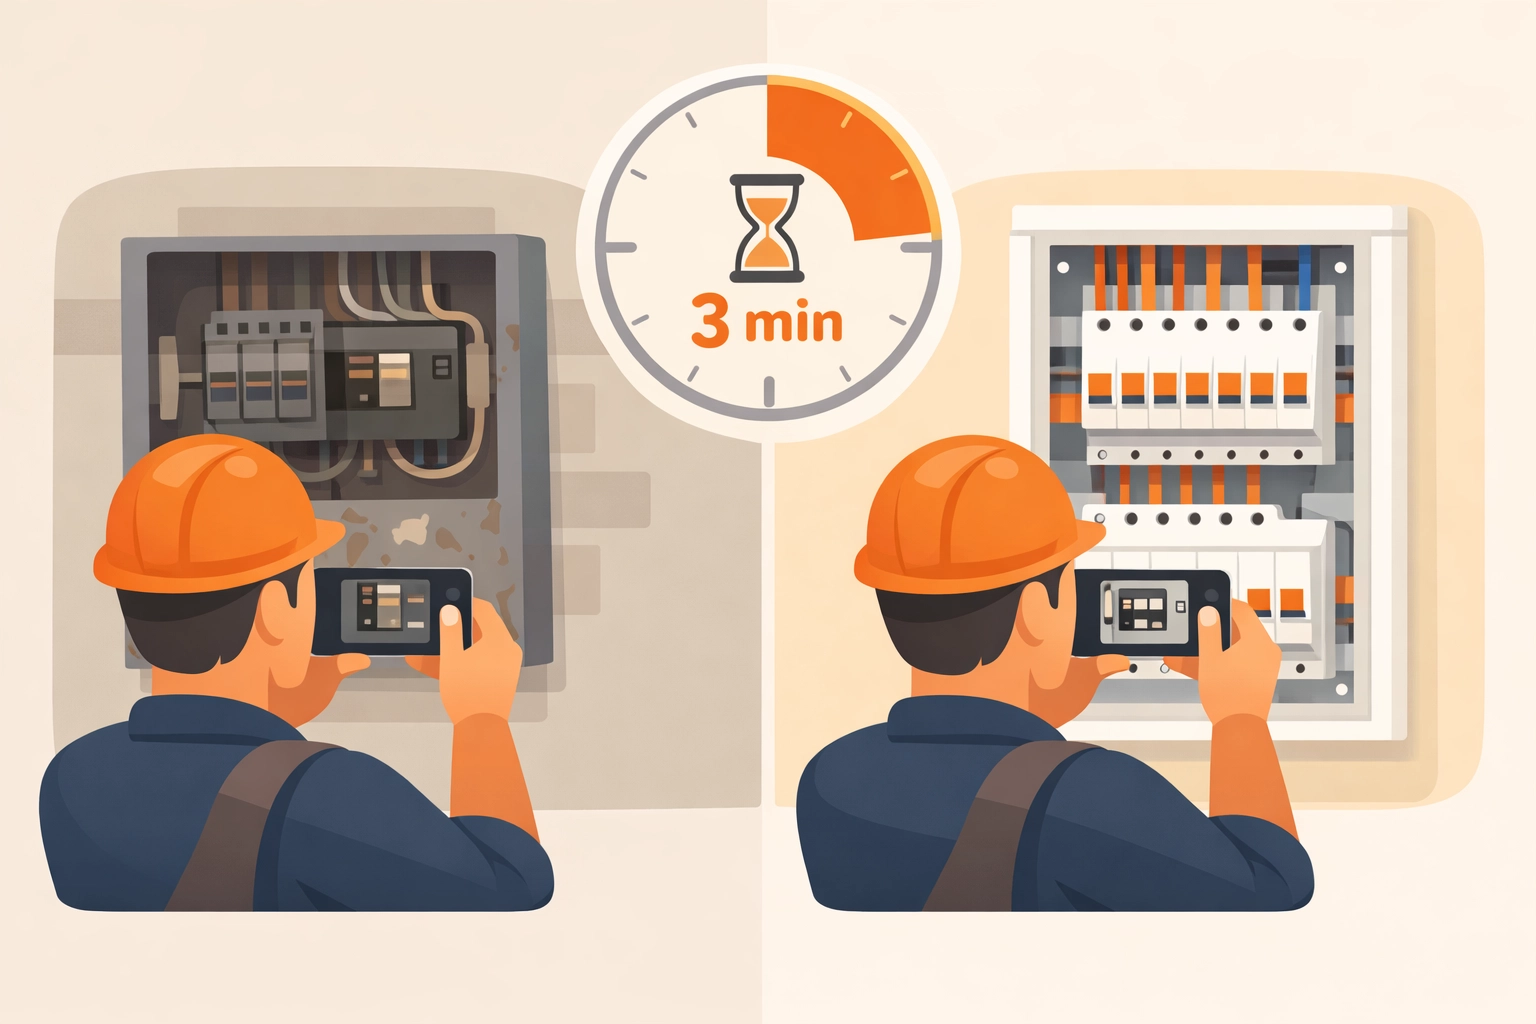
Let's say you're an electrician upgrading an old panel to modern standards. Here's the actual workflow:
Before starting (30 seconds): Open your contractor photo app, create a job for "Anderson Panel Upgrade," snap 3 photos of the old, outdated panel.
During the job (1 minute): When you open the wall and find the sketchy wiring the homeowner couldn't see, document it. Take a photo of the new panel before you close everything up.
After completion (1.5 minutes): Photograph the finished panel and clean workspace. Hit "create timeline" in your app. Send the generated link to Mr. Anderson via text.
Total time: 3 minutes. Maybe less if you're fast.
Mr. Anderson opens the link (no app download), sees the progression, and immediately understands why the job cost what it did. He shows his brother-in-law, who needs the same work done. You get a referral without asking.
That's the power of friction-free photo documentation.
Tips for Photos That Actually Impress Customers
You don't need a professional camera or photography skills. But these simple tricks make your timelines look way more professional:
Use natural light when possible. Those dark basement photos with your phone's flash make everything look worse than it is. Open a window or bring a work light.
Keep the angle consistent. Before and after shots from the exact same position make the transformation obvious. Step back to the same spot.
Clear the clutter. Move your tools out of frame before taking "after" photos. A clean workspace looks more professional.
Capture the details. Get close-up shots of your best work, the neat wire runs, the perfectly level installation, the clean solder joints. These details matter to discerning customers.
Show the context. One wide shot showing the entire space helps customers understand scope. Then add detail shots.
The goal isn't winning photography awards. It's creating a visual story that makes sense to someone who wasn't there.
Why Simple Contractor Software Wins Every Time
There's this weird trend in construction software where companies think more features = better product. So they cram in scheduling, invoicing, inventory management, team messaging, GPS tracking, and seventeen other things you didn't ask for.
Then the app becomes slow, confusing, and expensive.
Here's the truth most software companies won't tell you: you don't need all that. You need tools that do ONE thing really well.
For photo documentation, that means:
- Fast photo capture
- Automatic timeline creation
- Easy sharing with customers
- Clean, professional presentation
That's it. If the photo timeline app you're using requires a training video to understand, it's too complicated.
The Customer Experience Nobody Else Prioritizes
Most contractor software focuses entirely on YOU, the contractor. They forget that your customer is part of the equation.
Think about it: You send a photo timeline link, and your customer…
- Clicks it on their phone (no download)
- Sees a professional timeline of their project
- Shows it to their spouse/neighbor/whoever
- Those people are now pre-sold on your quality
Versus the old way:
- "Download our app"
- Customer ignores it
- Photos never get viewed
- No referrals happen
The no-download customer experience isn't just convenient. It's actually better marketing than anything else you could do. When customers can easily share your work, they become your sales team.
Getting Started With Better Photo Documentation
You don't need to overhaul your entire business process. Start simple:
- Pick a photo timeline app that prioritizes simplicity (like JobLuma)
- Take before photos on your next three jobs
- Document one or two "wow" moments during the work
- Capture clean after photos
- Send the timeline link to your customer
Do this consistently for a month. Track what happens to your referrals, your customer satisfaction, and your ability to justify pricing.
We're betting you'll never go back to the old way.
The contractors who win in 2026 aren't the ones with the most complicated software. They're the ones who make themselves look the most professional while keeping their actual workflow simple.
Before and after photo timelines check both boxes. They take three minutes to create, require zero effort from customers to view, and generate referrals on autopilot.
Stop overthinking it. Snap the photos. Share the timeline. Watch the referrals roll in.
Leave a Reply