You just finished a grueling eight-hour day. Maybe you were swapping out a rusted-out water heater in a cramped crawlspace, or perhaps you just finished rewiring an entire kitchen for a client who’s (rightfully) picky. You’re tired, your boots are dusty, and the only thing you want to do is head home.
But before you pack up the truck, you remember: you need to show the client what you actually did.
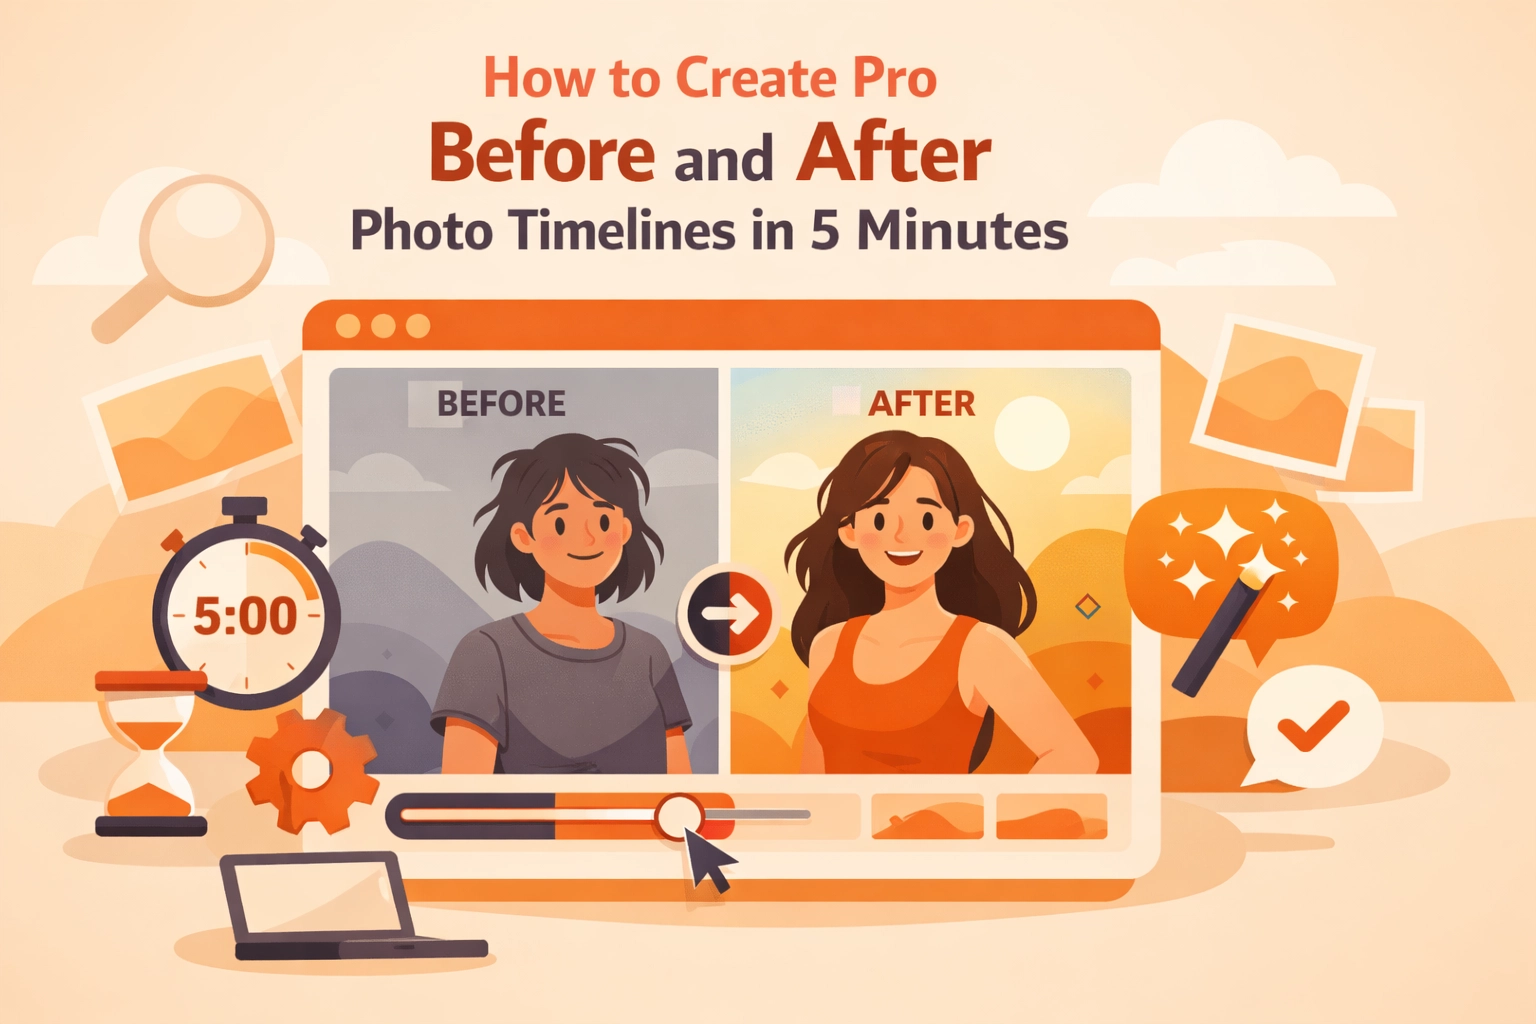
In the world of field services: whether you’re an electrician, a plumber, or an HVAC tech: your work is often hidden behind walls or tucked away in basements. Before and after photos aren't just for "likes" on social media. They are your best defense against "he-said, she-said" disputes, your strongest marketing tool, and the easiest way to prove the value of your labor.
The problem? Most contractor software is a total nightmare. It’s bloated, expensive, and takes longer to figure out than the actual job. You don’t need a degree in graphic design or a 40-minute tutorial on project management software. You just need a pro photo timeline, and you need it in five minutes or less.
Here is how you get it done.
Why Before and After Photos Are Your Best Salesman
Before we dive into the "how," let’s talk about the "why." If you aren't using a contractor photo app to document your work, you’re leaving money on the table and exposing yourself to risk.
- Instant Trust: Clients can’t always see the "after." They see a working faucet, but they don't see the clean soldering and the organized pipes beneath the sink. Showing them the "before" (the mess) and the "after" (your craft) builds immediate trust.
- Liability Protection: If a client claims you scratched their floor or broke a vase, having a timestamped photo of the workspace before you started is your "get out of jail free" card. This is where construction photo documentation becomes your best friend.
- Marketing on Autopilot: A great side-by-side photo is worth a thousand words on a Facebook local group or your Google Business profile.

The "Fast" Way vs. The "Right" Way
If you search for how to make a photo timeline, the internet will give you a few standard options. You’ve probably heard of them:
- Canva or Adobe Express: These are great if you have a desk, a laptop, and twenty minutes to kill. You pick a template, upload your files, drag them into boxes, and try to make the fonts look right. It looks professional, but it’s a hassle when you’re standing in a driveway with sweat in your eyes.
- CompanyCam: A solid photo timeline app, but it can sometimes feel like overkill for a small shop that just needs a simple way to log jobs without a mountain of features they’ll never use.
- The "Text Thread" Method: This is what most guys do. You just text five random photos to the client. It’s messy, the photos get lost in their gallery, and it doesn't look like a "timeline." It looks like a cluttered inbox.
Enter JobLuma: The Simple Alternative
At JobLuma, we built our tool specifically for the contractor who hates "software." We realized that most guys don't want to download another app that eats up their phone's storage. They don't want to manage a complex project board. They just want to snap a photo and have it organized.
With JobLuma, there is no app to download for you or the customer. It’s a mobile-first design that lets you create a professional timeline of a job faster than you can write an invoice.

Step-by-Step: Creating Your Timeline in 5 Minutes
If you want to look like a pro without spending all evening on your phone, follow this simple workflow.
1. The "Before" Snap (1 Minute)
As soon as you walk onto the job site, take three photos. Not one: three.
- The Wide Shot: The whole room or area.
- The Problem: The specific leak, the frayed wire, or the broken unit.
- The Context: A photo that shows the surrounding area (to prove no prior damage existed).
2. The "During" Progress (Optional – 1 Minute)
If it’s a multi-day job, snap a quick photo of the "guts" of the project before you close up the walls. This is gold for construction photo documentation. It shows the quality of the work that is eventually hidden.
3. The "After" Hero Shot (1 Minute)
Clear the tools out of the way. Wipe down the surface. This is your "After" photo. Try to stand in the exact same spot where you took the "Before" photo. This consistency is what makes a timeline look "pro."
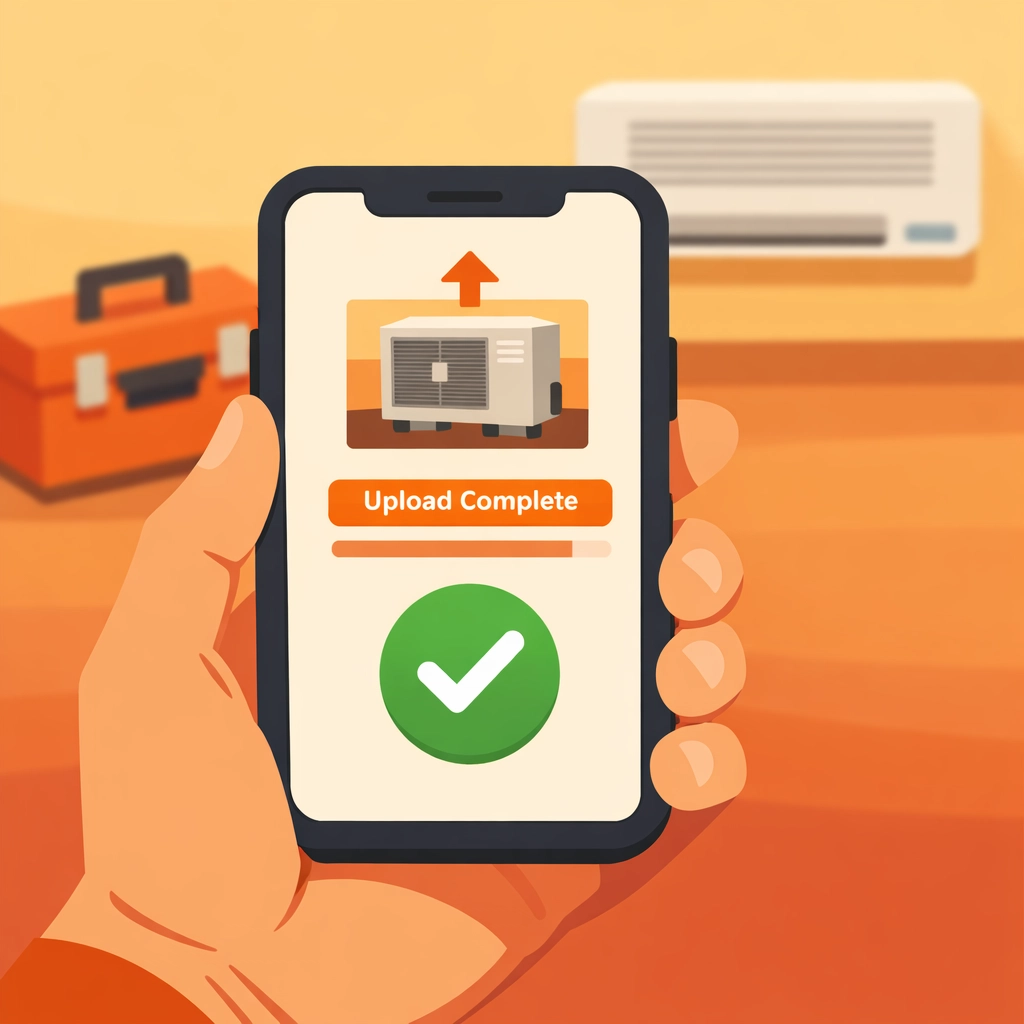
4. Organize and Label (2 Minutes)
This is where most people fail because they wait until they get home. Use a contractor job app like JobLuma while you’re still on-site.
- Open your job link.
- Upload the photos directly from your camera roll.
- Add a quick note: "Main line cleared" or "Panel upgraded to 200 amp."
Because JobLuma is designed for mobile, you aren't squinting at tiny buttons or waiting for a heavy app to load. You’re done before the truck even warms up.
Pro Tips for Better Photos (No Fancy Camera Required)
You don’t need an iPhone 15 Pro Max or a DSLR to make your work look good. You just need to follow a few basic rules of thumb:
- Clean the Lens: Seriously. Your phone lives in your pocket with lint and sawdust. Give the lens a quick wipe with your shirt before you click. It makes a world of difference in clarity.
- Find the Light: If you’re in a dark basement, use a work light. Don't just rely on the phone's flash, which can make things look flat and greasy. Point your work light at the ceiling or a wall to bounce light onto the subject.
- The "Same Spot" Rule: If your "Before" photo was taken from the doorway, take your "After" photo from the doorway. It makes the transition in the timeline feel seamless.
Why "No-App" is the Secret Weapon
We’ve talked to hundreds of contractors who tried "pro" software and quit using it after a week. Why? Because it’s a barrier. If you have to spend 10 minutes setting up a "project" and inviting a "collaborator" just to show a photo of a new toilet, you aren't going to do it.
JobLuma works on a simple principle: Simple is better.
Our features are built to stay out of your way. Your customer doesn't have to download anything to see their project timeline. You send them a link, they click it, and they see your beautiful work. It makes you look like a tech-savvy powerhouse, while you actually spent less time on it than you do checking your email.

How a Photo Timeline App Saves You Money
Think about the last time a customer questioned an invoice.
"Why did this take four hours?"
"I didn't realize you had to replace all of those valves."
When you provide a timeline, those questions disappear. You aren't just telling them what you did; you’re showing them. It turns an invisible service into a tangible product.
Furthermore, having a dedicated contractor photo app means your work photos aren't mixed in with your family vacation photos or pictures of your dog. Everything is categorized by job, making it easy to find a photo from six months ago if a warranty issue ever comes up.
Ready to Level Up Your Professionalism?
Creating a "Before and After" timeline doesn't have to be a chore. It shouldn't be the hardest part of your job. By using a tool that is built for the field: not the office: you can document your work, protect your business, and impress your clients in the time it takes to grab a coffee.
Stop struggling with bloated software that expects you to be an IT expert. Focus on your craft, and let JobLuma handle the documentation.
Want to see how easy it is?
- Check out our Pricing (it’s simple, just like our software).
- Ready to get started? Sign up here and create your first timeline today.
- Have questions? Our Help Center is always open.
Your work is high-quality. It’s time your documentation matched it. Get in, get out, and get the credit you deserve.
Leave a Reply