We’ve all been there. You finish a long day on the job site: maybe you just swapped out an old, rusted water heater for a shiny new tankless unit or finally finished a complex rewire: and you realize your camera roll is a disaster.
Mixed in with photos of your kids and your lunch are thirty blurry shots of PVC pipes and electrical panels. You want to show the customer what a great job you did, but the thought of digging through those photos, texting them one by one, and explaining what's what makes you want to crawl back into a crawlspace.
What if you could turn that mess into a professional, branded timeline in under five minutes?
At JobLuma, we built a contractor photo app specifically for folks who hate complicated software but love doing great work. Here’s how you can level up your customer experience and protect your business with simple, branded before and after timelines.
Why Before and After Photos are Your Best Marketing Tool
Before we get into the "how," let's talk about the "why." For a service contractor, photos are more than just a record of work: they are your reputation in digital form.
1. Instant Trust and Credibility
Most homeowners don't actually know what a "good" HVAC install or plumbing repair looks like while it's happening. They see the mess, the tools, and the bill. When you provide a clean construction photo documentation timeline, you're showing them the transformation. It answers their biggest question: "Did I get what I paid for?" with a resounding "Yes."
2. Protection Against Disputes
We’ve heard the horror stories. A customer claims you scratched their floor or broke a window that was already cracked. Having a timestamped "Before" photo is your best defense. It's indisputable evidence of site conditions before you even touched a tool.
3. Effortless Marketing
That side-by-side comparison of a cluttered, outdated electrical panel versus your clean, labeled masterpiece? That’s gold for social media and your website. It’s the ultimate "proof of work" that helps you justify premium pricing.

Step-by-Step: Creating Your First Timeline in 5 Minutes
You don't need a marketing degree or a high-end camera. All you need is the phone in your pocket and a few minutes.
Step 1: Create the Job (1 Minute)
Open your contractor job app and hit "New Job." Type in the customer's name (e.g., "Smith Kitchen Remodel") and you're ready to go. No complex project management fields to fill out: just a name and a place to start logging.
Step 2: Capture the "Before" (1 Minute)
Before you start demolition or repairs, snap 3-4 photos from different angles. Walk the perimeter. Document existing damage. In JobLuma, these are automatically timestamped and saved directly to that specific job. No more "Where did I take that photo?" later that night.
Step 3: Log Progress as You Go (2 Minutes)
As you work, snap a few "during" shots. This is especially helpful for things that get covered up, like rough-in plumbing or wiring behind a wall. Add a quick note like "Rough-in complete – north wall" so the customer (and you) knows exactly what they’re looking at.
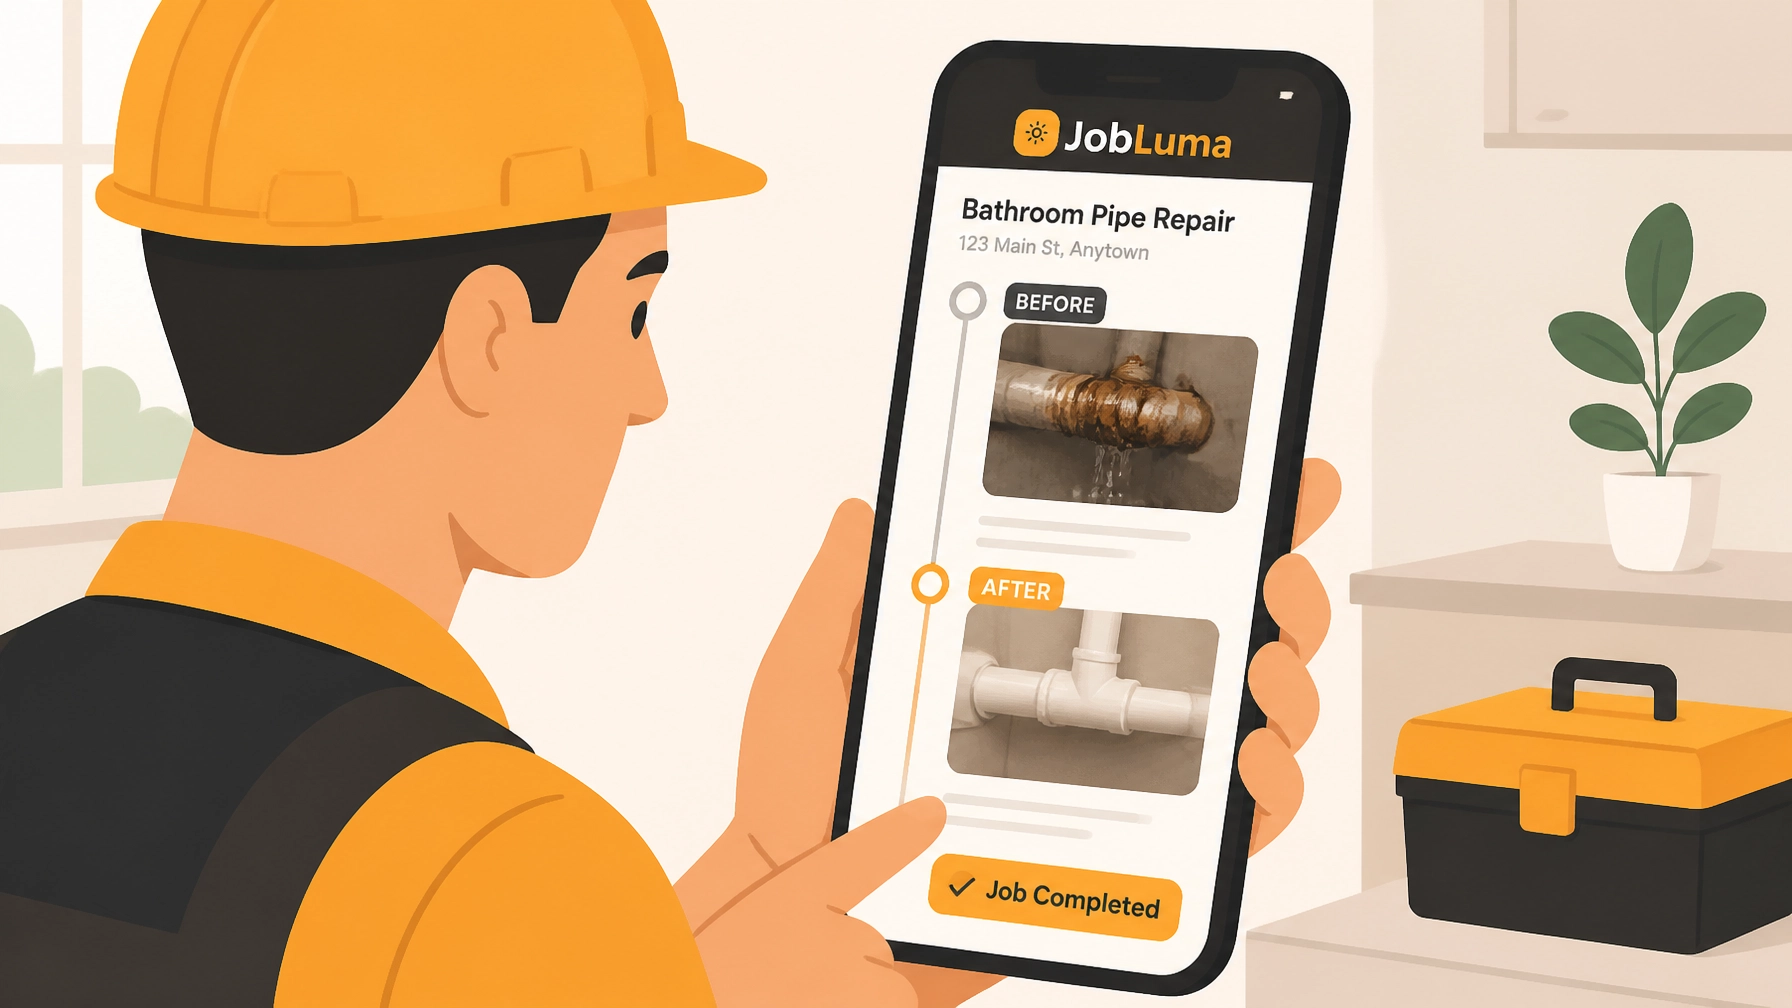
Step 4: Capture the "After" and Share (1 Minute)
Once the job is clean and finished, take your final hero shots. Now for the magic part: Click "Share Link."

The JobLuma Difference: No App, No Hassle
Most contractor software is bloated. They want your customers to download an app, create an account, and log into a "portal" just to see a few photos. Let's be real: your customers aren't going to do that.
With JobLuma, you send a single, professional link via text or email. The customer clicks it and: boom: they see a beautifully organized timeline of your work.
- No app download required for the customer.
- No login or password to remember.
- Branded to your business, making you look like a pro.
3 Pro Tips for Better Photo Timelines
If you want your timelines to really pop, follow these three simple rules:
- Same Angle, Every Time: Try to take your "After" photo from the exact same spot you took your "Before" photo. It makes the transformation much more dramatic.
- Let There Be Light: If you’re in a dark basement or attic, use a work light. Grainy, dark photos don't do your hard work justice.
- Use the Notes Feature: A photo of a wire is just a photo of a wire. A photo with a note saying "Upgraded 15A circuit to 20A for safety" tells a story of value.

Stop Hunting Through Your Camera Roll
Your time is money. Every minute you spend trying to find a photo or explaining a job to a customer is a minute you aren't getting paid for.
By using a dedicated before and after photo app, you’re not just documenting work; you’re building a library of your success. You're protecting your business from "he said, she said" disputes, and you're giving your customers a premium experience that makes them want to refer you to everyone they know.
Ready to see how easy it is? You can start for free and create your first two job timelines today. No credit card, no complicated setup: just simple tools for contractors who get things done.

Conclusion
Creating a branded before and after photo timeline doesn't have to be a chore. With a mobile-first design and a focus on simplicity, you can turn your daily work into a powerful business asset in less time than it takes to drink a cup of coffee.
Check out our pricing and join the hundreds of tradespeople who have traded their messy camera rolls for JobLuma's clean, professional timelines.
Leave a Reply