You just finished a brutal HVAC install or a complex rewiring job. You’re sweaty, tired, and ready to head home. But before you pack up the truck, you know you need to show the customer what you actually did: especially the stuff they can’t see now that the drywall is back up.
The problem? Most contractor software is a nightmare to use. You’ve probably tried those bloated project management tools that feel like they were designed for NASA engineers rather than guys out in the field. You don't have twenty minutes to fight with an app that requires a login, a password update, and a 5G connection that doesn't exist in the basement you’re working in.
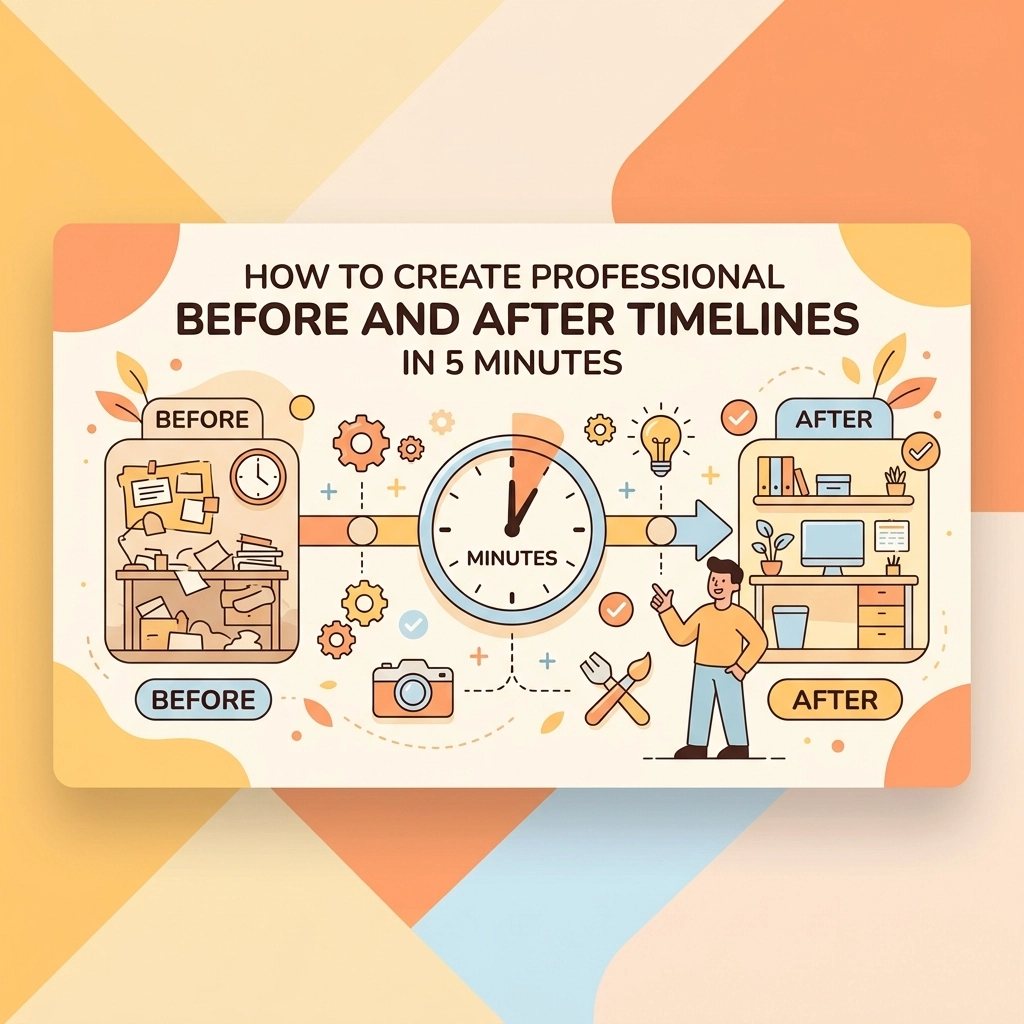
What if you could create a professional, polished before-and-after timeline in about five minutes? We’re talking about a visual story of your hard work that makes you look like a pro and gets you paid faster.
Here is how you can master your construction photo documentation without losing your mind or your afternoon.
Why Before and After Photos are Your Best Salesman
Before we dive into the "how," let’s talk about the "why." As a service contractor: whether you’re an electrician, plumber, or landscaper: your work is often invisible once it’s done.
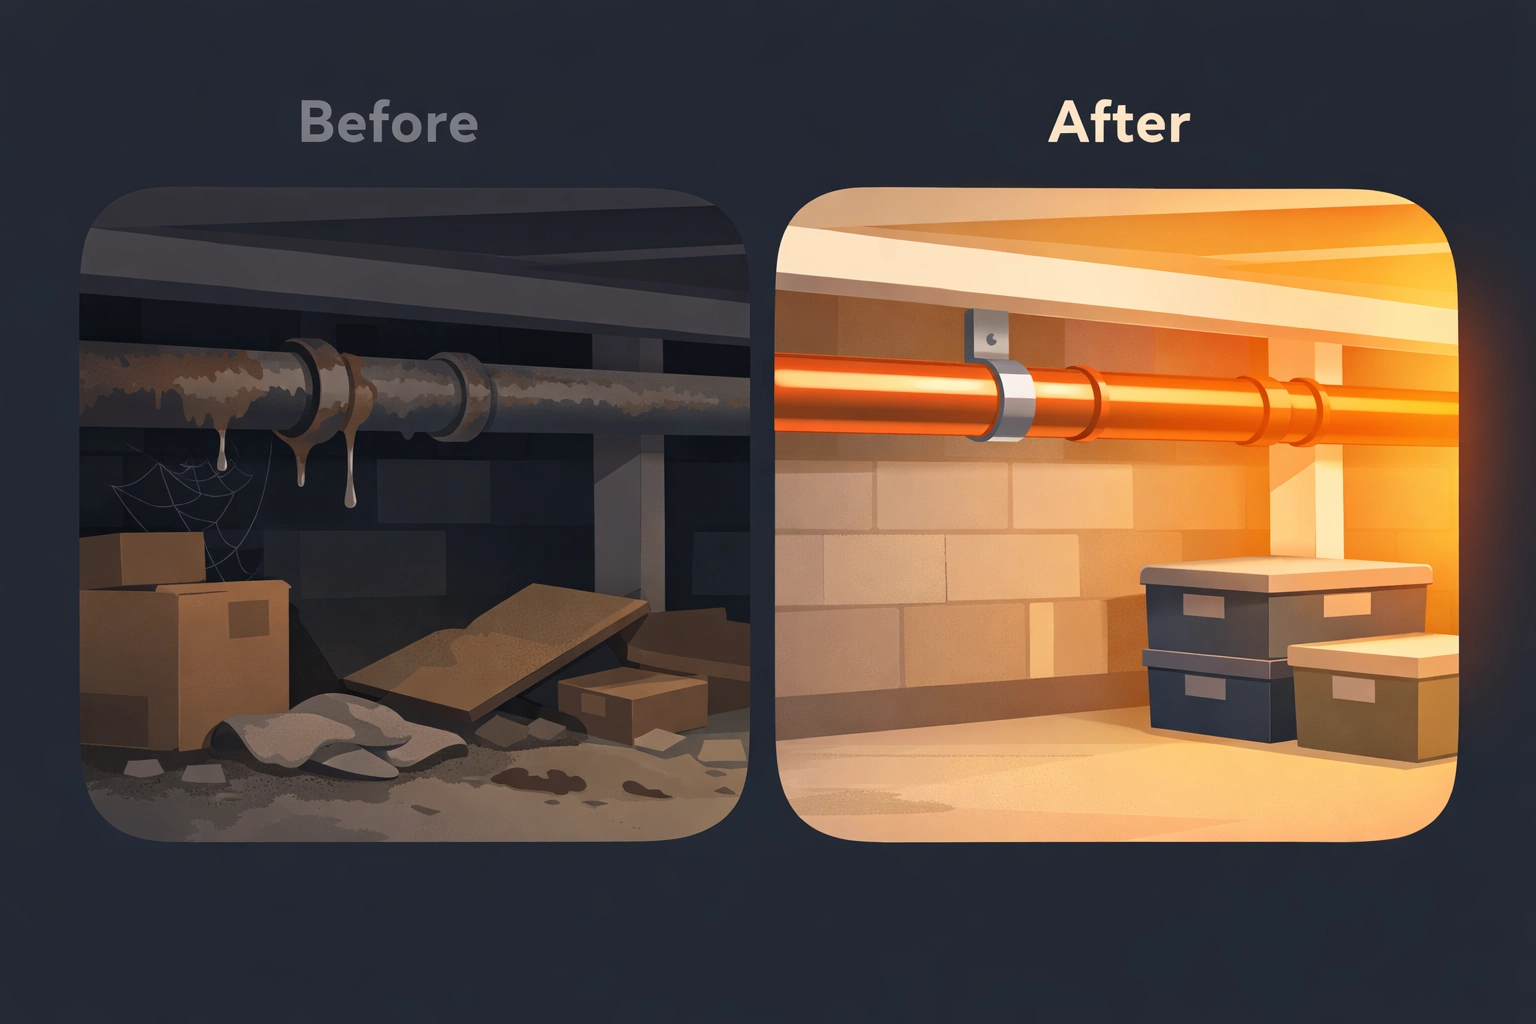
- Proof of Value: When a customer sees a "before" shot of a corroded pipe and an "after" shot of your clean copper work, they don't question the bill.
- Liability Protection: Photos are your best defense. If a homeowner claims you damaged a wall, but your "before" photo shows the crack was already there, you just saved yourself thousands of dollars.
- Marketing Gold: These timelines are perfect for social media. People love a good transformation.
- Customer Trust: Sending a clean, organized timeline makes you look organized. It shows you care about the details.

The Problem with "The Old Way"
Most contractors handle photos in one of two ways:
- The Camera Roll Chaos: You take 50 photos, and they sit in your phone gallery mixed with pictures of your dog and your kids. Three weeks later, when you need to find the photo of the junction box, you’re scrolling for ten minutes.
- The Bloated App: You pay for a massive contractor job app that has 500 features you don’t use. It’s slow, it crashes, and your guys in the field refuse to use it because it takes too long to upload anything.
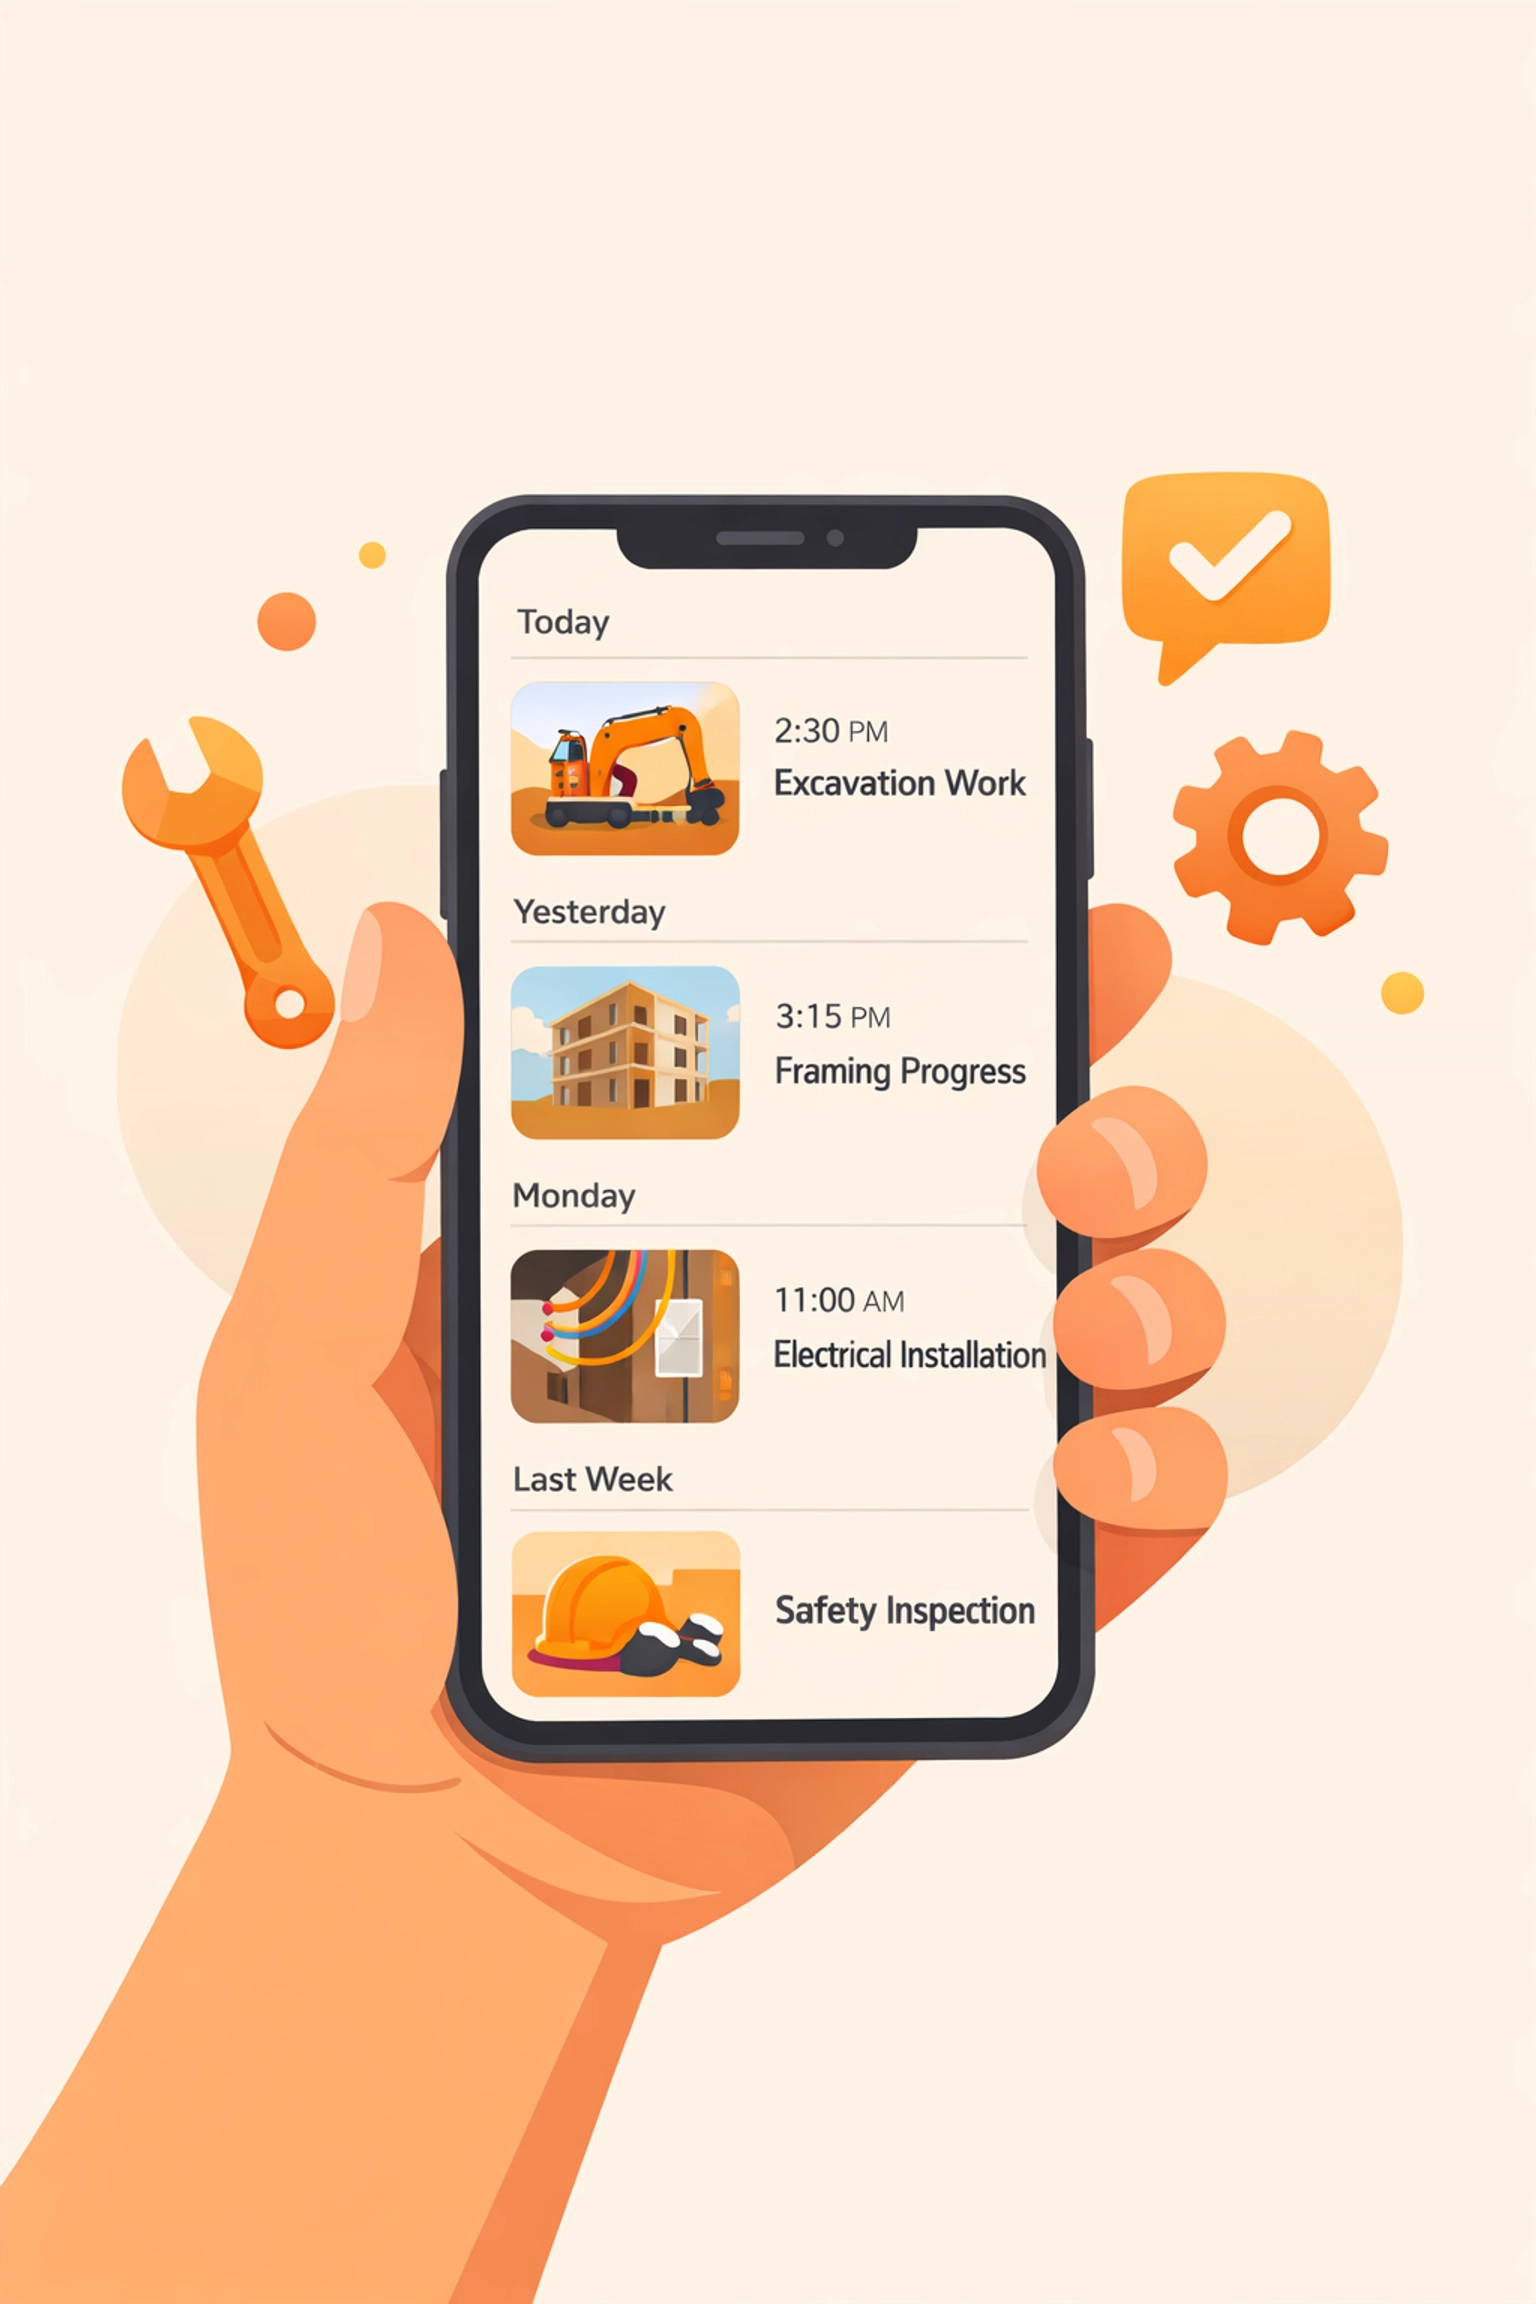
There has to be a middle ground. That’s why we built JobLuma to be a photo timeline app that actually works the way you do: fast and mobile-first.
Step 1: The "Before" Shot (The 1-Minute Mark)
The secret to a great timeline is starting before you even pick up a wrench. As soon as you walk onto the job site, take three specific photos:
- The Wide Shot: The entire room or area you’re working in.
- The Problem: The specific leak, the frayed wire, or the dead furnace.
- The Context: Anything nearby that could be an issue (like existing scratches on the floor).
With JobLuma, you don't need to categorize these into folders. You just snap them. Our contractor photo app is designed for the field, meaning you can upload directly from your mobile browser without waiting for a clunky app to sync.
Step 2: The "Progress" Shots (The 2-Minute Mark)
This is where most guys drop the ball. Progress shots are vital for "invisible" work. If you’re a plumber and you’re burying lines, take a photo before the dirt goes back in. If you’re an electrician, take a photo of the wiring before the insulation covers it up.
You don't need a professional camera. Your smartphone is more than enough. Just ensure you have decent lighting: keep a small LED work light in your pocket if you work in dark crawlspaces.
Step 3: The "After" Shot (The 4-Minute Mark)
Once the job is done and you’ve cleaned up (don’t forget to clean up: it’s the most important part of the "after" shot!), take a photo from the exact same angle as your initial "wide shot."
This creates a "jump" effect that is visually satisfying. It clearly shows the transformation you’ve achieved. If you used a before and after photo app correctly, these two images will sit side-by-side or in a clean vertical scroll for the customer to see.
Step 4: Sharing the Timeline (The 5-Minute Mark)
This is where the magic happens. In the past, you’d have to email a zip file or text 20 photos individually. That’s annoying for you and even more annoying for the customer.
With JobLuma, you can share a link.
The best part? Your customer does not have to download an app.
Think about it from their perspective: They hired you to fix a leak, not to join a new social network. They just want to see the work. By sending a simple link to their JobLuma timeline, they can view the photos instantly on their phone or computer. It’s simple, professional, and friction-free.
Why "Simple" Wins Every Time
We’ve seen too many small service businesses get bogged down in software that is too complex for their needs. If a tool takes more time to manage than the actual job takes to complete, it’s a bad tool.
JobLuma was built on the idea that construction photo documentation should be as easy as sending a text message. Our mobile-first design means you can manage everything from the palm of your hand while you’re still on-site. You can check out our pricing to see how we keep things affordable for small shops.
Pro Tips for Better Photos
To make your timelines look even more professional, keep these quick tips in mind:
- Clean the Lens: This sounds stupid, but your phone lens gets greasy in your pocket. Give it a quick wipe with your shirt before you take a photo. It makes a world of difference in clarity.
- Horizontal vs. Vertical: Pick one and stick with it for the whole project. If your "before" is vertical and your "after" is horizontal, the timeline looks messy.
- Use the Flash Sparingly: Flash can wash out details and create weird shadows. Use your work lights whenever possible for a more natural look.

Scaling Your Business with Visual Data
As your team grows, keeping everyone on the same page becomes the biggest challenge. If you have three crews out in the field, how do you know the work is being done to your standards?
By using a dedicated contractor software for photos, you create a central hub. You can look at the JobLuma feed and see exactly what’s happening at every job site in real-time. It’s like being in three places at once without the headache.
You can learn more about our mission on our About page, but the gist is this: We want to give you back your time.
Final Thoughts: 5 Minutes to a Better Business
Creating a professional timeline shouldn't be a chore. It’s a 5-minute habit that pays dividends in customer reviews, referrals, and peace of mind.
Stop fighting with messy folders and "all-in-one" apps that do nothing well. Focus on the work, snap the photos, and let JobLuma handle the rest. Your customers will appreciate the transparency, and you’ll appreciate how easy it is to get things done.
Ready to see how simple it can be? Sign up for JobLuma today and start building your first professional timeline in minutes. No credit card required, no app downloads for your customers: just better documentation for your hard work.
If you have questions, our Help center is always open, or you can contact us directly. Let’s get to work!
Leave a Reply