You know the drill. You’re finishing up a tough HVAC install or a complex rewiring job. You whip out your phone, snap a few quick photos of the unit or the panel, and head to the next job site. You think you’re covered.
Then, three weeks later, the client calls. They claim there’s a scratch on the floor that wasn't there before, or they’re questioning why the invoice is higher than the estimate because "it didn't look like that much work." You scroll through your camera roll, past photos of your kids and your dog, trying to find that one specific shot of the hallway before you started.
By the time you find it: if you find it: it’s blurry, dark, and doesn’t actually show the floor.
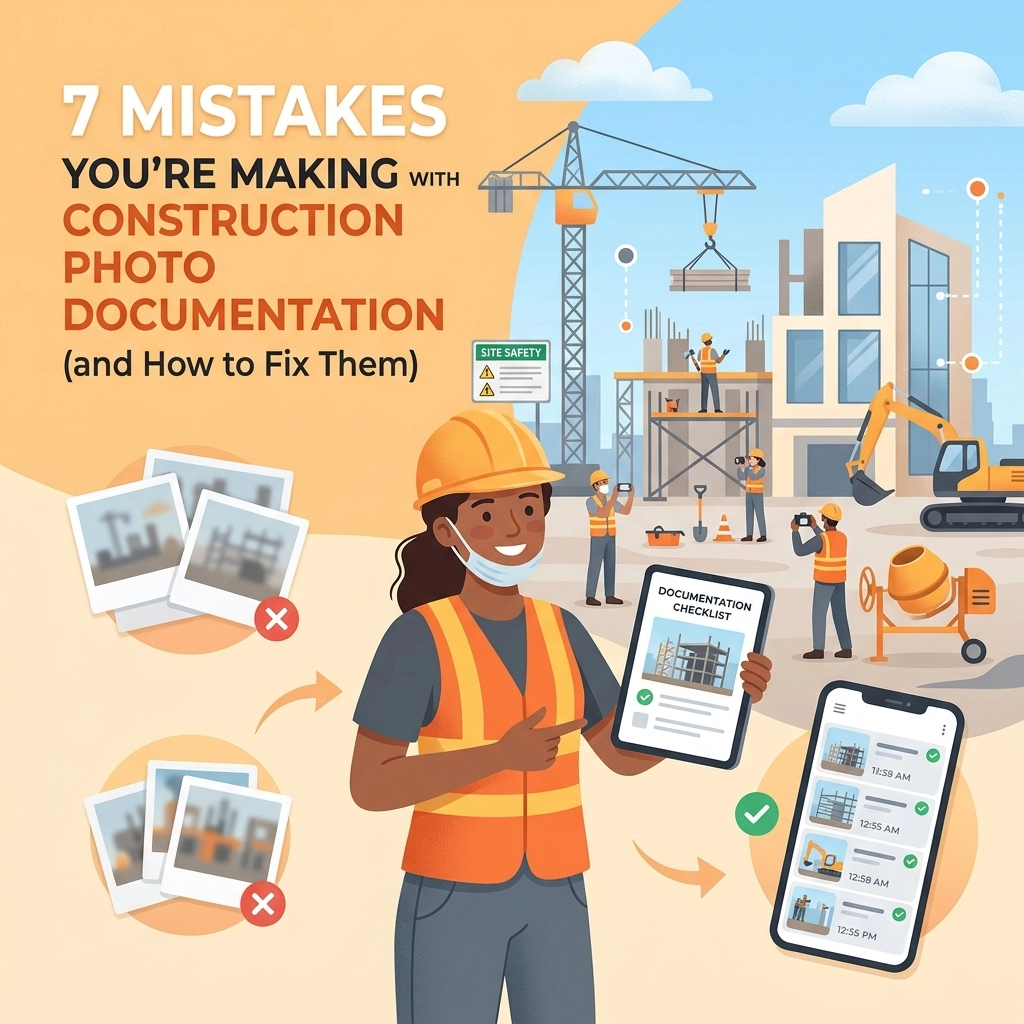
Photo documentation isn't just about taking pictures; it’s about protecting your business, proving your value, and getting paid faster. But if you’re making these seven common mistakes, your "documentation" might be doing more harm than good.
Here is how to fix those mistakes and turn your photos into your business’s strongest asset.
1. Missing the "Existing Conditions" (The Pre-Work Walkthrough)
The biggest mistake most contractors make happens before the first tool even touches the ground. If you aren't documenting the site's initial state, you are leaving yourself wide open to unfounded damage claims.
Whether it's a cracked tile, a stained carpet, or a dent in the drywall, if it was there before you arrived but you don’t have a photo of it, it’s your word against theirs. Research shows that failing to capture baseline conditions is one of the leading causes of preventable disputes in field services.
The Fix: Spend five minutes doing a "pre-work sweep." Break the site into zones and take photos every few feet. Focus on entryways, floors, and the immediate work area. Think of it as an insurance policy. If you use a contractor job app like JobLuma, you can keep these "Before" photos neatly tucked into a project timeline before the "During" and "After" photos even start.
2. Bad Lighting and "Mystery" Photos
We’ve all seen them: a grainy, dark photo of a pipe crawlspace that looks more like a scene from a horror movie than a professional plumbing job. If you can’t see the detail, the photo is useless. Low light, excessive glare from a flash on a metallic surface, or deep shadows can mask the very thing you're trying to document.
The Fix: Don’t just "point and shoot." If you’re in a dark attic or basement, use a work light or a high-powered flashlight rather than just relying on your phone’s flash, which often creates "hot spots" on the image. Tap your phone screen to set the focus and exposure on the specific area you’re shooting.

3. The "Where Am I?" Problem (Lack of Context)
You have a crystal-clear photo of a perfectly soldered joint. Great! But… which room is it in? Which floor? If you’re working on a multi-unit project or a large commercial space, a close-up photo without context is a puzzle no one wants to solve later.
Inaccurate camera placement: shooting too close to a wall or at a weird angle: skews the perspective and makes it impossible to tell where the work actually happened.
The Fix: Use the "Wide-to-Close" method. Take one wide-angle shot that shows the whole room or the surrounding area, then move in for the close-up of the specific detail. This creates a visual trail. It’s also helpful to keep your camera at eye level for consistency across all your documentation sessions.
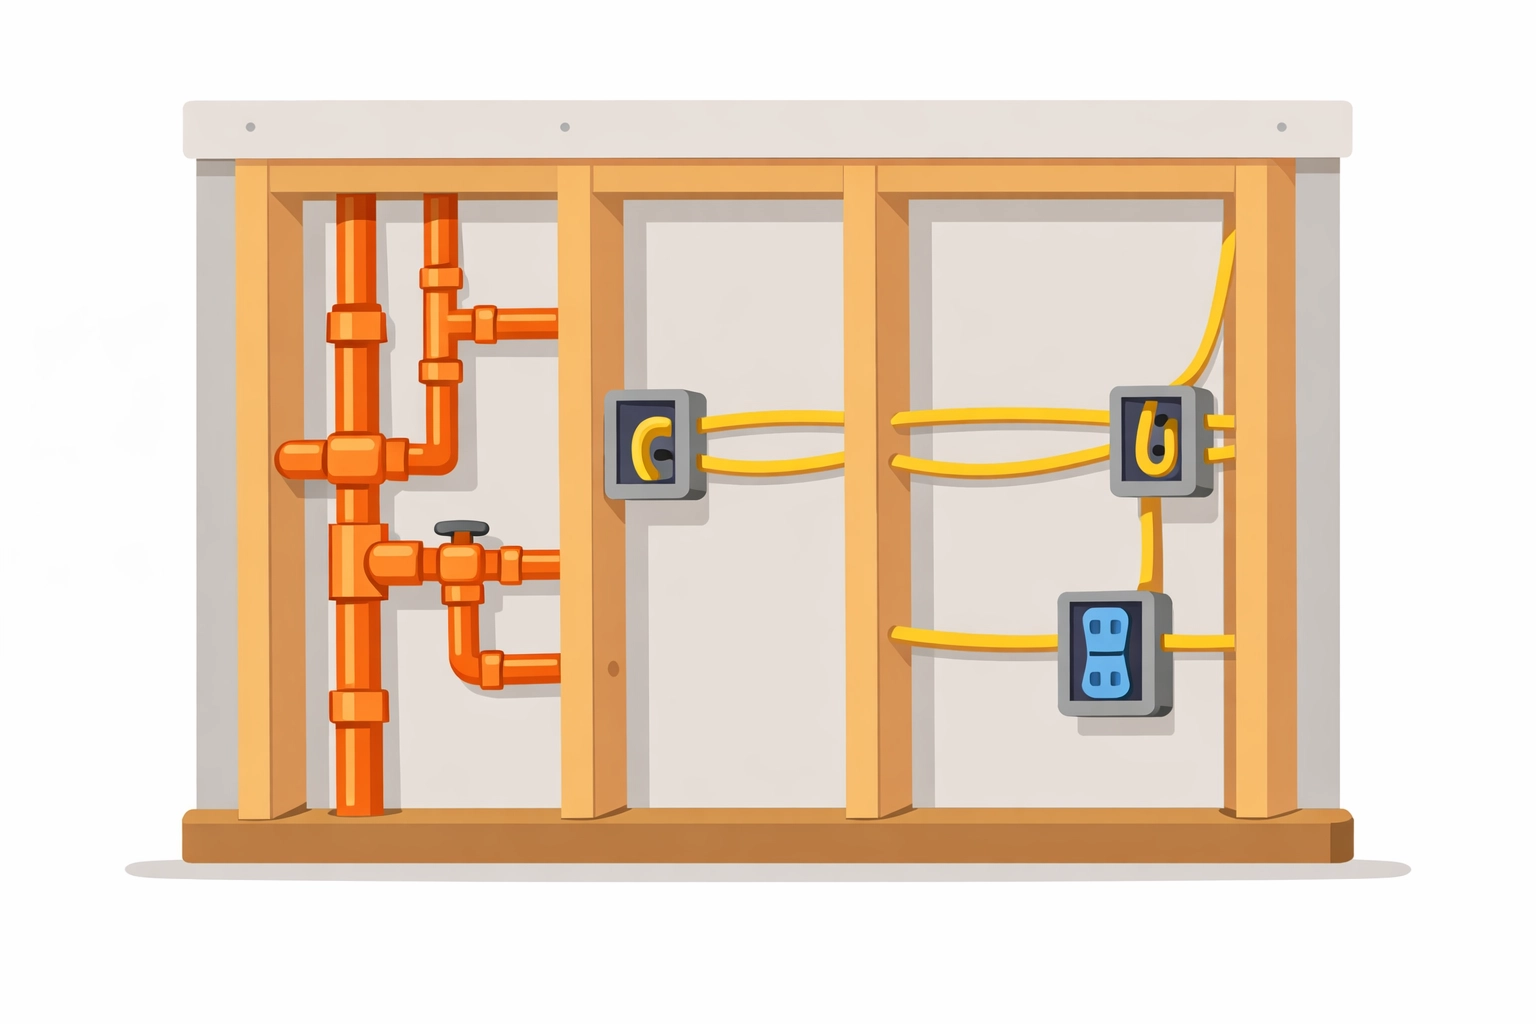
4. Forgetting What’s "Behind the Walls"
Once the drywall goes up, your work is invisible. This is where the most expensive mistakes happen. It’s estimated that a massive chunk of long-term maintenance costs stems from inadequate records of mechanical, electrical, and plumbing (MEP) systems.
If a homeowner wants to hang a heavy TV five years from now and hits a pipe you installed, having a photo of exactly where that pipe sits behind the studs is a lifesaver.
The Fix: Before the walls close, take comprehensive photos of every stud bay where you’ve run wire, pipe, or ductwork. Include a tape measure in the shot if possible to show exact distances from corners or floors. This is the ultimate "value add" for your customers and proves you’re a pro who thinks ahead.
5. Losing Photos in the "Group Chat Black Hole"
Many small teams rely on WhatsApp, iMessage, or Slack to send job photos. It feels fast, but it’s a nightmare for organization. Photos get compressed (losing quality), they get buried under hundreds of messages, and they aren't tied to a specific job folder.
If you need to find a photo from six months ago to defend an RFI (Request for Information), you’ll be scrolling for hours.
The Fix: Move away from group chats for documentation. You need a dedicated contractor photo app that organizes images by job name and date automatically. Using JobLuma’s features allows you to log photos directly to a project timeline so anyone on the team: and the customer: can see progress in real-time without digging through a text thread.
6. Using Bloated, Over-Complicated Software
There is a lot of "project management software" out there designed for massive skyscrapers and billion-dollar bridge projects. For a local electrician or plumber, these apps are often too much. They require hours of training, cost a fortune, and: worst of all: require your customers to download an app just to see a photo.
If the software is too hard to use, your team won’t use it. They’ll go back to the camera roll, and you’re back at square one.
The Fix: Choose "Simple" over "Sophisticated." You want a mobile-first design that feels like using the apps you already love. This is why we built JobLuma. We focused on a simple, no-app-download customer experience. You send a link, the customer clicks it, and they see their project timeline. Simple as that.

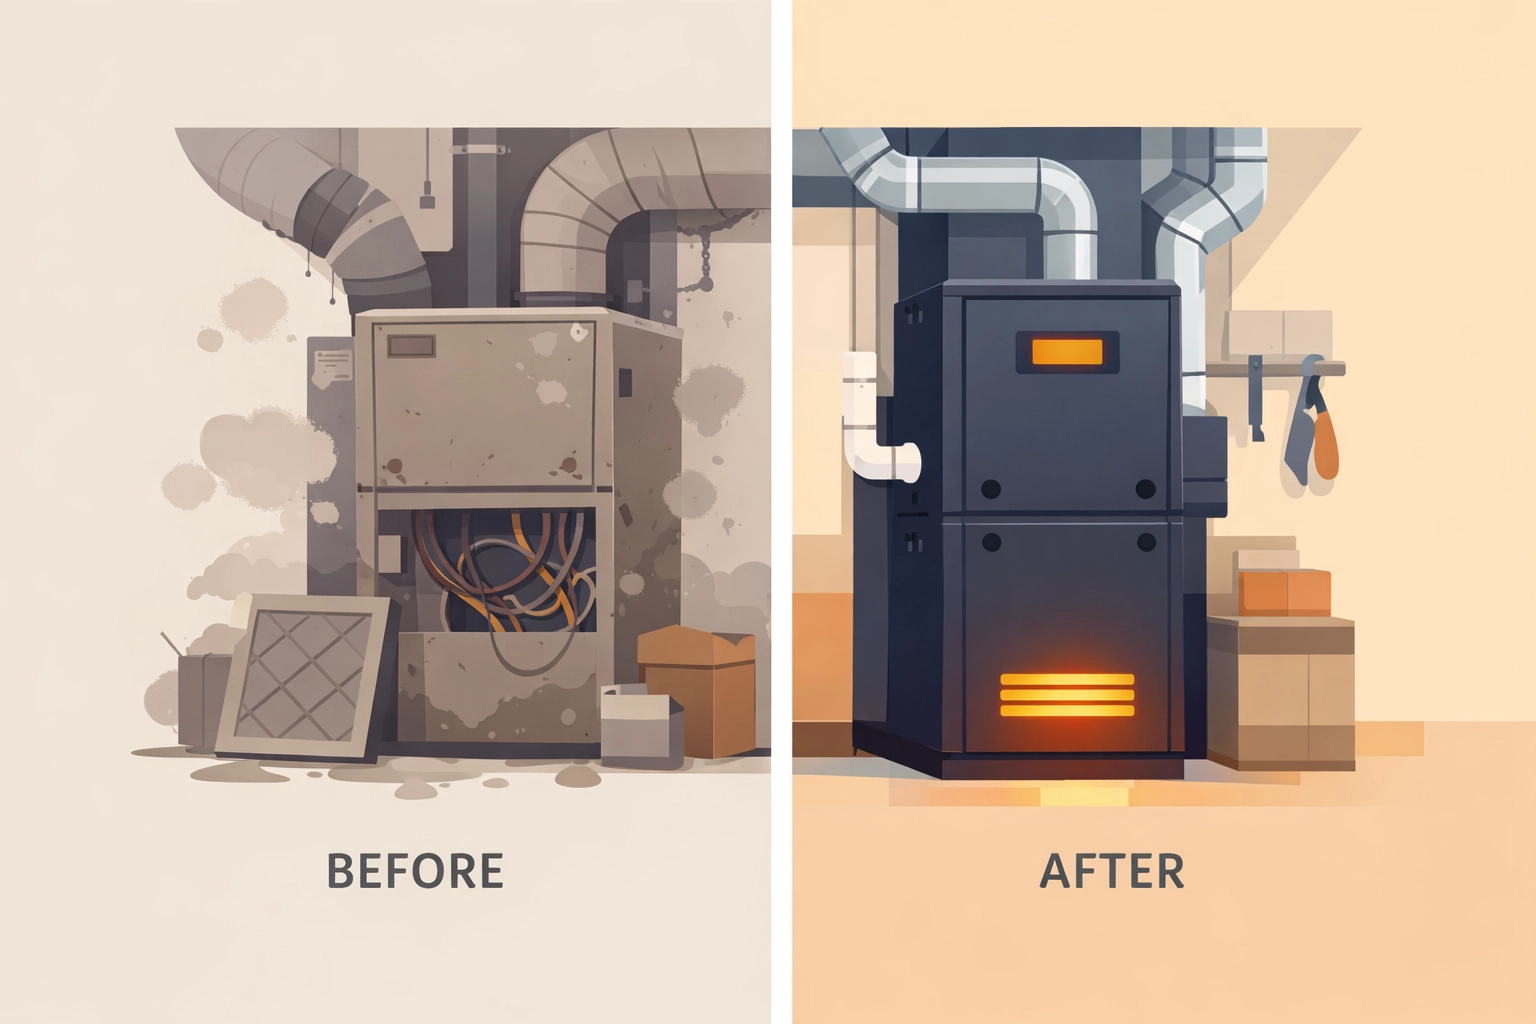
7. Not Using Photos to Market Your Business
The final mistake is keeping your great work a secret. A "before and after" photo is the most powerful marketing tool a contractor has. Most contractors take the photos, save them, and forget them. They miss the opportunity to show off their craftsmanship to future leads.
The Fix: Use a before and after photo app workflow. Every time you finish a job, curate the best 2-3 pairs of photos. Share the project timeline link with your customer so they can see the transformation. Not only does this make them feel great about the money they spent, but it also makes it incredibly easy for them to share your work with neighbors and friends.
Why Better Documentation Leads to Better Business
At the end of the day, construction photo documentation isn't just a chore: it’s a communication tool. When you document your work correctly, you:
- Build Trust: Customers love seeing progress. A transparent timeline reduces "check-in" phone calls and emails.
- Get Paid Faster: When there’s visual proof that the milestone is met, there’s no reason to delay payment.
- Protect Your Reputation: You have a digital paper trail that proves exactly what you did, where you did it, and what the site looked like when you left.
Stop the Camera Roll Chaos
If you're tired of losing photos, dealing with customer disputes, or trying to navigate "pro" software that requires a PhD to understand, it’s time for a change.
JobLuma was built specifically for the small service contractor who wants to spend more time on the tools and less time on the computer. Our photo timeline app is designed to be the simplest way to track your jobs and keep your customers in the loop: no app downloads required for them, and no headaches for you.
Ready to see how simple your job logging could be? Check out our pricing and start building your first project timeline today. Your camera roll (and your sanity) will thank you.
Leave a Reply