If you’re an electrician, plumber, or HVAC tech, you know the drill. You spend all day doing high-quality work, solving problems that would baffle the average homeowner, and leaving the job site better than you found it. But when it comes time to get paid or land the next big project, your "proof" is usually a mess of blurry photos scattered across your phone’s camera roll.
We’ve all been there: scrolling past pictures of your kids, your dog, and your lunch just to find that one shot of the rusted-out water heater before you replaced it. It’s frustrating, it’s unprofessional, and quite frankly, it’s a waste of your time.
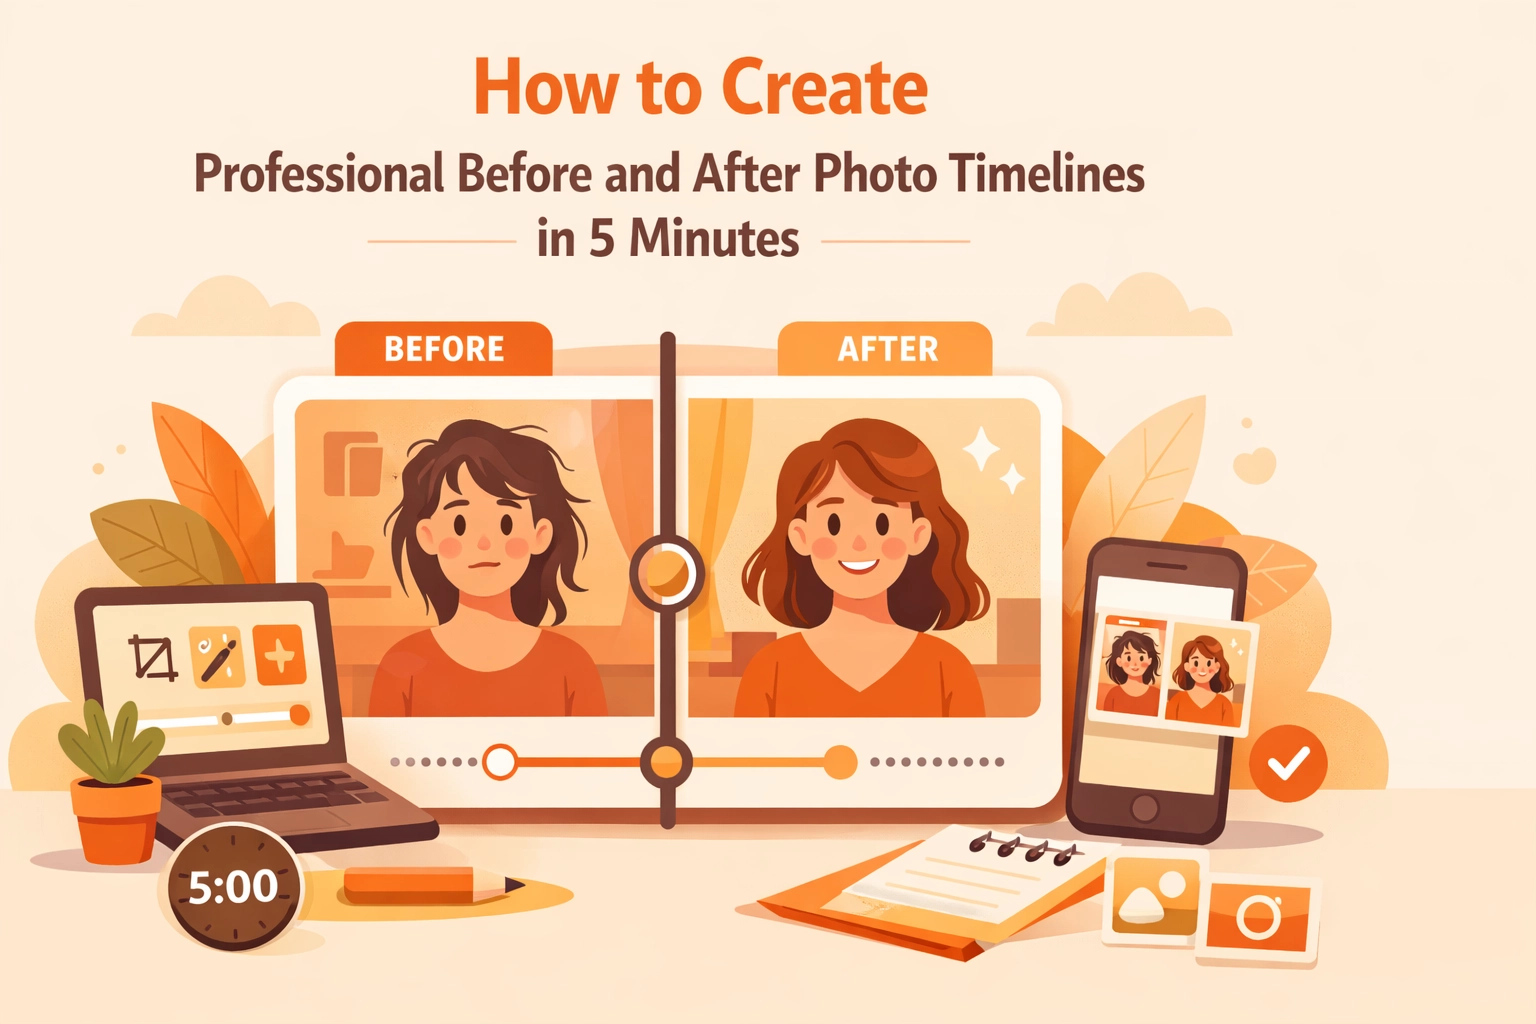
The good news? You don’t need a degree in photography or a bloated, expensive project management system to look like a pro. You can create stunning, professional before and after photo timelines in under five minutes. In this guide, we’re going to show you exactly how to do it without the headache.
Why Before and After Photos are Your Best Salesperson
Before we dive into the "how," let’s talk about the "why." In the world of field services, photos aren't just for Instagram. They are your best defense and your most powerful marketing tool.
- Trust and Transparency: When a customer sees a side-by-side comparison of their old, frayed electrical panel and the clean, organized masterpiece you just installed, the value of your work is undeniable.
- Liability Protection: "Construction photo documentation" isn't just a fancy phrase; it’s your insurance. If a client claims you damaged something, having a "before" photo can save you thousands of dollars and a huge legal headache.
- The "Wow" Factor: People love a transformation. Sharing a professional timeline makes your business look more sophisticated than the guy down the street who just texts a grainy photo and an invoice.
- Upselling: Sometimes, seeing a "during" photo of a hidden issue (like mold behind a wall or a cracked pipe) makes it much easier to explain to a customer why they need that extra repair.

The "Bloated Software" Trap
Many contractors realize they need a contractor photo app, so they go to the app store and download a massive project management suite. Ten minutes later, they’re asked to create a 12-character password, set up a complex team hierarchy, and integrate their accounting software just to take a single photo.
Most of these tools are built for massive construction firms with dedicated office staff. They aren't built for the guy in the van who just needs to document a job and move on to the next one.
You don't need a 50-feature dashboard. You need a simple way to log photos and show them to your customers. That’s where a mobile-first, simple contractor job app like JobLuma changes the game.
How to Create Your Timeline in 5 Minutes (Or Less)
You don't need to be a tech wizard. Follow these simple steps to go from a messy camera roll to a professional presentation.
1. The "Before" Shot: Set the Stage
As soon as you walk onto the job site, take your phone out. Before you touch a single tool, snap a photo of the area you’re working on.
- Tip: Try to find a landmark in the room (a window, a specific door frame, or a corner) that you can include in both the "before" and "after" shots. This makes the comparison much more impactful because the viewer has a point of reference.
2. Document the "Guts"
Don't just do before and after. Take one or two photos of the work in progress: especially the stuff that will be hidden behind a wall or under the floor. This "construction photo documentation" proves that you did the job right, even the parts the customer will never see.
3. The "After" Shot: The Money Maker
Once the job is done and the site is cleaned up (don't forget to clean up!), take the "after" photo from the exact same angle as the "before" shot.
4. Let the Software Do the Heavy Lifting
Instead of trying to manually stitch photos together in an app like Canva or dragging them into a Word document, use a dedicated photo timeline app. With JobLuma, you simply upload the photos to the job record. The software automatically organizes them into a clean, chronological timeline. No dragging, no dropping, no formatting.
5. Share the Magic Link
This is the most important part. Instead of sending an email with 15 attachments that will get stuck in a spam filter, you send your customer a single link. They click it, and they see a beautiful, branded timeline of the work you did.

The JobLuma Advantage: No App, No Friction
One of the biggest hurdles for small service contractors is the "customer side" of the technology. If you ask a customer to download an app just to see their project photos, they probably won't do it. It’s an extra step they don’t want to take.
We designed JobLuma to be "no-app-download" for your customers. You send a link, they view it in their mobile browser, and they’re impressed. It’s that simple.
Our mobile-first design means you can do everything from your phone while you’re still on-site. By the time you’ve packed your tools into the truck, the timeline is ready to go. That’s how you stay under that 5-minute mark.

Pro Tips for Better Before and After Photos
While the software handles the organization, you still have to take the photos. Here are a few "quick wins" to make your photos look like they were taken by a professional:
- Wipe Your Lens: This sounds silly, but your phone lens spends all day in your pocket gathering lint and thumbprints. A quick wipe with your shirt can turn a "foggy" photo into a crisp, professional one.
- Lighting is Everything: If you’re in a dark basement or attic, use a work light to illuminate the area rather than relying solely on your phone’s flash. Flash often creates harsh shadows and "hot spots" on metallic surfaces like pipes or wires.
- Steady Hands: If you’re taking photos in low light, hold your phone with both hands and tuck your elbows into your sides. This stabilizes the camera and prevents the dreaded "motion blur."
- Keep it Simple: You don't need fancy filters. In fact, filters can make your work look "hidden." Clear, natural-looking photos are always better for building trust.
Beyond the Photos: Using Timelines to Get Paid
A professional photo timeline does more than just look good: it gets you paid faster. When you send an invoice along with a JobLuma timeline, the customer isn't just looking at a dollar amount; they are looking at the value you provided.
It’s much harder for a customer to complain about a $500 repair when they can see the "before" (a leaking, corroded mess) and the "after" (a shiny, new, perfectly installed component). It bridges the gap between the work you do and the price they pay.

Stop Managing Photos and Start Logging Them
If you’re still manually organizing photos, you’re losing money. Every minute you spend messing around with your camera roll is a minute you aren't on another job or spending time with your family.
Switching to a dedicated contractor software like JobLuma means you can stop "managing" and start "logging."
The 5-Minute Promise:
- Minute 1: Open the web-based app (no download needed).
- Minute 2: Take the "Before" photo.
- Minute 3: Take a "During" photo of the critical fix.
- Minute 4: Take the "After" photo.
- Minute 5: Hit "Share" and send it to the client.
That’s it. You’re done. Your documentation is finished, your client is impressed, and your work is protected.
Conclusion
Creating professional before and after photo timelines doesn't have to be a chore. It shouldn't require a high-end camera or a complicated software subscription that costs more than your monthly gas bill.
By focusing on simplicity and using tools designed for the way you actually work, you can elevate your business and protect your bottom line in just minutes a day.
Ready to stop the camera-roll chaos? Check out our pricing and see how easy it is to get started. You can even sign up today and have your first professional timeline sent by this afternoon.
If you have questions about how JobLuma can fit into your specific trade, feel free to visit our help center or contact us directly. We’re here to help you get back to work!
Leave a Reply