Let’s be honest: in the trades, your work speaks for itself: but only if people can actually see it. Whether you're an electrician finishing a complex panel upgrade, a plumber replacing a rusted-out water heater, or an HVAC tech installing a pristine new unit, the transformation is where the magic happens.
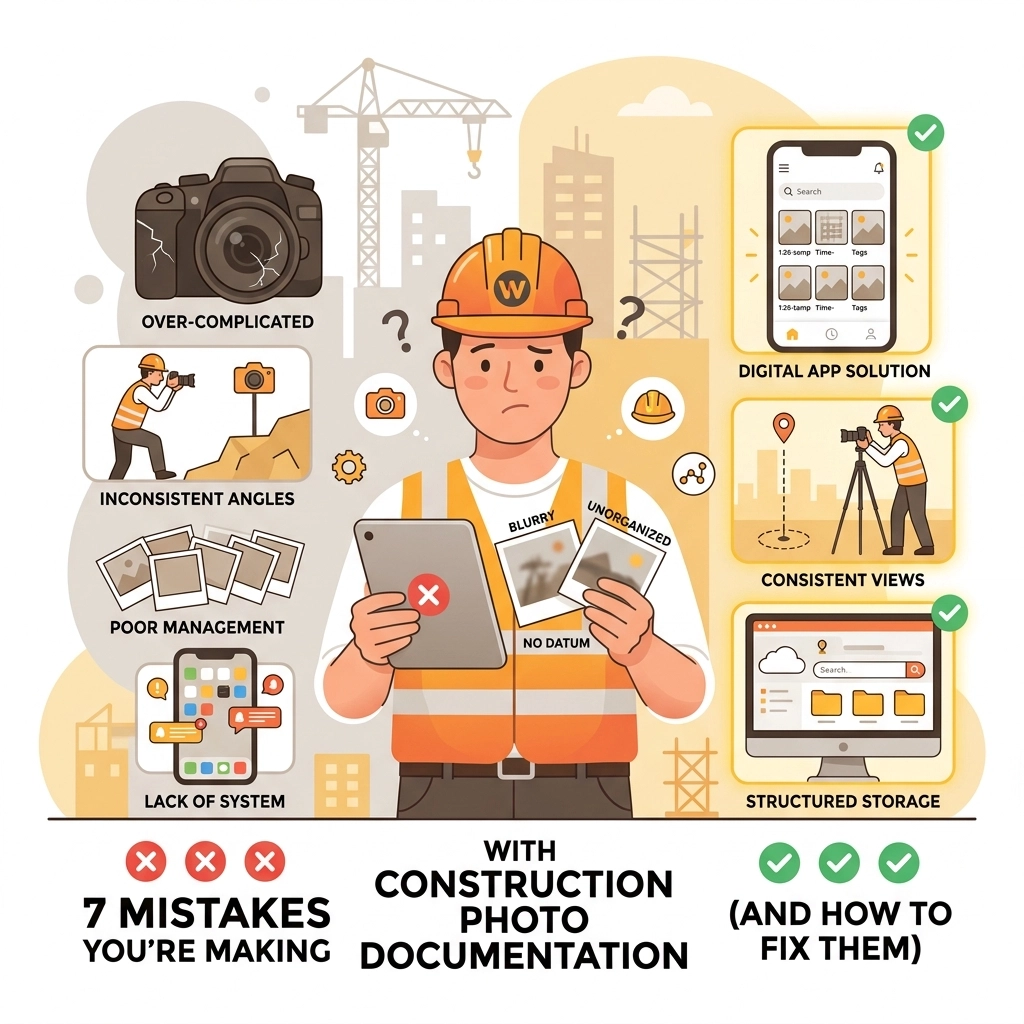
But here is the problem: most contractors have a phone gallery that looks like a chaotic junk drawer. You’ve got a photo of a leaky pipe from three weeks ago, ten blurry shots of a serial number, and a picture of your lunch, all sandwiched between the "after" shots of your last three jobs. When a customer asks for proof of work or you want to show off a project on social media, you’re scrolling for ten minutes just to find the right file.
Using a before and after photo app isn't just about making things look pretty; it's about professionalism, protection, and profit. When you document your work correctly, you build instant trust with your clients. They see exactly what they paid for, and they feel confident that the job was done right.
At JobLuma, we believe contractor software should be simple. You don't need a bloated project management suite that takes three days to learn. You need a way to snap a photo, log it to the job, and show it to the customer without any friction.
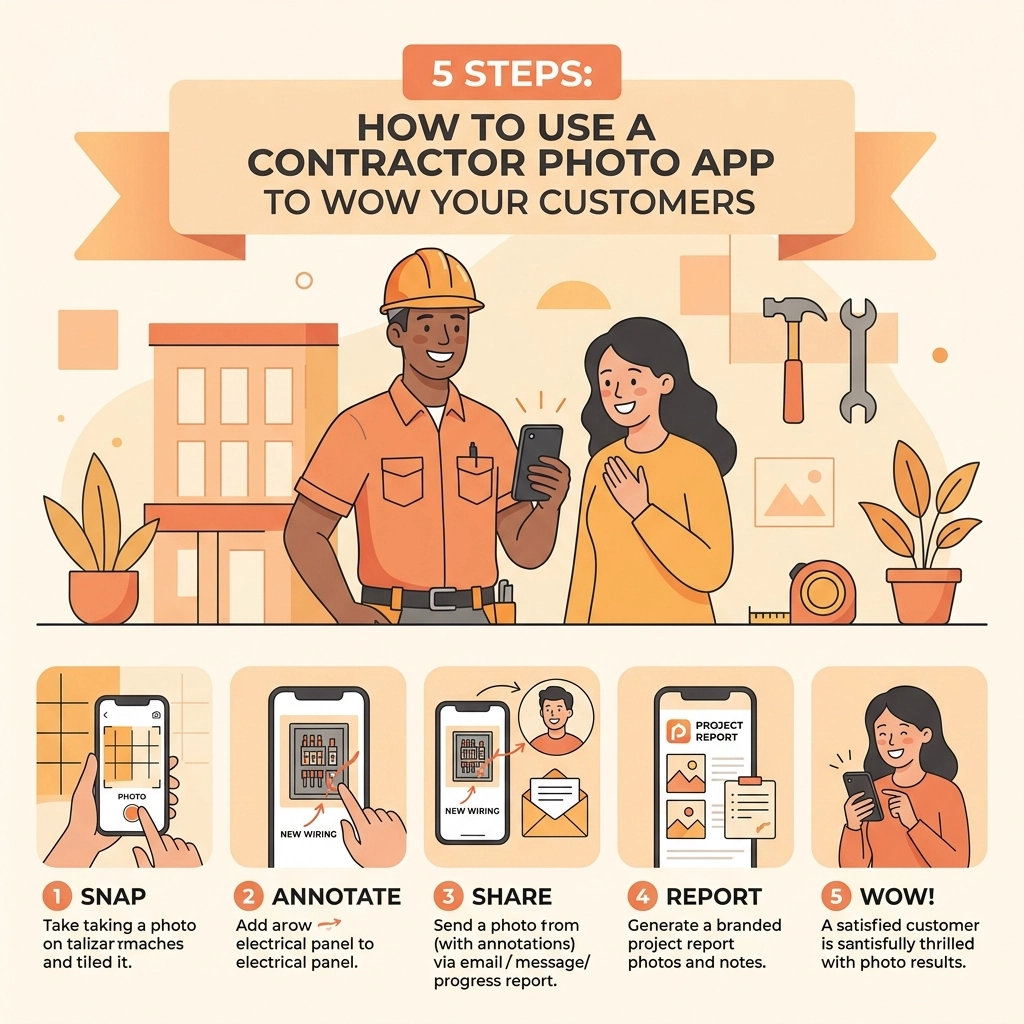
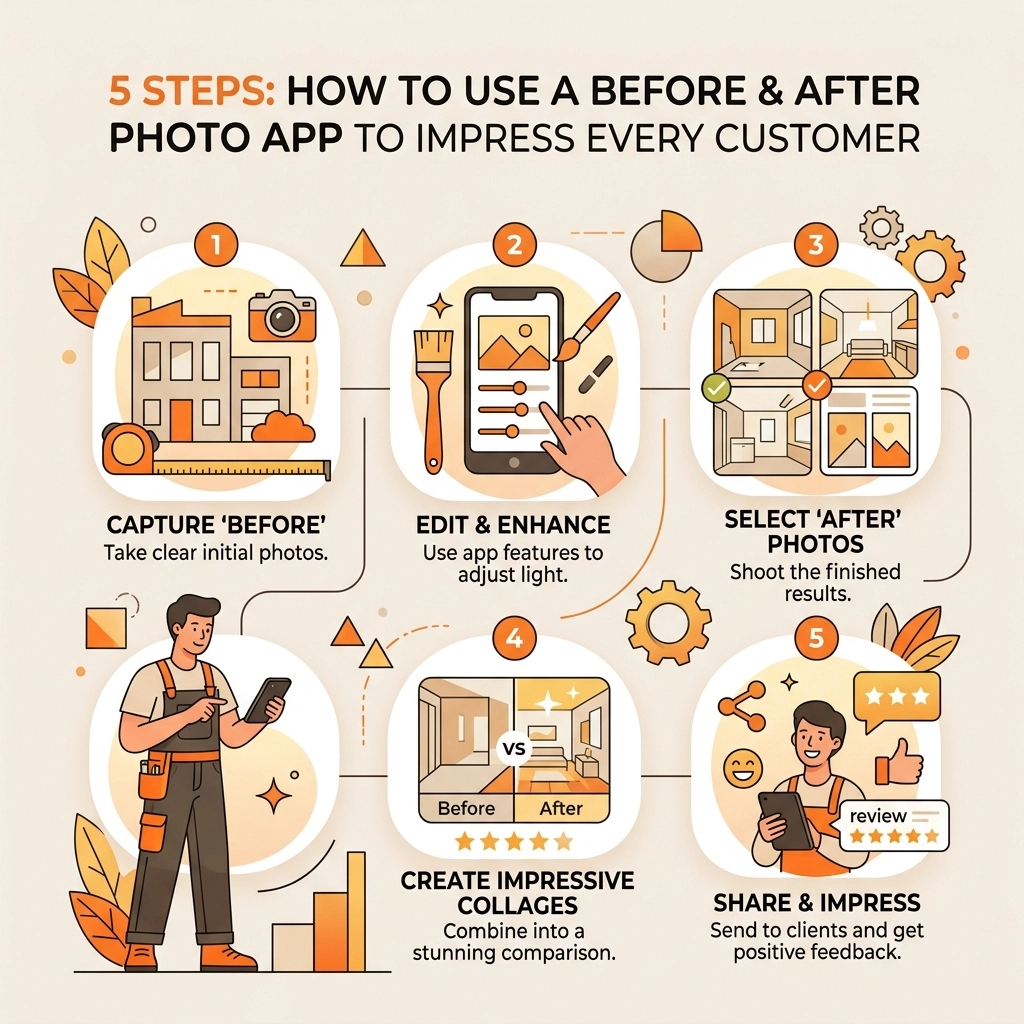
Here are the five simple steps to using a photo app to impress every customer and grow your business.
Step 1: Master the "Before" Shot (Setting the Stage)
The "before" photo is the most important part of the story. Without it, the "after" photo has no context. It’s the baseline that proves there was a problem worth solving.
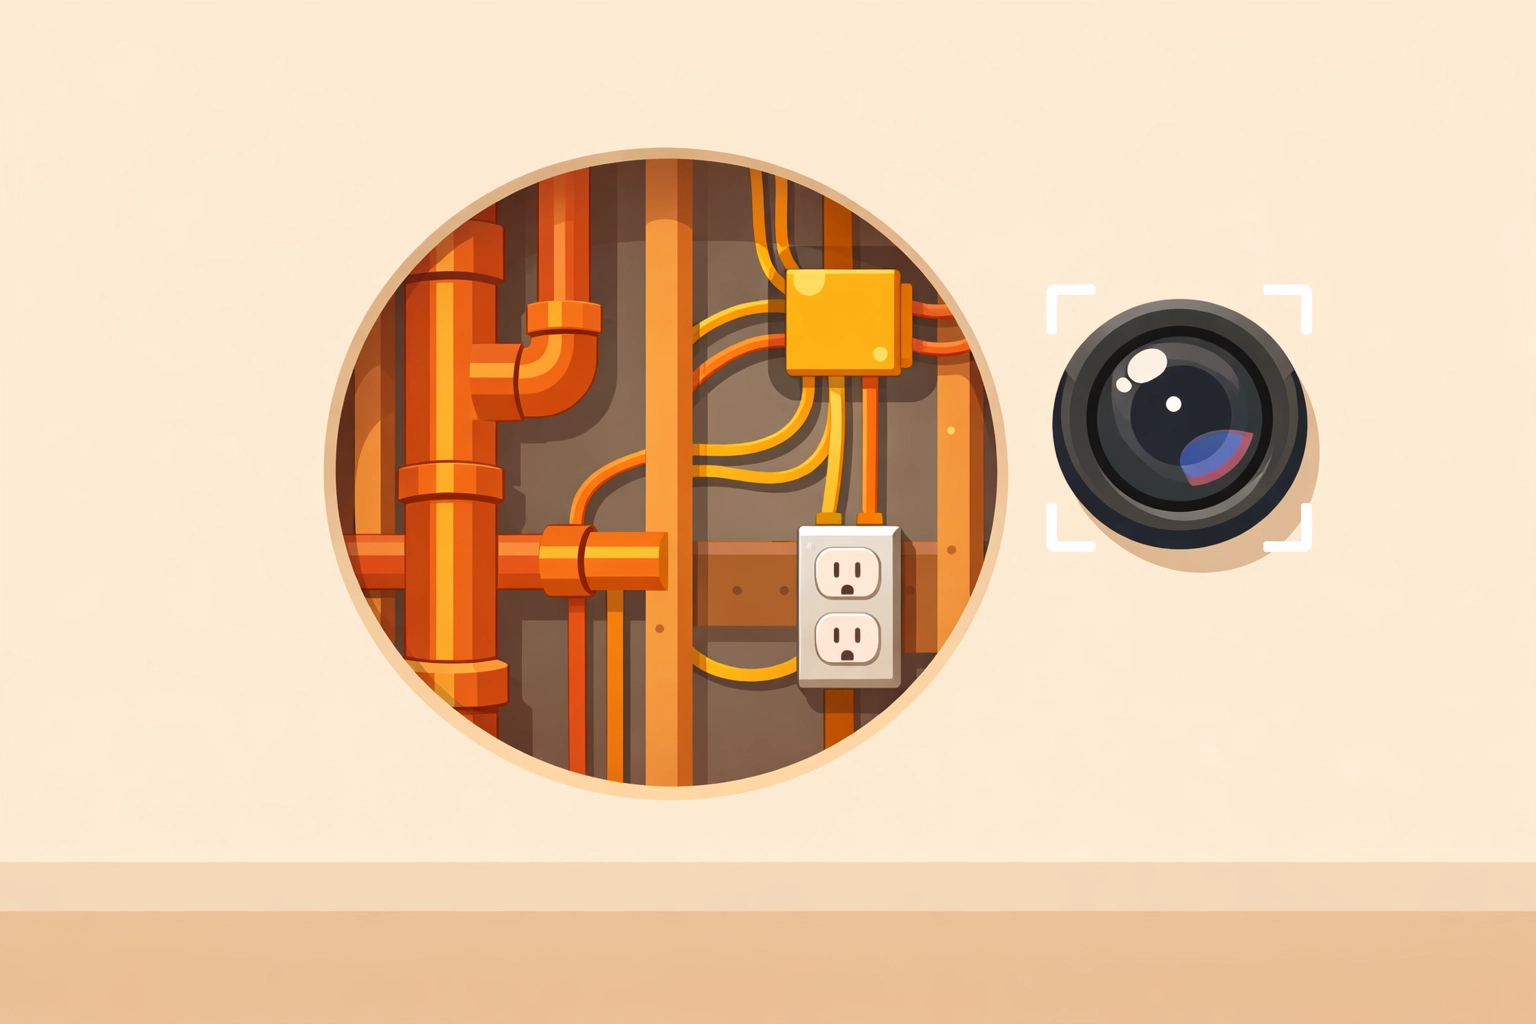
When you arrive at a job site, before you even open your tool bag, pull out your phone. Using a dedicated contractor photo app allows you to tag this photo to a specific job immediately so it doesn't get lost in your personal camera roll.
Tips for a great "before" shot:
- Clear the clutter: If there's trash or unrelated tools in the way, move them. You want the focus to be on the specific area you’re fixing.
- Find your "Anchor Point": Pick a specific spot to stand and a specific angle. To make a truly impressive before-and-after comparison, the two photos need to be taken from the exact same perspective. Look for a landmark: a door frame, a window, or a specific stud: to help you line up the shot later.
- Lighting is everything: If you're in a dark crawlspace or a dim basement, use a work light. A grainy, dark photo doesn't look professional; it looks like a mistake.
By taking high-quality construction photo documentation from the start, you’re already miles ahead of the competition.

Step 2: Document the "In-Between" (Protecting Your Business)
While the before and after shots are for the customer's "wow" factor, the "during" shots are for you.
A true photo timeline app allows you to document what’s happening behind the walls or under the floorboards. Once the drywall goes up or the concrete is poured, your hard work is hidden. If a customer later claims something wasn't done to code, or if another trade damages your work, those "in-between" photos are your best defense.
What to capture during the job:
- Wiring runs before the walls are closed.
- Pipe connections before they are buried.
- The condition of surrounding areas (to prove you didn't cause that scratch on the floor).
- Any unexpected issues you find (like rot or previous DIY hacks) to justify a change order.
This level of detail shows the customer that you are thorough and transparent. It turns a "trust me" conversation into a "let me show you" conversation.

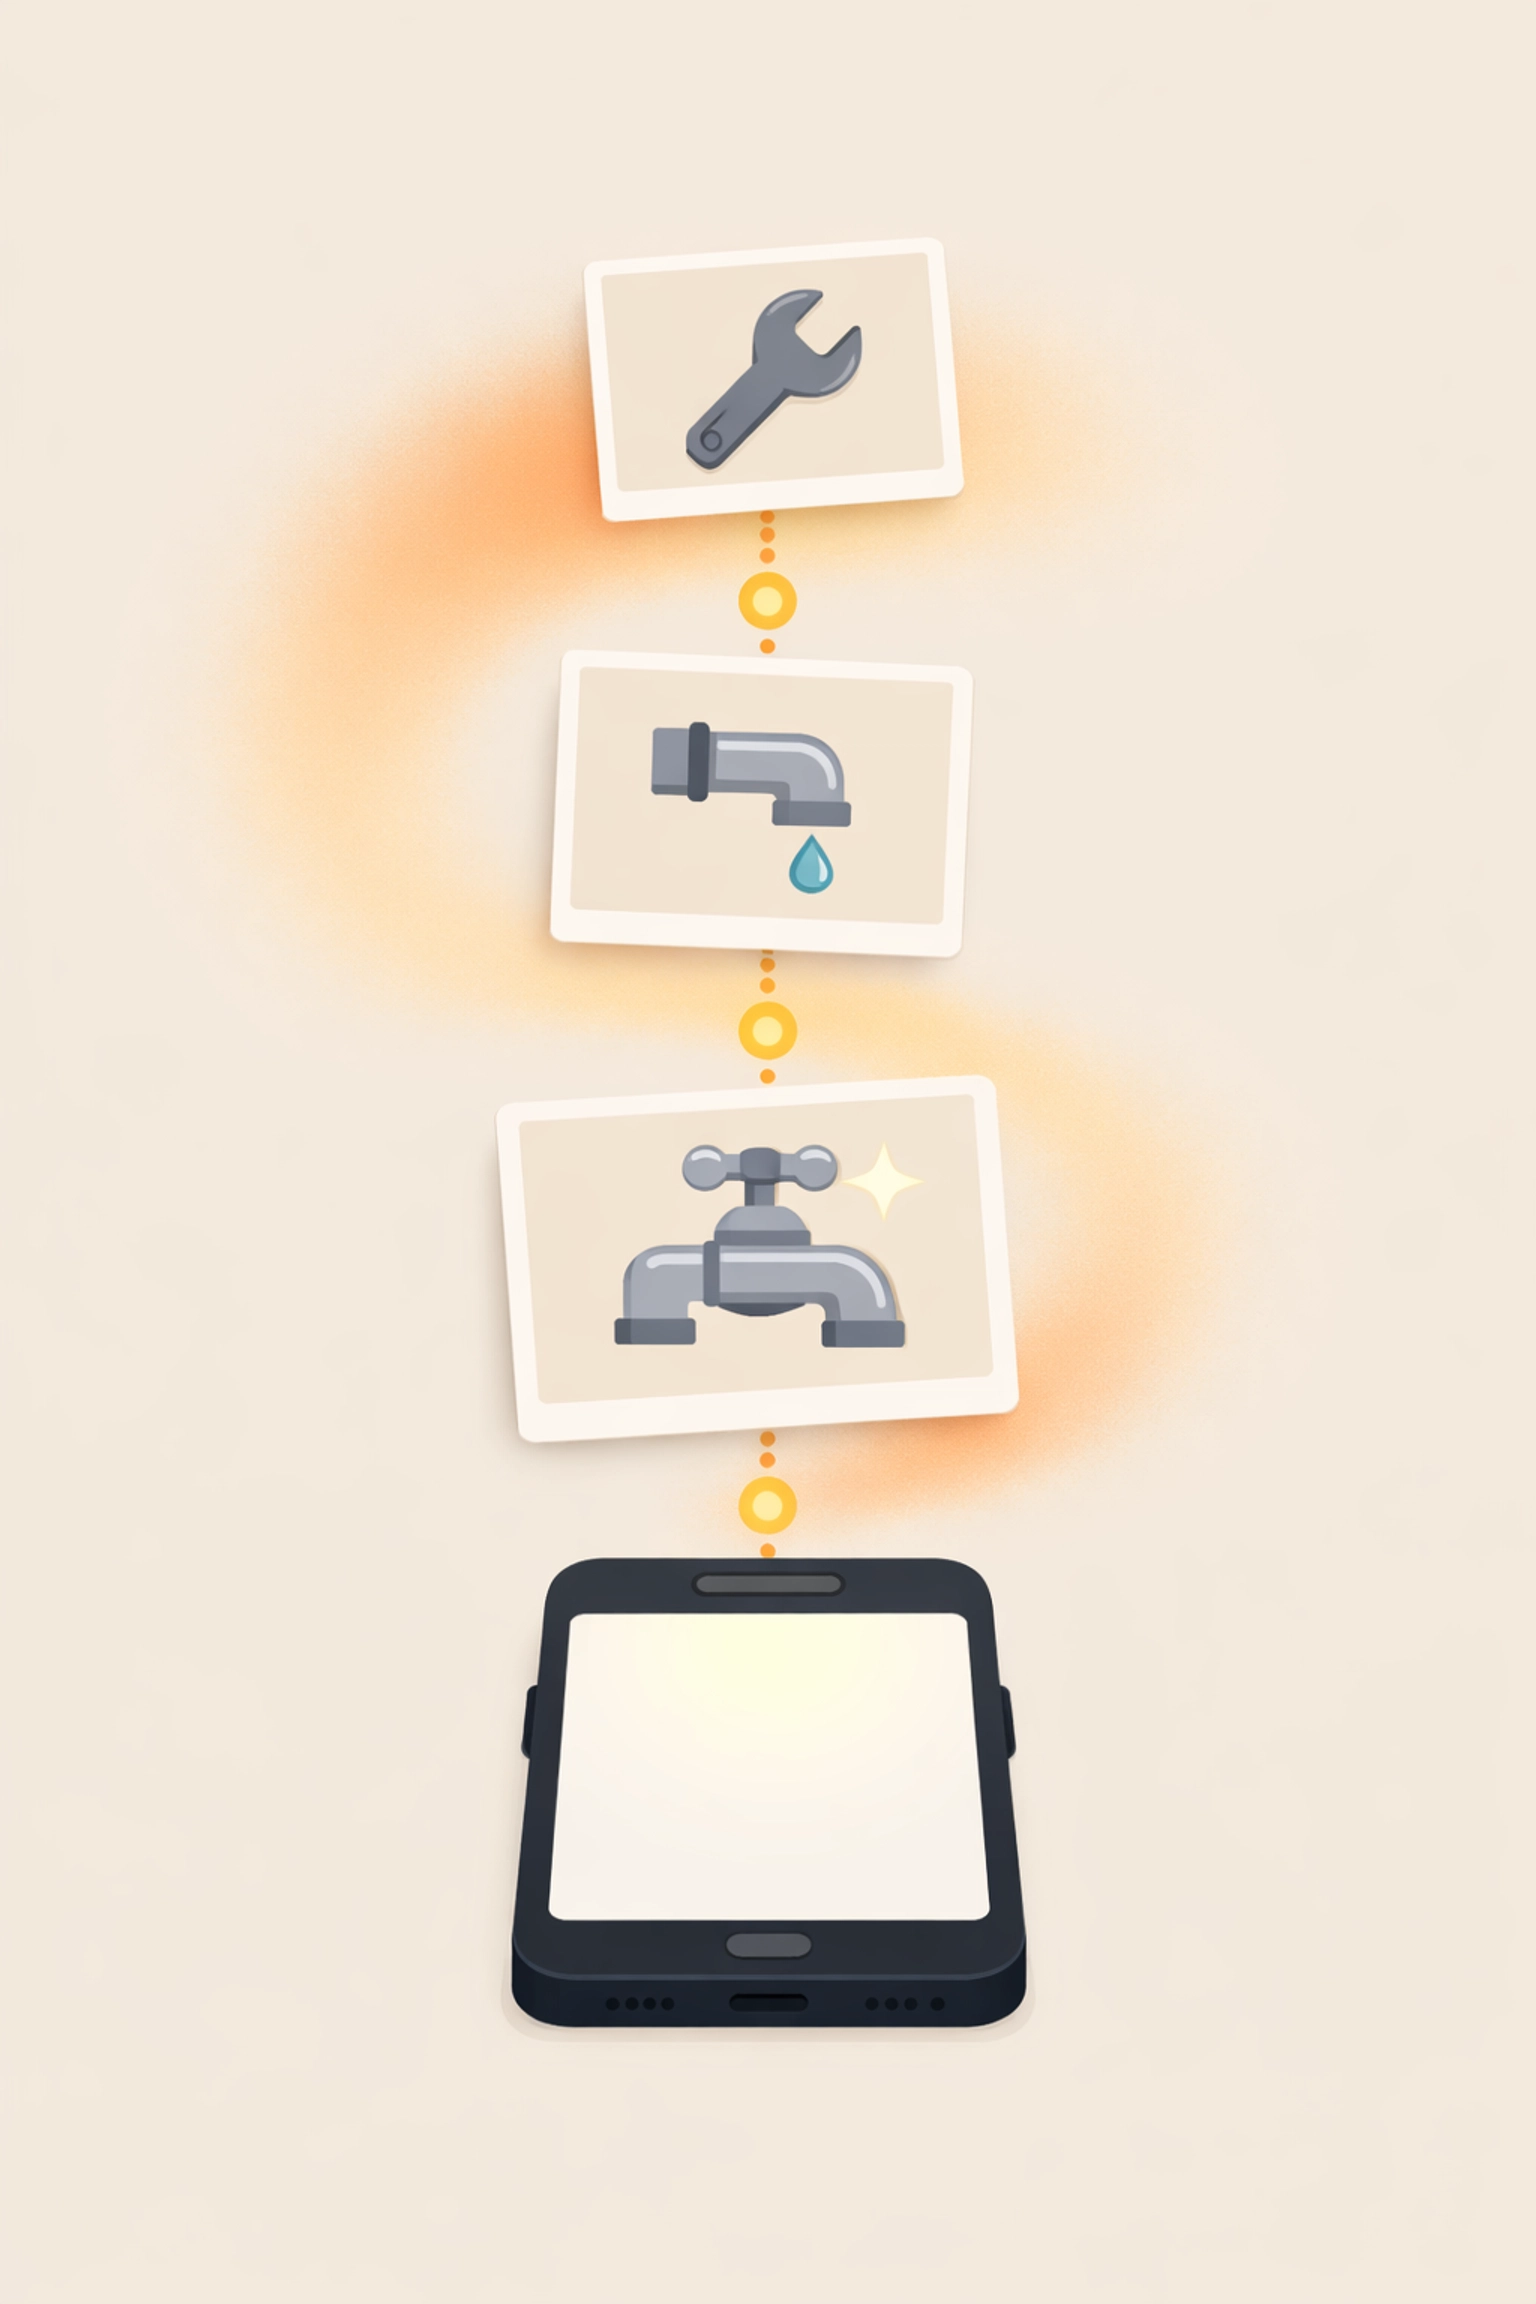
Step 3: The "After" Hero Shot (The Reveal)
This is the money shot. This is the photo that gets you your next job.
Once the work is complete and the site is cleaned up, it’s time to take the "after" photo. Remember that "Anchor Point" from Step 1? Go back to that exact spot. Hold your phone at the same height and angle.
When a customer sees a side-by-side comparison where the only thing that changed is the quality of the work, it creates a powerful emotional response. It justifies the invoice and makes them feel like they made the right choice hiring you.
How to make the "after" shot pop:
- Wipe the lens: Your phone has been in your pocket or on a dusty workbench. Give the lens a quick wipe with your shirt. It makes a world of difference in clarity.
- Clean the work area: No one wants to see a beautiful new furnace surrounded by sawdust and old copper scraps. A thirty-second sweep makes you look like a pro.
- Focus on the detail: Take one wide shot of the whole project and one close-up of the cleanest part of your work (like perfectly straight conduit or a beautiful weld).
Using a contractor job app like JobLuma makes this process seamless because the photos are already organized by the project. You don't have to hunt for them later.
Step 4: Choose a Simple Photo App (Avoid the Bloat)
There are plenty of "all-in-one" project management tools out there. Most of them are overkill for a small service shop. They are expensive, hard to use, and require your team to spend more time staring at a screen than actually working.
You need a before and after photo app that is mobile-first and incredibly simple.
This is why we built JobLuma. We know you don't have time to navigate complex menus. You need to snap, tag, and move on.
One of the biggest pain points with other software is the "customer experience." Most apps require your customer to download a "Client Portal" or create an account just to see their photos. Nobody wants to do that.
With JobLuma, you can share a photo timeline with your customer via a simple link. They click it, see the progress, and see the finished result: no app download required. It’s a "no-friction" way to impress them.

Step 5: Leverage Your Photos for Marketing and Reviews
The work shouldn't end when you pack up the truck. Those photos are valuable marketing assets.
When you have a gallery of high-quality before-and-after photos, you have content for weeks. You can:
- Post to Social Media: "Check out this panel upgrade we did in Phoenix today!"
- Update Your Website: Add a "Gallery" page that shows the breadth of your skills.
- Attach to Invoices: When a customer receives an invoice along with a link to the beautiful photos of the finished work, they are much more likely to pay quickly and happily.
- Request Reviews: Send the photo link to the customer and say, "Glad we could get this fixed for you! If you're happy with the results, would you mind leaving us a review?"
People are visual. They are much more likely to leave a 5-star review when they are looking at a clear visual reminder of the great job you did.
Why JobLuma is the Choice for Pros
We didn't design JobLuma for office-bound project managers. We designed it for the guy in the truck.
Our contractor software focuses on the essentials:
- Mobile-First Design: It works as fast as you do.
- Organized Timelines: Every photo is automatically sorted by job and date.
- Zero Customer Friction: Share work updates without forcing customers to download anything.
- Simplicity: If you can send a text, you can use JobLuma.
Stop letting your best work get lost in your camera roll. Start using a before and after photo app that actually helps you close more deals and keep customers happy.

Ready to simplify your job site photos?
Check out our pricing or sign up for free today. You can see more tips on how to run a more efficient trade business on our blog.
If you have questions about how JobLuma can fit your specific trade: whether you're in HVAC, electrical, or plumbing: feel free to contact us. We’re here to help you shine.
Summary Checklist for Your Next Job:
- Before: Same angle, clear lighting, clutter-free.
- During: Document the "hidden" work to protect yourself.
- After: Replicate the "before" angle and clean the work area.
- App: Use JobLuma to keep it all organized without the bloat.
- Share: Send a link to the customer and ask for that 5-star review.
Your work is great. It’s time to make sure everyone else knows it, too.